Getting how to photograph an event indoors right comes down to four things: shoot RAW, open the lens wide, let the ISO climb as far as your camera handles cleanly, and add light only when the venue allows it and the result looks better. Get those right and a dim ballroom, a church hall or a conference room stops being a problem. The rest is preparation, positioning and a shot list you wrote before the doors opened.
There is no second take at an event. The speech happens once, the award gets handed over once, and your client has already paid for the room, the catering and the guests. That single fact drives everything below.
Table of Contents
- What You Need
- How to Photograph an Event Indoors Step by Step
- 1. Confirm the Schedule, Venue, and Shot List
- 2. Scout the Room and Plan Your Lighting
- 3. Set a Reliable Starting Exposure
- 4. Position Yourself for Coverage Without Blocking Guests
- 5. Use Flash Carefully in Mixed Light
- 6. Capture Key Moments and Candid Reactions
- 7. Protect Your Files and Finish the Coverage
- Common Mistakes
- Frequently Asked Questions
- Can you photograph an event indoors without flash?
- What ISO should I use for an indoor event?
- How do you photograph speeches indoors?
- Is off-camera flash better than direct flash at an event?
- Do I need a second photographer for an indoor event?
- Conclusion
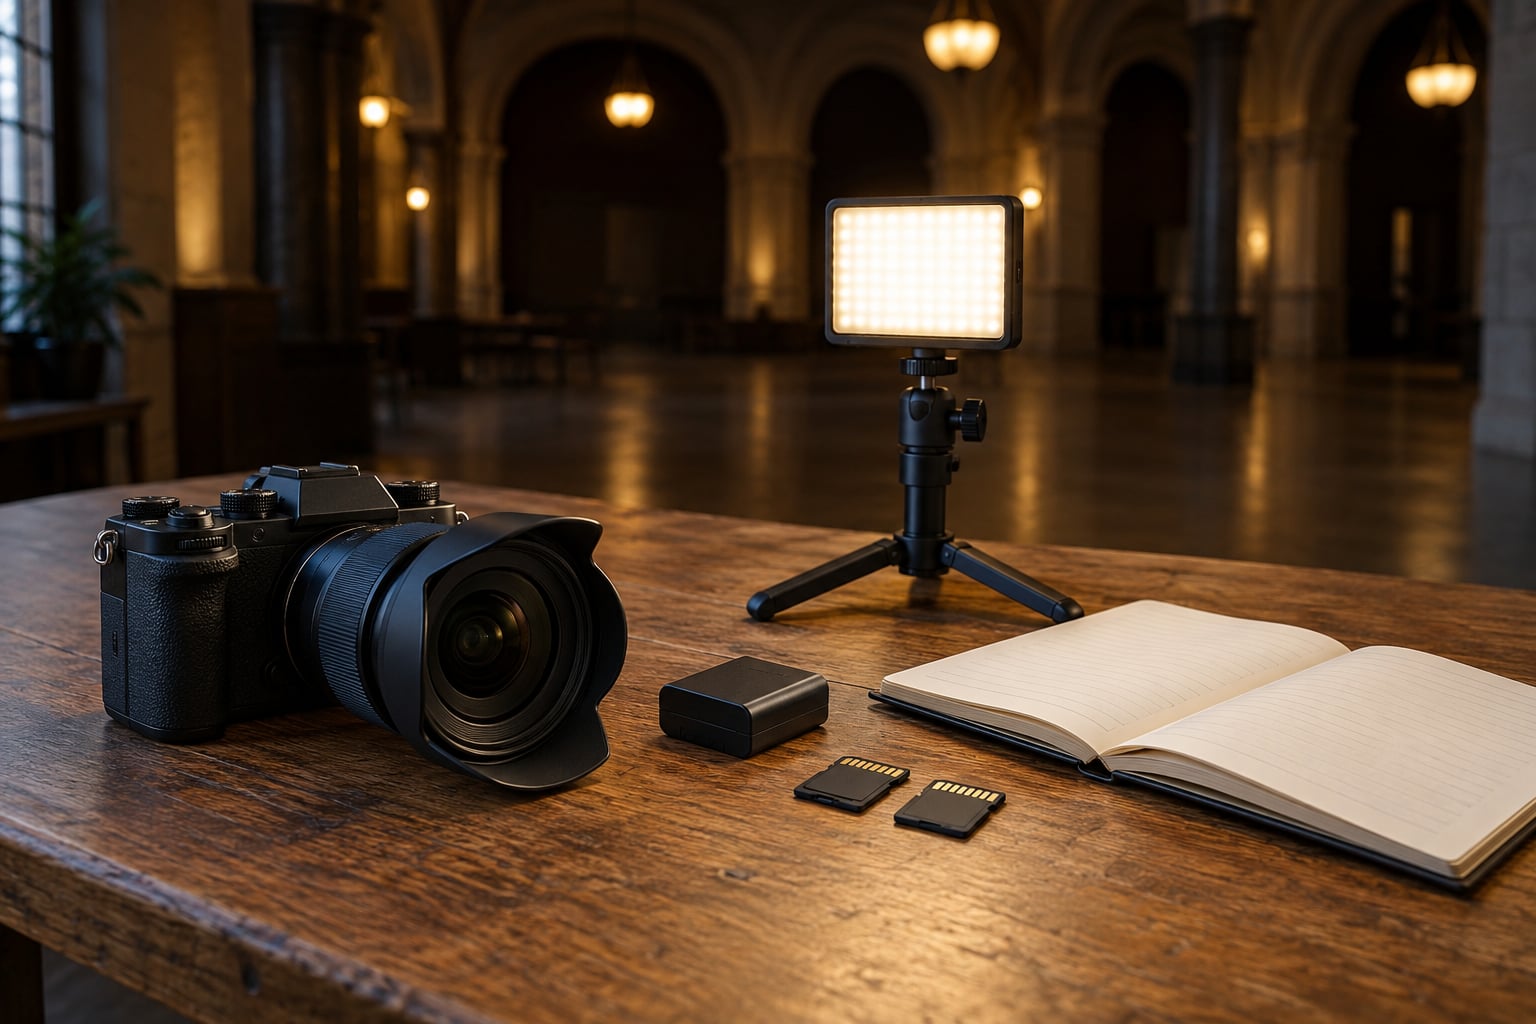
What You Need
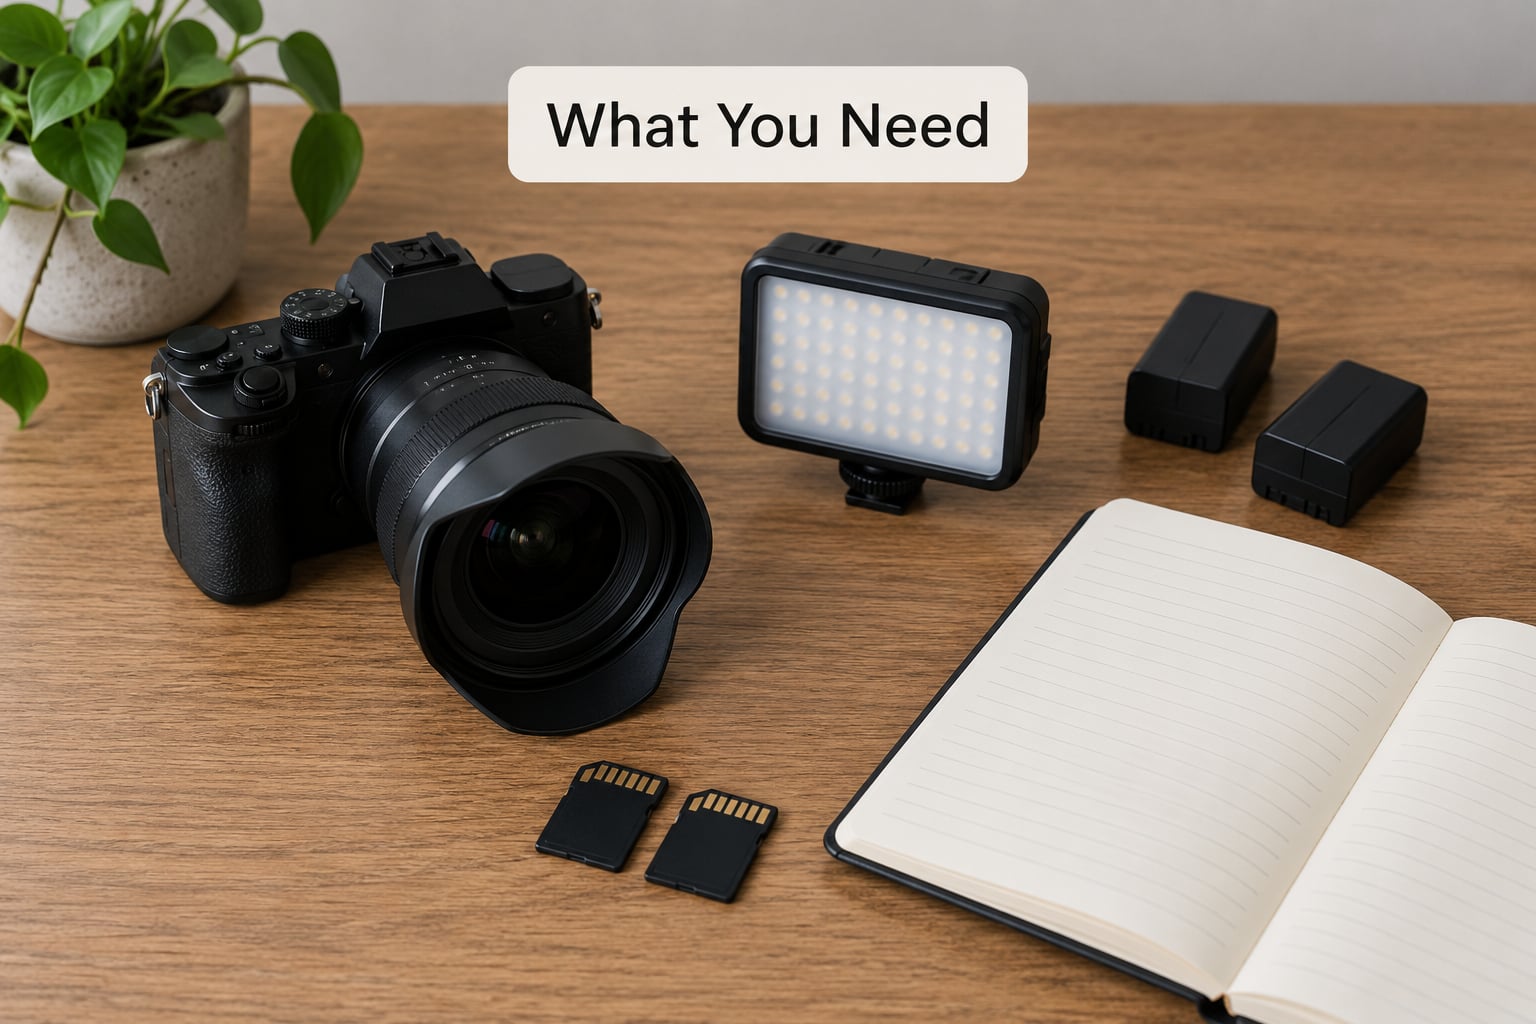
Start with the body, then buy glass. A camera that holds usable detail at ISO 6400 matters far more than one with an extra stop of dynamic range nobody will see in a JPEG.
- Camera body with dependable continuous autofocus, eye detection and two card slots. Dual slots let you record RAW to both cards at once, which is the cheapest insurance in photography.
- A fast wide or normal lens, ideally f/1.4 to f/2.8. A 35mm or 50mm prime covers most of a reception. If you only have a kit zoom, shoot it wide open and raise the ISO.
- A short telephoto for speeches and reactions from the back of the room. A 70-200mm flatters faces and lets you work without pushing into the crowd.
- Light only if flash is permitted: a speedlight you can bounce off a ceiling, or a small LED panel you can stand near the speaker.
- Spare batteries and cards, formatted in advance, plus a second body if the shoot pays.
- Oddments that get forgotten until you need them: a lint roller, tissues, water, a snack, and a notebook for the shot list.
Scale the kit to the room. A community hall with two LED strips does not need a 50mm f/1.4. A gala in a ballroom with a lit stage will leave you without light unless you have flash or a panel.
How to Photograph an Event Indoors Step by Step
1. Confirm the Schedule, Venue, and Shot List
Email the organizer before the event and ask for the run of show in writing. You want the arrival time, the order of speeches, who is presenting awards, whether anyone performs, and how long the group photo window is. Also ask whether flash is banned and whether there is a stage riser.
Build a shot list of ten to fifteen items, in order. Empty room, table details, signage, arrivals, mingling, each speaker, audience reaction, toasts, awards, posed groups, the exit. A written list is the only thing standing between you and four hours of pretty frames with no story.
If you can, walk the venue three or four days ahead. Ask a photographer’s questions, not a guest’s: where the house lights live, which switches control what, and where you can stand without being in a sightline.
2. Scout the Room and Plan Your Lighting
When you arrive, do a slow lap with the camera up before anyone notices. Look at three things: where the light comes from, where it falls off, and where it fights you.
Most indoor rooms mix at least two sources. Warm house lights near the bar, cool overhead LEDs over the tables, and daylight leaking through a window are normal. That mix is why faces turn green in one corner and orange in another.
Mark three positions on your feet before the room fills. One with a clean view of the stage and speaker. One near a light source that faces your subject, so the light comes from the same direction the camera does. One at the back with an unobstructed angle across the whole room. Dark corners and backlit windows are where bad frames come from, so plan to avoid them rather than fight them.
3. Set a Reliable Starting Exposure
Work in aperture priority with the lens wide open and Auto ISO capped at the highest value your body still handles cleanly. Set a minimum shutter speed in the menu so the camera will not drop below it when the light dims, then use continuous autofocus with eye detection and a short burst.
Those five settings are the working baseline for most indoor events. Here is where to start based on how bright the room actually is.
| Venue light level | Aperture | ISO ceiling | Minimum shutter | White balance |
|---|---|---|---|---|
| Dim room, no stage light | Widest available (f/1.4-f/2.0) | 6400, drop to 3200 if noise shows | 1/125s | Auto, shoot RAW |
| Mixed light, reception or hall | f/1.8-f/2.8 | 3200 to 6400 | 1/160s | Fixed 4000K, shoot RAW |
| Bright room, conference or lit stage | f/2.8 | 1600 to 3200 | 1/250s | Fixed 4500K or Daylight |
Match shutter speed to what people are doing. A seated speaker at 1/60s is fine. The same person standing up is not.
- Seated speeches and panel discussion: 1/60s to 1/125s
- Mingling and conversations: 1/125s to 1/160s
- Standing toasts, applause, awards: 1/250s
- Dance floor and movement: 1/320s to 1/500s
- Performances under stage light: 1/500s and up, no flash
The compromise you are making is always the same one. A wider aperture means less light and less in focus. A faster shutter needs more light and pushes the ISO up. Decide which of those you can live with for the shot in front of you, and change it deliberately rather than letting the camera surprise you.
4. Position Yourself for Coverage Without Blocking Guests
The fastest way to be asked to leave is to stand where everyone is looking. Stay at the edges of a group, keep your feet out of walkways, and keep the camera low enough not to become the only thing people can see.
You also need enough distance. Moving closer with a wide lens stretches faces. If the back of the room gives you a 70-200mm and a clean angle, take it. If you must be close, back off and use the widest lens you can, then move in only for moments that demand it.
Coverage usually means cycling between three spots: front for the speaker, side for reactions, back for wide moments. Give yourself a mental timer and rotate so no one area gets the whole night.
5. Use Flash Carefully in Mixed Light
Direct on-camera flash is the least attractive option in the room. It flattens a face, drops a hard shadow behind the subject and freezes everyone at the same brightness, which reads as a snapshot in a room full of atmosphere. Reserve it for fill when a face falls into deep shadow.
Bouncing is the upgrade most photographers skip. Point the flash at a ceiling or a pale wall, raise your ISO and lower the flash power, and the light comes back soft and directional. It costs nothing and it is the single biggest jump in quality you can make indoors.
Off-camera flash is better still when you have a second body or a stand. Put the light where the room’s own light would be, slightly above and to one side, and shoot at a shutter speed that lets ambient light through as well as flash. Rear-curtain sync keeps motion trails behind a moving subject instead of in front.
When flash is banned, which is common at concerts, churches and performances, your options are ambient-only, a small LED panel placed near the front of the stage, or repositioning yourself toward the existing light. Test before the event if you can. If the room is genuinely very dark and your flash is not powerful enough to lift it, you are working a losing battle and it is better to accept noise than to blast the room.
6. Capture Key Moments and Candid Reactions
A speech is three photographs, not one. The wide shot of the room, the medium of the speaker, and the close reaction of someone in the front row. Most delivered galleries that disappoint are collections of single frames with no variety.
Watch hands and faces rather than the lectern. A toast is about the glasses coming together. An award is about the hug afterwards, which often lasts four seconds. Stay with it, shoot a burst, then move.
Keep moving between moments. Locking into one spot for an hour leaves you with the same angle all night. Vary your height, your lens and your distance. If a wide angle makes the room feel small, use it for the room; if the frame needs to feel intimate, use the telephoto.
A specific case worth planning for: one speaker standing in front of a branded backdrop. If flash is allowed, bounce it off the ceiling behind you for even, soft light. If not, put an LED panel on a stand just off the speaker’s shoulder. If neither, move to where the existing room light falls on the speaker and set exposure for their face rather than the backdrop, letting the background go darker.
7. Protect Your Files and Finish the Coverage
Write to both card slots from the start and never format a card in front of the client. Check the first frames from each card ten minutes in. A corrupted slot or a wrong setting discovered at hour three is the failure mode that ends careers, and it is entirely preventable.
Swap cards when one fills rather than deleting images on the fly. If you are shooting video alongside stills, keep separate cards for each and a backup drive in your bag.
Afterwards, import everything, back it up in two places, then cull before you edit. Expect to deliver somewhere between 150 and 400 images for a three-hour event, and agree the number with the client beforehand. A week is a normal turnaround for a full edit; two weeks is typical when you also shoot video.
Common Mistakes
Underexposing out of caution. A dim frame looks dim forever, and you can lift shadows in editing but never recover a moment that blurred. Meter for the faces and let Auto ISO do its job.
Leaving white balance on auto and shooting JPEG. Auto white balance shifts between tungsten and LED frames in the same room. Shoot RAW, set a fixed Kelvin value, and correct in post.
Missing key moments. You cannot be everywhere. A written shot list and a rotated position plan beat reacting.
Blocking views. Nobody minds a photographer. People mind a photographer in their sightline during a ceremony. Stay at the edges and keep moving.
Distracting backgrounds. Standing in a doorway frames a bright exit behind your subject. Step forward until the background is something you want, or change your angle until it is.
Harsh direct flash. Bounce it, soften it, or skip it. Any of those beats the version that makes everyone look worse than the ambient light already did.
Incomplete backups. Dual card slots, a third card in the bag, and an import into two separate locations before you format anything.
Frequently Asked Questions
Can you photograph an event indoors without flash?
Yes. Open the aperture as wide as the lens allows, raise the ISO to your camera’s usable ceiling, and slow the shutter only as far as the movement allows. For speeches, position yourself near a strong light source and expose for the speaker’s face. Shoot RAW so white balance and shadows can be corrected later, and steady yourself or your lens for anything slower than 1/60s.
What ISO should I use for an indoor event?
Start around ISO 1600 to 3200 in a typical reception and go higher in a genuinely dim room, up to 6400 or 12800 if your body holds detail there. Judge the result by looking at a shot at full size, not by a number on the screen. Modern sensors handle 6400 acceptably, and you can reduce noise in editing far more easily than you can recover a blurred frame.
How do you photograph speeches indoors?
Stand near the speaker but out of the audience’s sightline, use a moderate zoom so you can work from the back of the room, and have the camera ready before the introduction starts rather than during it. Shoot a wide of the room, a medium of the speaker and close reactions from the audience, in that order. Hold the camera ready during pauses so you catch the first sentence after applause.
Is off-camera flash better than direct flash at an event?
Off-camera flash usually looks more natural because it softens shadows and lets you match the direction of the room’s existing light. Bouncing an on-camera flash off a ceiling or pale wall gets you most of the way there for no extra equipment. In rooms with high ceilings, a bounced speedlight is often enough, provided you raise ISO and lower flash power to compensate.
Do I need a second photographer for an indoor event?
It depends on the format. A two-hour party in one room is manageable solo with a written shot list and a rotation plan. A conference with a main stage, breakout rooms and a group photo assembly is not, and a second photographer lets both of you stay with the action instead of racing between spaces. A second body in your own bag is worthwhile even when nobody else is shooting.
Conclusion
Knowing how to photograph an event indoors is mostly preparation. Confirm the schedule and write the shot list. Walk the room, find where the light lives and mark three positions. Set aperture wide open with an Auto ISO ceiling and a minimum shutter of 1/125s, then adjust as the evening gets darker. Bounce flash if you can, skip it if you cannot, and check both memory cards early.
Do the first thing this week: pick an event you are welcome at, arrive an hour early, and shoot the room before anyone arrives. That single hour teaches more about indoor light than a month of reading.