Learning how to photograph a wedding as a second shooter is mostly about discipline rather than talent. You show up early, you stand exactly where the lead photographer told you to stand, you cover the opposite side of every moment, and you hand over your RAW files so one person edits the whole wedding in one style. Do that cleanly for a year and you will have a portfolio, a reputation and steady invitations. The craft is the easy part once the habits are in place.
The role sounds simple until you are standing at the back of a chapel holding a body you have never shot with, trying to work out where to put your feet. This guide walks through the whole day, block by block, including the settings I hand new second shooters and the mistakes I watch for in my own second shooters.
Table of Contents
- What You Need
- Step-by-Step: How to Photograph a Wedding as a Second Shooter
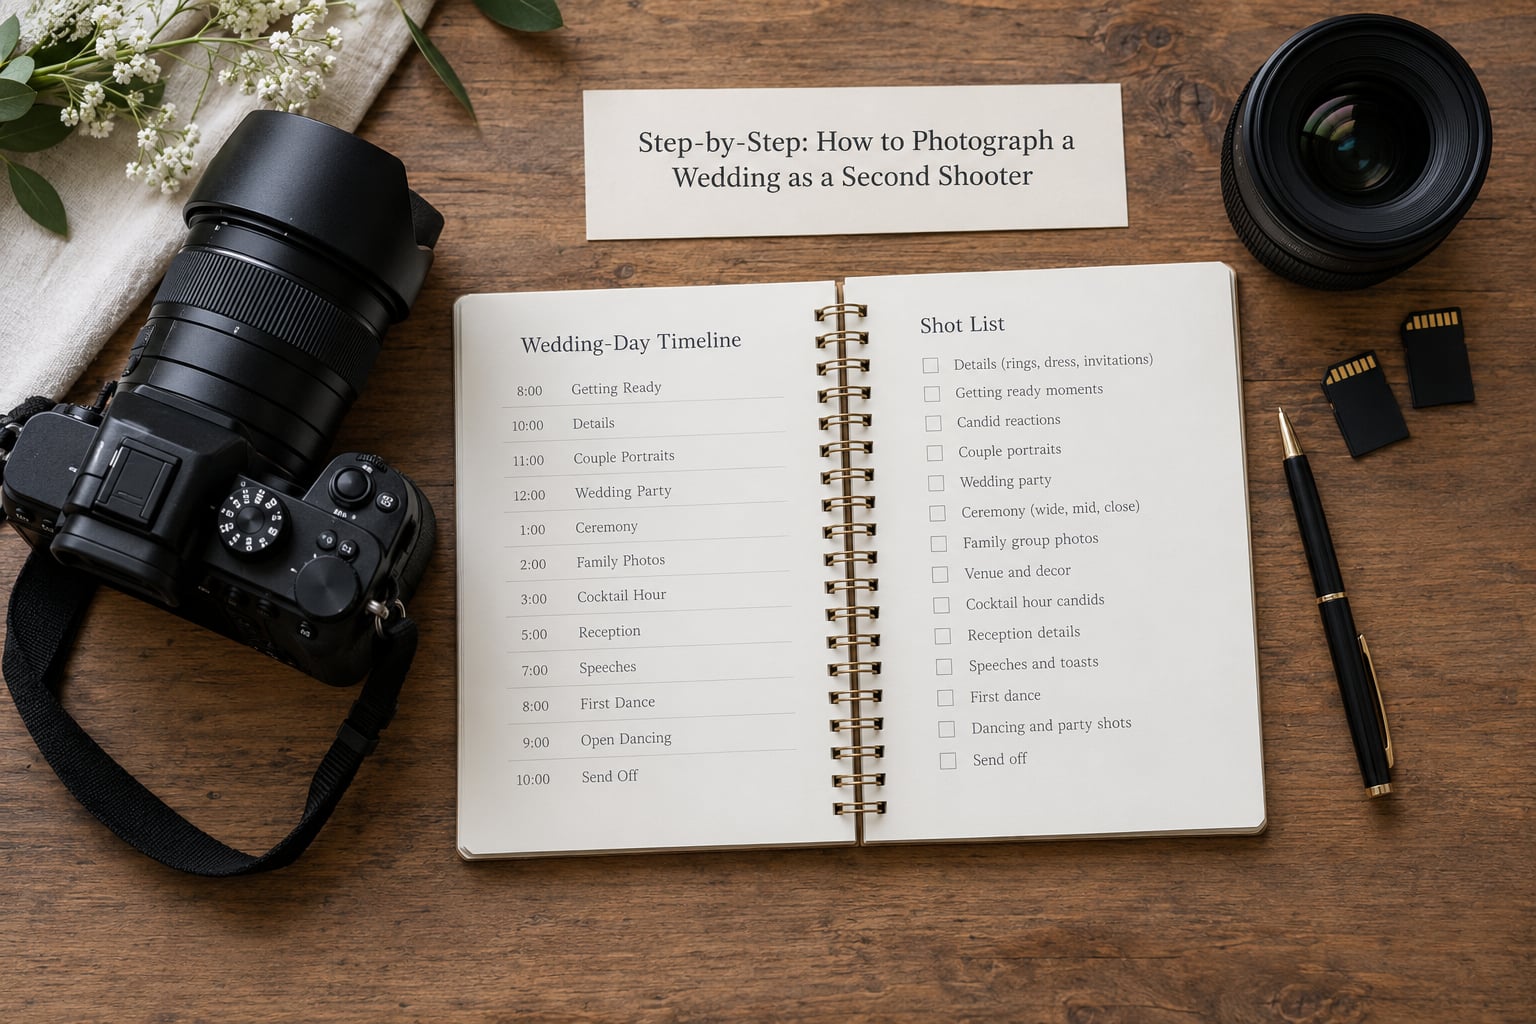
- Confirm the Scope and Shot List
- Prepare the Camera and Backup System
- Photograph the Getting-Ready and Detail Coverage
- Capture the Ceremony Without Competing for Positions
- Work the Portraits and Family Moments
- Document the Reception and End-of-Night Handoff
- Common Mistakes
- Frequently Asked Questions
- What should a second photographer shoot at a wedding?
- How do I get hired as a second shooter?
- How much should a second shooter get paid?
- What gear does a second photographer need?
- Do second shooters get their own gallery?
- How do you second shoot without being in the lead photographer’s frame?
- How do you deliver RAW files to a lead photographer?
- Is second shooting a good way to start wedding photography?
- Conclusion
What You Need
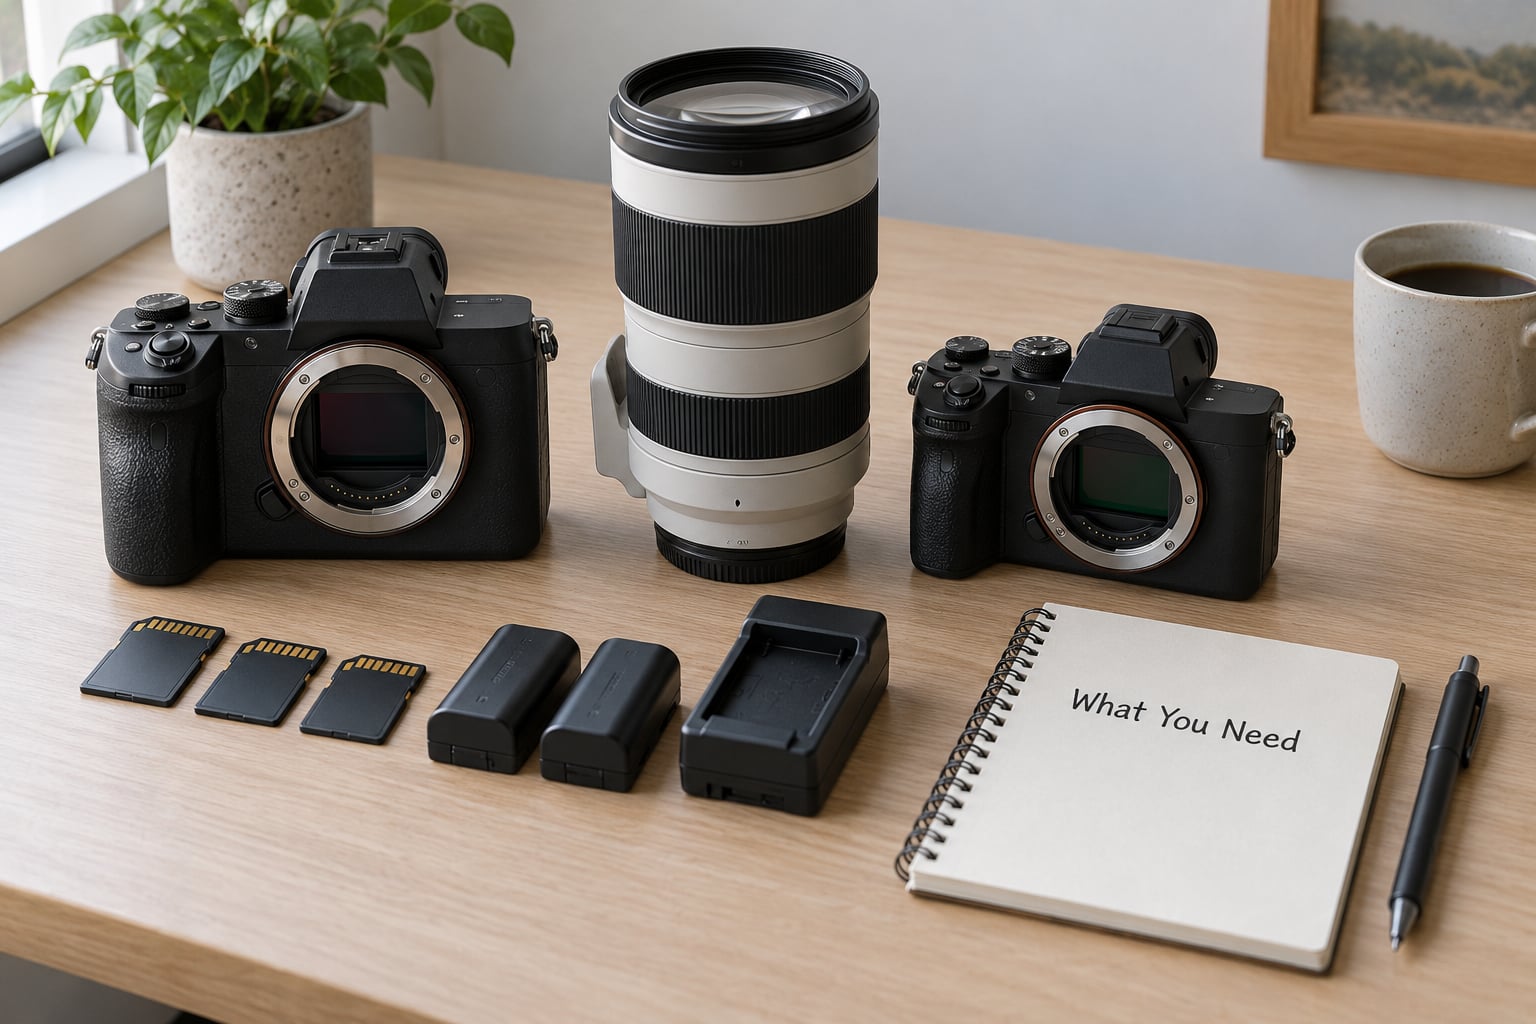
The short version: two camera bodies, three or four lenses covering wide through telephoto, a flash, more batteries and memory cards than you think, and a written shot list you made before you got on site.
- Dual camera bodies. The lead is your backup. If your body dies mid-ceremony, you switch to whatever the lead hands you and keep working.
- A wide or standard zoom (24-70mm range) for getting ready, venues and group shots.
- Fast primes at 35mm, 50mm and 85mm for low light and for the narrow angles you will be shooting from.
- A 70-200mm telephoto to reach across a room, shoot reactions from a distance and work ceremonies from the back wall.
- An off-camera flash with a trigger, plus a bounce card or a small softbox for the reception.
- Batteries. One spare per body, plus spares for the flash. Cold weather and long ceremonies eat them.
- Memory cards, formatted in advance, in your pocket and not all in the same bag as the bodies. Splitting cards across two bags means losing one bag does not end your day.
- Clothing in your bag rather than on your body: black or neutral, silent shoes, a jacket for outdoor formals in cold months.
- A rain cover and a lens cloth. You will be outside longer than you think.
- Communication: the lead’s number, the planner’s name, a notepad and a printed run sheet.
Nobody needs premium bodies to second shoot. That argument comes up constantly on r/WeddingPhotography, and the consensus is fair: a dependable older body with clean autofocus matters more than a flagship body you cannot afford to break. One thread on the subreddit puts it plainly, a second shooter does not need two premium bodies, and the reasoning holds. Reliability wins the ceremony.
If you own only one body, say so before you accept the job. Ask whether the lead carries a spare you can shoot on for the ceremony, and agree a plan for the moment your body fails. Plenty of first-timers second shoot with one body, but never as a surprise.
Step-by-Step: How to Photograph a Wedding as a Second Shooter
Confirm the Scope and Shot List
Before the wedding day, agree in writing who covers what. The division of labour is usually split by location and side, and it only works if you both know the plan in advance.
| Lead photographer | Second shooter |
|---|---|
| The couple getting ready, in detail and in motion | The opposite prep location, same details and moments |
| The couple during the ceremony, from the front | Guest and family reactions from the back or side |
| Couple portraits and directing formals | Alternate angles, reactions, and wide shots of the room |
| Cocktail hour candids of the couple | Guest candids, decor, food and table details |
| Speeches and the first dance | Alternate side of the dance floor, plus bridal party candids |
Ask these questions before you say yes, in this order:
- Which location am I covering during getting ready, and what time do I need to arrive?
- Do you want me on the groom’s side or the bride’s side of the ceremony?
- What are the must-have shots you cannot miss, and what can you live without?
- Should I bring my own flash, and do you want me using it or shooting ambient only?
- How do you want the files delivered, by when, and on which cards?
- Can I use any of these images in my portfolio, and are there restrictions?
- What is my rate, and when is it paid, including any overtime after the agreed hours?
Community threads on the wedding photography subreddit make the etiquette point repeatedly: asking these questions is not second-guessing the lead. It is the professional version of showing up prepared.
Prepare the Camera and Backup System
Set the camera up for the hardest light of the day first, then adjust as you move. Auto ISO with a shutter priority dial is a solid baseline because it saves your exposure triangle while you are watching the room instead of the viewfinder.
This is the starting sheet I give every new second shooter. Treat it as a starting point and adapt to the venue.
| Situation | Lens | Aperture | Shutter | ISO | Flash |
|---|---|---|---|---|---|
| Getting ready, window light | 35mm or 50mm | f/2 to f/4 | 1/125 or faster | 400 to 1600 | Off |
| Bright ceremony, no flash | 50mm or 85mm | f/2.8 | 1/250 or faster | Auto, ISO 100 to 1600 ceiling | Off |
| Dim ceremony or church interior | 35mm or 50mm | f/1.8 to f/2 | 1/125 or faster | 1600 to 3200 | Off unless permitted |
| Outdoor portrait session | 85mm | f/2.8 | 1/500 or faster | Auto | Off unless asked |
| Reception before dancing | 35mm or 50mm | f/2 | 1/125 or faster | 1600 to 6400 | Off, ambient only |
| Flash-lit dance floor | 35mm or 50mm | f/2.8 to f/4 | 1/160 or faster | 200 to 800 | TTL through the trigger |
The minimum handheld shutter rule is the one that saves your work. Community guidance puts it at 1/50 for focal lengths under 50mm, 1/100 between 50mm and 125mm, and 1/200 between 125mm and 200mm. Go slower and the frame becomes a blur you cannot fix in post.
Before you leave for the venue:
- Format both cards in every body and check they actually write to them.
- Set a fixed white balance for the ceremony rather than auto, so your colours match the lead’s when they cut between your files.
- Set continuous autofocus with a single-point or zone area, and confirm focus does not hunt in dim light.
- Turn off auto ISO if you are on a tripod-heavy ceremony, and turn it on if you are moving constantly.
- Sync your camera clocks to the lead’s so the shooter’s notes and your timestamps line up.
- Shoot a few test frames and check them on the camera screen before you walk in.
Photograph the Getting-Ready and Detail Coverage
Getting ready is the easiest place to add value and the easiest place to be in the way. Ask the lead which room is yours before you unpack anything, and photograph the details they do not have time for: invitations, rings, shoes, perfume, the dress on its hanger, floral pieces, gifts from the couple, table signage and the seating chart.
Details are the frames the couple often remember later, and they are rarely shot twice. Shoot them early, before the room turns into a hallway of relatives and hair stylists.
Once the preparations start, work on the opposite side of the room from the lead and photograph the moments themselves. The groom’s guys getting ready means very different pictures from the bride’s room, and the lead can only be in one of them. Reaction shots work here too, so keep an eye on the mirror rather than only on the person being dressed.
Capture the Ceremony Without Competing for Positions
Arrive at the venue before the couple does and scout. Know where you are allowed to stand, which aisle you can walk down, and where the exit doors are. In most venues the answer is simple: back wall, aisle side, never directly behind the lead.
Your ceremony work is mostly reactions. The vows are the lead’s frame, so you shoot the grandmother in the third row, the groom’s brother grinning, the two kids in the front pew passing notes. A 70-200mm lets you fill the frame from the back corner without moving at all.
Rules that keep this simple:
- Ask the lead for one position and hold it until they change it.
- Move during readings or music, never during the processional or the kiss.
- Check your shutter and aperture are silent enough for the room.
- Shoot horizontal and vertical. Vertical portraits of reactions are what often end up in the final gallery.
- If the venue bans flash, shoot ambient and raise ISO rather than pushing the shutter.
One habit worth stealing: a single wide frame from the back of the room at the start of the ceremony. The lead may be close on faces, and if something goes wrong with their frame, you are the only safety net.
Work the Portraits and Family Moments
During the couple’s portrait session, your job is the angle the lead is not using and the reactions nobody has posed. Work wide from the edge of the location, then move in tight on hands, feet, the veil in the wind and the couple laughing at something the photographer said.
Family formals are where second shooters earn their keep. The lead manages the groups; you can shoot from a lower or opposite angle, or frame the wider scene with the grandparent who is watching from the side. Keep an eye on the wedding party rather than only the couple, and catch the bridesmaid adjusting a shoe or the groom’s father wiping his eyes.
Photographing through something is a cheap way to get a different frame from the same moment. A doorway, a chair back, out-of-focus foliage or candlelight all separate your image from the lead’s without asking anyone to move.
Document the Reception and End-of-Night Handoff
The reception is where the slow shutter work happens. Slow the shutter to 1/15 or 1/30 with flash and the movement of the dance floor becomes streaks around a sharp face. If the flash is not working or the lead prefers ambient, hold 1/60 minimum and raise ISO instead.
Cover entrances, the parent dances, toasts, cake cutting and the last song. Then widen up and work the room, because the candids of guests laughing during speeches are usually the frames that carry the gallery.
Plan the handoff before the party ends. Many leads want the cards within 24 to 48 hours, and the delivery method is usually one of three: hand your cards over at the reception, copy to a hard drive the lead supplies, or mail a USB the next morning. Confirm which one on the way to the venue, put a label on every card with your name and the wedding date, and never leave cards in a vehicle overnight.
When you get home, back up to two separate drives before you format anything, and turn off auto-sync to cloud storage.
Common Mistakes
Almost every first-wedding failure traces back to one of eight things.
- Shooting duplicate frames. You set up exactly where the lead is set up and deliver fifty of the same shot. The fix is to check their position before every block and consciously shoot the opposite side.
- Standing in their frame. It usually happens during the first dance and family formals, when you drift into the only clear sightline. Fix: position yourself before the moment starts, not during it.
- Chasing the action instead of holding a spot. Running around produces scattered coverage. Pick a position with two or three subjects in it and let the day come to you.
- Changing settings without checking the result. You switch to manual for a dark reception and miss that ISO 6400 is needed. Fix: check the histogram or a frame on the LCD after any change, in under two seconds.
- Carrying one card in one bag. One lost bag ends the wedding. Split cards and bodies across two bags and pack a rain cover for each.
- Having your phone out. Your phone gets photographed in every group shot. Keep it in your pocket or on silent and stay off social media until the lead publishes.
- Self-promotion on the day. Handing out cards to guests is awkward and usually noticed. Networking happens after the delivery, not during the vows.
- Skipping the delivery step. You shot a great wedding and the lead never got the files. Fix: put the handoff in your calendar the day after, with a deadline you agreed to.
One more that does not show up on the list because it is quiet rather than dramatic: running out of battery at 9pm. Set a reminder to swap cells during speeches, not during the first dance.
Frequently Asked Questions
What should a second photographer shoot at a wedding?
Cover the location and subjects the lead photographer is not with: the second getting-ready room, guest and family reactions during the ceremony, wide shots and room context during portraits, guest candids and decor at cocktail hour, and an alternate angle of the first dance and speeches. Details such as invitations, rings, shoes, florals and signage are yours whenever the lead has no free hand for them.
How do I get hired as a second shooter?
You get hired by being the reliable person another photographer already trusts. Shoot a few events as a guest first, build relationships with leads who work your market, and tell them plainly that you are available, have your own kit and will handle delivery and backups. Leads look for someone who will not block their frame and who hands over files on time.
How much should a second shooter get paid?
Rates vary widely by market and experience, and most leads pay either a flat day rate or an hourly rate with agreed overtime after a set finish time. Ask for the number in writing before the wedding, along with travel, parking, meals and any cancellation terms. Entrants are commonly paid below experienced second shooters, so raise your rate as you take on more leads.
What gear does a second photographer need?
Two dependable camera bodies, a 24-70mm zoom, fast primes at 35mm, 50mm and 85mm, a 70-200mm telephoto, a flash with a trigger, spare batteries for every body, and more formatted memory cards than you think you will fill. Add neutral clothing, comfortable silent shoes, a rain cover, a lens cloth and a printed run sheet. Premium bodies are not required.
Do second shooters get their own gallery?
Almost never. The lead photographer culls and edits the entire wedding in one consistent style, and your RAW files are part of that gallery rather than a separate deliverable. Some leads let you post a small set of images once their own gallery or blog post is live, and the terms on portfolio use, watermarking and submissions vary, so ask before the wedding rather than after.
How do you second shoot without being in the lead photographer’s frame?
Agree a position at the start of each block and hold it. Stand further back or on the opposite side rather than beside them, ask before you move, and never reposition during the processional, the kiss or a first dance. Check your sightline with a test frame at full zoom before the moment matters, and if the room is tight, accept a wider lens so you can shoot from the doorway.
How do you deliver RAW files to a lead photographer?
Ask for the method and the deadline before the wedding. Common approaches are handing over labelled cards at the reception, copying files to a hard drive the lead supplies, or mailing a USB the next morning. Back up to two drives before you format anything, keep your own copy until the lead confirms delivery, and turn off automatic cloud sync while the files are in transit.
Is second shooting a good way to start wedding photography?
It is one of the best training grounds available, because you see a full wedding day without carrying the risk of the lead role. You learn timing, lighting changes, family management and how a full gallery is assembled. The limits are real too: you do not direct the day, you may not control what you shoot, and you build a portfolio only with the lead’s permission.
Conclusion
If you are about to photograph your first wedding as a second shooter, four things matter more than anything in your camera bag. Agree your responsibilities in writing before the day, so you and the lead never guess at the same moment. Build a prioritised shot list from the opposite-side rule, so you are never standing next to them with nothing to shoot. Test the backup system the night before, which means formatting cards and confirming the second body fires a frame. And stay one step ahead of the wedding timeline, because the block you are unprepared for is the block that gets missed.
Get those right and the pictures take care of themselves.