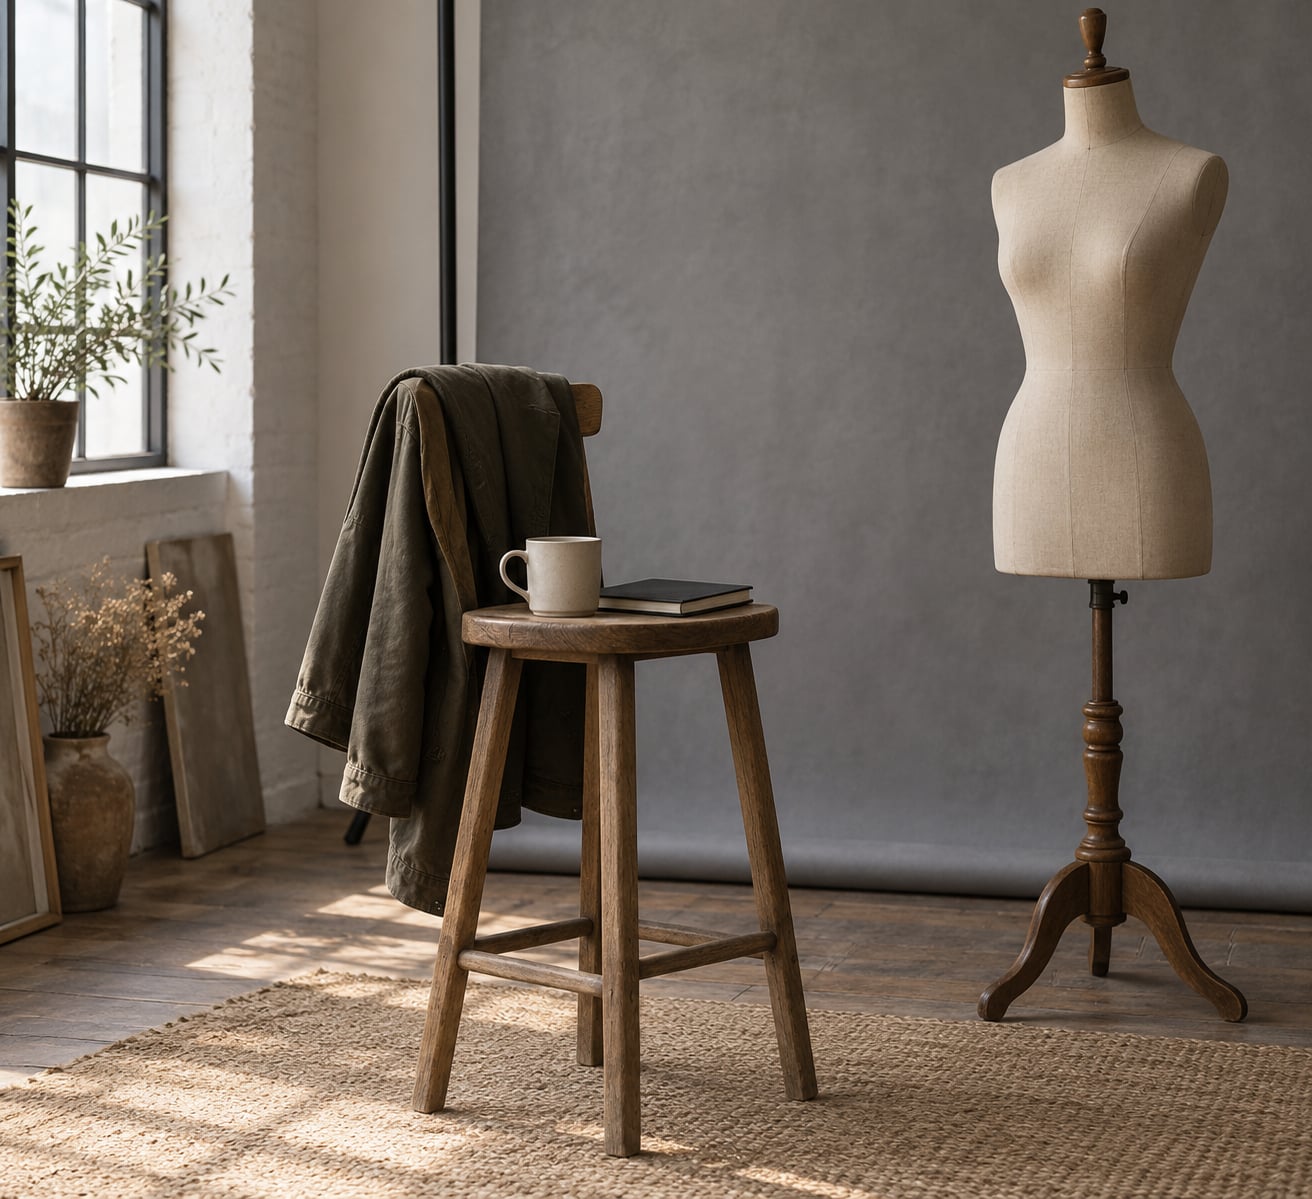
How to pose men for portraits comes down to three moves: shift the weight onto the back foot, turn the body about 45 degrees away from the lens, and give the hands a job. Do those three things and most stiff-looking male portraits start working, even with an average lens and a window for light.
That is the honest answer, but it is not the whole job. Men usually arrive having been photographed a hundred times, almost never well, and they default to a squared-up stance, a raised chin and hands hanging like tools at their sides. The frame reads as a passport photo of a man who would rather be somewhere else.
The fix is less about finding a magic pose than about giving a body a series of small, specific instructions. Practice the seven adjustments below until they are automatic, then build everything else on top of them. A full session on a location shoot takes about twenty minutes once you know the sequence, and the last ten minutes come from shooting variations rather than hunting for one perfect frame.
The seven adjustments that fix most male portraits
- Weight on the back foot so one leg carries the body and the other relaxes. Symmetry reads as a mugshot.
- Feet about 45 degrees off the camera, one foot slightly forward, toes turned gently outward. Pigeon toes shorten a frame and kill confidence.
- Shoulders down and back, chest open, core lightly engaged. Hunched shoulders shrink a man without touching the retouching software.
- Chin forward and down, never up. This is the single biggest jawline lever you have.
- Hands given a task – a pocket, a hip, a prop, a chair back. Dangling hands pull the eye away from the face.
- Eyes doing something, looking at the lens, past the camera, or at a specific object. An unfocused stare reads as a blank frame.
- Camera moved off the center line, usually a step to one side and a little below eye level, so the frame has depth instead of a flat passport crop.
Everything that follows is an expansion of those seven. If you only remember one thing from this guide, make it the chin and the weight, because those two account for most of the difference between a stiff frame and a good one.
Table of Contents
- What You Need
- How to Pose Men for Portraits: Step-by-Step
- 1. Set the Intention and Explain the Pose
- 2. Build a Relaxed Stance
- 3. Direct the Arms and Shoulders
- 4. Use Hands to Add Story
- 5. Create a Natural Expression
- 6. Choose the Right Camera Angle
- 7. Use Props and Space
- 8. Check the Frame and Make Small Adjustments
- 9. Capture Variations Instead of One Perfect Pose
- Common Mistakes
- Frequently Asked Questions
- Conclusion
What You Need
None of this requires expensive kit. It requires a subject who knows a few words of direction and a photographer who is willing to give them.
A camera you already own. Any interchangeable-lens body works. A full-frame camera at 50mm keeps enough distance to avoid exaggerating noses and hands, while 85mm gives the flattering compression you want for headshots. On a crop sensor, treat 35mm as your 50mm and 60mm as your 85mm.
One light source and something to fill with. A window is genuinely enough for most work. Stand your subject with the window at about 45 degrees to their face, then hold a white foam board or a piece of white card on the shadow side to lift it. Overcast daylight or an open doorway give you the same thing with no kit at all.
Something physical to sit on or lean against. A wooden stool, a plain chair, a step, a low wall, a railing. A subject with a handhold relaxes within a few seconds, because the body stops trying to hold itself up. It is the single cheapest upgrade in this whole guide: give a man something to lean on and the stiffness drops away.
Two or three props that suit him. A jacket over the shoulder, a mug of coffee, a book, a pair of glasses, a camera. Props work best when they are already part of his life, because then his hands know what to do with them.
Two minutes of preparation. Before the camera comes up, ask what he does not like about photographs of himself. Nearly every man names the same handful of things – a double chin, a nose he thinks is too big, a receding hairline, a gut. You cannot hide all of that with posing, but you can design around it, and the subject relaxes the moment he realizes you noticed the thing he was worried about.
Clothing with structure. Nothing shapeless. A plain crew neck beats a large logo, and a jacket gives the shoulders an edge that a t-shirt never will.
How to Pose Men for Portraits: Step-by-Step
1. Set the Intention and Explain the Pose
Start by deciding what the picture is for, then say so out loud in one sentence. Men who know the point of a frame stop improvising and start cooperating, because there is nothing to prove.
Instead of “relax, would you stand like that?”, try: “This one is for the company website, so we want you to look like you run the place but still like a person. Turn your body about 45 degrees to my right, keep your right shoulder back, and let the left shoulder come forward.”
Name three things every time: the mood, the body position, and what the finished frame should feel like. It works because vague instruction is what makes subjects freeze. If you say “relax”, a man relaxes his face and stiffens his shoulders, and you have made it worse.
How to tell it worked: the subject’s hands find somewhere to go before you have finished the sentence, and he asks a question about the shot. That means he has stopped thinking about his own body.
2. Build a Relaxed Stance
Feet first, always. This is the base everything else sits on, and a good stance fixes more problems than any amount of retouching.
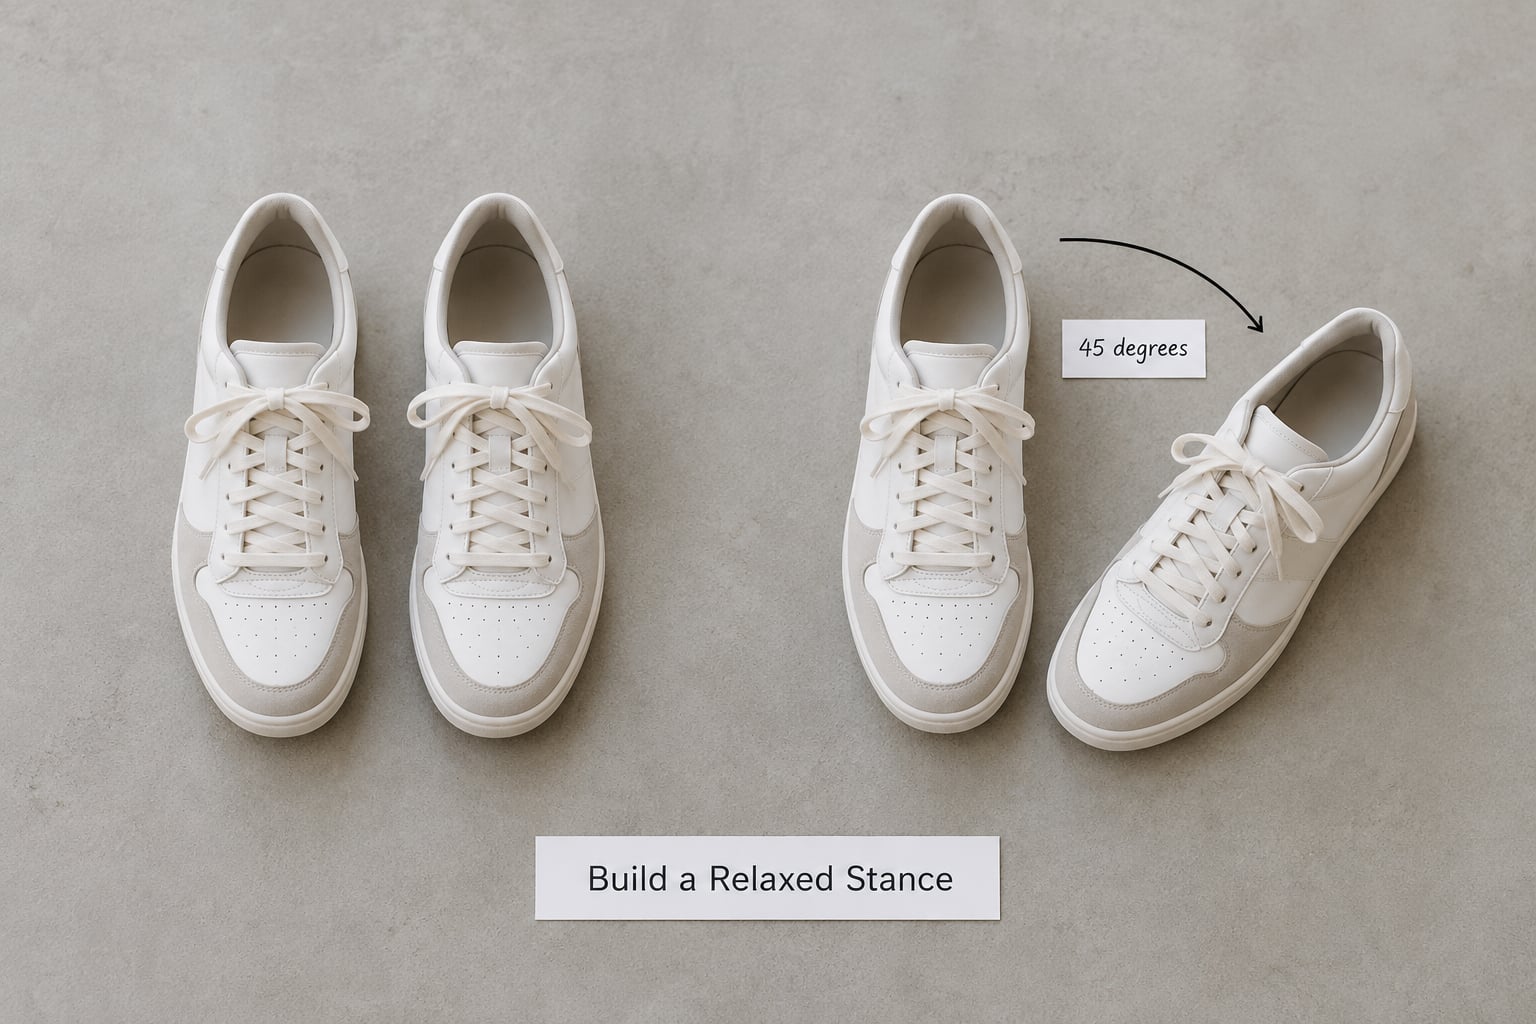
Ask for feet about shoulder-width apart, then turn the whole body roughly 45 degrees to the camera. One foot moves about half a step ahead of the other, so the front knee is soft and the hips follow the turn. Weight settles onto the back leg, which means the front leg is doing nothing at all except resting.
Check the toes. Turned inward, they make the stance look pigeon-toed and shorten the legs. Turned gently outward, they lengthen the whole figure and read as deliberate.
You can test the result in one second: squint at the frame until the subject goes blurry. A good stance still reads as a person. A bad one turns into a grey smudge of a head on two identical sticks.
How to tell it worked: the subject’s silhouette is asymmetrical and one hip is visibly higher than the other. If you can trace both shoulders at the same height and both feet at the same angle, the weight is still shared evenly.
3. Direct the Arms and Shoulders
With the feet placed, work upward. The instruction is short: shoulders down and back, chest open. Most men hunch, and the hunch reads instantly as guarded or tired.
To fix a hunch without saying “stop slouching”, ask him to press his shoulder blades together, or to reach both arms forward and let them drop. That movement opens the chest and it stays open. Then tell him to breathe out and let the shoulders settle down.
For the arms, work in this order. Nothing at the sides, then hands on hips, then one hand on the opposite bicep, then arms crossed loosely with a hand resting on the bicep rather than the forearm. Crossing the arms is not automatically defensive – it is defensive when the shoulders stay lifted and the hands grip their own arms. Relaxed, low and slightly angled away from the chin, it reads as ease.
Think about the elbows as a shape. A bent elbow pointing forward and down creates a small triangular gap under the arm, and that gap separates the arm from the torso so the silhouette stays readable.
How to tell it worked: the neck has visible length and the shoulders sit below the ears. If the trapezius muscles are bunching, the arms are too high.
4. Use Hands to Add Story
Where to put your hands when posing for a photo is the single most common failure in male portraits, and the fix is to give every hand an instruction. No instruction means hanging hands, and hanging hands are the first thing the viewer’s eye finds. If you get the hands right when you pose men for portraits, the rest of the frame usually falls into place around them.
There are four base positions, and they combine with almost any stance. Use this table to choose one quickly.
| Hand position | How to do it | What it signals | When to use it |
|---|---|---|---|
| Thumb in a pocket | Only the thumb hooks the pocket edge, fingers stay inside, visible thumb points downward | Casual, confident, unfussy | Outdoor sessions, street work, casual portraits |
| One hand on the hip | Palm on the hip, elbow out and slightly back, not flared straight out | Open, assured, a little formal | Outdoor, gym, fashion editorial |
| Clasped hands | Loosely together at waist height, or resting in front of the body below the belt line, never over it | Composed, businesslike | Corporate headshots, senior portraits, suits |
| Holding something | A mug, a book, a lapel, glasses, a jacket over the shoulder | Occupied, alive, tells a story | Environmental portraits, lifestyle, anything with a location worth showing |
| Arms at the sides | Standing straight on, arms hanging evenly, only for a tall vertical frame | Formal, neutral | Full-length vertical portraits where the body needs a clean line |
One rule explains most of the rest: the eye follows the fingers. A thumb pointing out, a splayed hand or a wrist bending at a sharp angle drags attention away from the face, so point the fingers somewhere harmless – down, toward a pocket, or along a seam.
The pose to never use is hands clasped low in front of the crotch, thumbs hooked over a belt. It is the classic groomsmen stance, it reads as defensive or self-protective, and the hands end up covering the one part of the body every man is most self-conscious about.
How to tell it worked: zoom in on the hands at 100 percent before you look at the face. If the fingers are bent at strange angles, the frame is not finished.
5. Create a Natural Expression
The reason men look awkward in photos is that they are performing being photographed. You cannot instruct someone out of that, so give the face something real to react to instead.
Give the eyes a job. Ask him to look at the camera for three seconds, then at a point just beside the lens, then back. Those small gaze shifts produce the in-between frames that look far more alive than a single held pose. A subject mid-blink or mid-word often gives you the frame you spent ten minutes trying to direct.
For an expression, do not say “smile”. Say something like: “Pretend I just told a joke and you are deciding whether to laugh.” Or: “Think about something that made you laugh properly this week.” A real smile narrows the eyes and lifts the cheeks unevenly, and a fake one does neither.
Get movement into the sequence too. Ask for a breath out before the shutter fires. Breath releases the jaw, drops the shoulders and softens the mouth all at once, and it is the cheapest expression tool you have.
Work in short bursts. Three or four frames, then a reset, then a change. A subject who has to hold a face for a minute stops being able to feel it, and you end up shooting the effort rather than the expression.
How to tell it worked: you get variety across the burst – soft, neutral, smiling – without anyone in the room changing what they are doing.
6. Choose the Right Camera Angle
Camera position does more to a male portrait than any prop. It changes proportions, it changes which part of the body leads, and it changes the mood before the viewer reads anything else.
Eye level is the safe, honest choice. It matches the viewer’s own height and keeps a wide range of builds looking like themselves. Use it for corporate headshots, LinkedIn profiles, and anything where the subject needs to look reliable.
A little below eye level reads as authority. The camera sits around upper-chest height and points slightly up, which strengthens the jaw and the shoulders. Go too low and you get a heroic or ominous look that is right for a fashion editorial and wrong for a dentist’s website.
Slightly above is useful for a fuller build. Shooting down a few degrees from a raised camera lengthens the torso and takes pressure off the waist. Used flat or steep, it turns a man into a person you are looking down on, so keep the shift subtle.
For focal length, 50mm shows the body in context and works well for environmental portraits, while 85mm compresses the shoulders and separates the subject from the background for headshots. Wider lenses close to the face exaggerate noses and hands, so move back and crop instead of moving in.
Framing choice follows the pose. A wide stance with a leaning leg wants a vertical frame, because the height needs somewhere to go. A subject against a wall with space to one side wants horizontal, because the negative space is doing the work.
How to tell it worked: compare a frame shot from the center line with one shot after a step to the side. If the center-line version looks flatter, stay off the center line for the rest of the session.
7. Use Props and Space
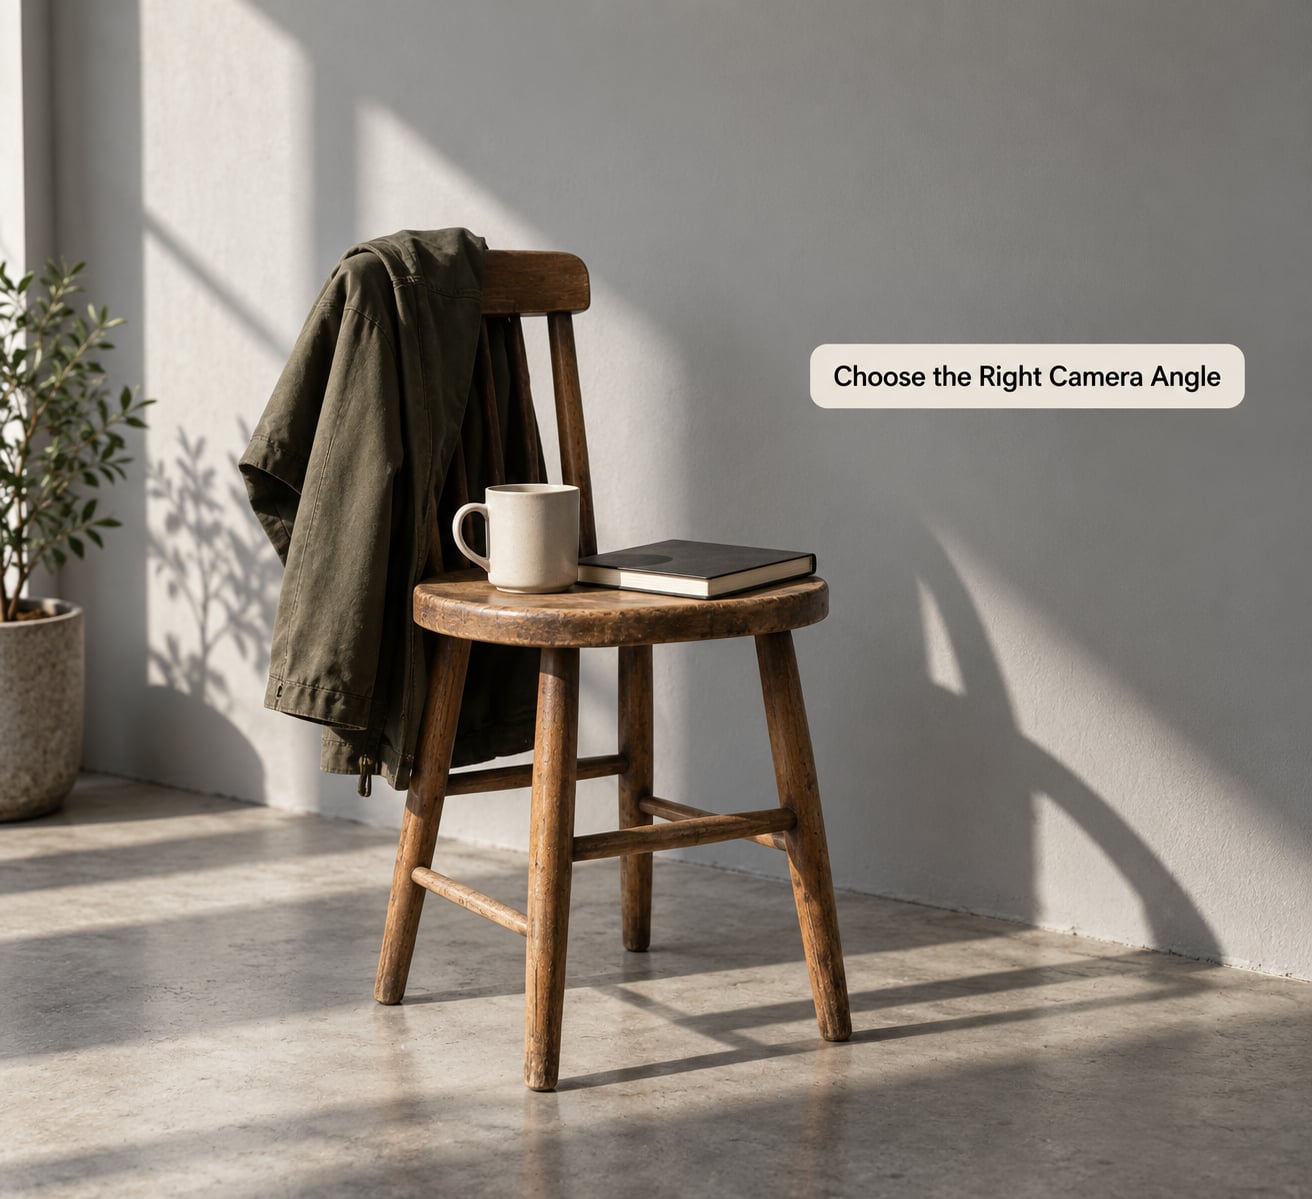
A prop earns its place by giving the hands something to do. A mug, a book, a pair of glasses, a jacket carried over one shoulder, a pair of tools, a coffee bag – the object should belong to the subject or the location, or it just looks like stage dressing.
Give it as a task, not an instruction. Instead of “hold this”, say “roll up your sleeves” or “hold this and take a sip”. The second version produces a genuine movement, and genuine movement produces faces worth keeping. Task-based direction fixes hand placement more reliably than any amount of verbal coaching, because the subject stops thinking about his hands entirely.
Space works the same way. A wall, a railing, a desk edge or a chair gives the body a place to put its weight, which is why leaning poses relax people so quickly. Move the subject so one shoulder or the back of the skull touches the wall rather than the whole body pressed flat, and angle the body away from it.
Watch for props that fight the frame. A bright object behind the shoulder, a logo across the chest, a chair leg that tangents with the arm. Remove it or move the subject, because no amount of good posing survives a distracting line running through the body.
Body type changes what works, and the adjustment is small. Tall subjects benefit from a lower camera and a slight bend in the front knee, which closes the gap between the camera and the face. Shorter subjects read better with the camera at or above eye level and the subject standing on a step. Broader builds look strongest with the body turned and one leg forward, and slim subjects gain with a foot forward and a prop adding weight to the lower half. Older men often need the chin cue more, not less, plus a chair for support and hands that are doing something.
How to tell it worked: the subject has stopped adjusting his own clothes and started forgetting the camera is there.
8. Check the Frame and Make Small Adjustments
Run the same short check before every frame, in the same order, until it takes about two seconds. The order matters more than the length: eyes, chin, shoulders, hands, clothing, hair, background, light. A fixed list is what keeps the same mistake from appearing in all forty frames of a session.
Here is the version I use. Eyes – is there a catch light and are they focused somewhere. Chin – forward and down, not tipped back. Shoulders – down, and not level with the horizon of the background. Hands – fingers visible, not clenching, not merged into the thigh. Then the frame itself: check the crop at the wrists, elbows and knees, because joints cut at the edge of a frame look like errors.
Look for tangencies. A forearm touching the hip, a wrist sitting exactly on the edge of a pocket, a chin landing on the collar of a shirt, or a background edge running straight through a shoulder. Any line that touches in two places creates a shape the eye reads as a mistake. Nudge the subject a few centimeters and the problem disappears.
Finally, check the negative space. A head near the top of a vertical frame with nothing above it looks trapped. Give the subject room to look into, in the direction of the gaze.
How to tell it worked: you made one adjustment at a time, and the frame improved with each. If you change five things between shots you will never know which one helped.
9. Capture Variations Instead of One Perfect Pose
Stop hunting for the single right frame. Set a good stance, then vary one variable at a time across a burst.
First the weight: swap which leg carries the body. Then the gaze: lens, then just beside the lens, then off into the distance. Then the hands: pocket, hip, clasped, prop. Then the camera: step a little closer, a little further, one degree higher. Then the head: bring the chin a fraction further forward, then tilt it slightly and turn the face a few degrees more into the light.
Movement beats stillness for a surprising number of setups. Ask him to walk slowly toward the camera, or to take three steps and turn back towards it. Shoot the whole approach and pick the frame where the shoulders are past the peak of the stride. A walking frame almost always beats a static pose, because the body is doing something real while the face stays loose.
Ten varied frames will give you two usable ones. Two usable ones are enough to choose from, and choosing is the photographer’s job, not the subject’s.
Common Mistakes
Almost every bad male portrait comes from one of a small number of recurring errors. Each has a symptom, a cause and a single fix, and once you can name the symptom on the back camera screen you can fix it in the next frame.
| What you see | Why it looks wrong | The single fix |
|---|---|---|
| Weight even on both feet, hips level | Symmetrical stance reads as rigid and square | Ask him to shift his weight onto the back foot |
| Feet turned inward | Pigeon toes shorten the legs and kill confidence | Rotate both feet outward about 15 degrees |
| Hunched shoulders, short neck | The chest closes and the frame loses size | Shoulder blades together, then a breath out |
| Chin tipped up | Creates a double chin and hides the jawline | Chin forward and down, lengthening the back of the neck |
| Arms folded tightly, hands gripping bicep | Reads as guarded rather than relaxed | Loosen and lower the arms, hand higher on the bicep |
| Hands clasped low in front of the body | Defensive read, and it covers the area the subject is most self-conscious about | Move the hands to a pocket, a hip or a prop |
| Thumb sticking out of the pocket | Thumb hook draws the eye away from the face | Rotate the visible thumb to point down |
| Wrist or knee cropped by the frame edge | Cut joints read as an accident | Reframe slightly or crop tighter to a clean line |
| Subject looking at the edge of the lens | No connection with the viewer | Bring the lens to eye level and ask for eye contact |
| Stiff face with a held smile | Smiling for a long time flattens the eyes | Short bursts, with a thought or a task between them |
| Two body parts touching the background line | Creates an accidental shape the eye reads as a mistake | Shift the subject a few centimeters |
| Everything held still in one pose | Held poses look held, and effort is visible | Ask for a small movement and shoot the sequence |
Two more that come up constantly. Demonstrating the pose yourself is usually a mistake – it makes the subject copy the shape of your body rather than understand the instruction, and a photographer’s demonstration lands awkwardly half the time. Explain the position in words, or adjust the subject yourself by moving their elbow an inch, which teaches the angle without the mime. And do not over-direct. Once a subject has been given seven instructions they stop being themselves and start being a collection of cues. Get the stance, the chin and the hands right, then let the rest go.
The honest limit of all this: posing changes presentation, not anatomy. A camera angle and good light handle a lot, but a subject who has spent twenty years hating his own reflection is not going to love the frame, and pretending otherwise wastes the session. Say what you did see, point at the frame you think works, and move on.
For men who are new to being photographed, the same advice helps from the other side of the camera. Practice the seven adjustments yourself in a mirror, learn roughly how to give direction so the two of you are not guessing, and remember that photogenic is a habit rather than a gift. Photographers shoot far more frames than subjects ever see, and the smile that reads as genuine is usually the one you were not trying to produce.
Frequently Asked Questions
How should men pose for portrait photos?
Stand with the weight on the back foot, turn the body about 45 degrees away from the camera, soften the front knee and point the toes slightly outward. Keep the shoulders down and back, the chest open, and the chin forward rather than up. Give the hands a job – a pocket, a hip, a prop or a chair back – and shoot from a step off center so the frame has depth. Hold the pose for three or four frames, then change one variable and shoot again.
Where to put your hands when posing for a photo?
Give every hand one of four base positions: a thumb hooked in a pocket with the visible thumb pointing down, one hand resting on the hip, hands clasped loosely at waist height, or a prop such as a mug, book, jacket or pair of glasses. Avoid the low clasp in front of the body, thumbs hooked over a belt, splayed fingers and tightly gripped arms, because the eye follows the fingers away from the face.
How to make a jawline look more defined in pictures?
Push the chin forward and down, not up, which lengthens the back of the neck and pulls the skin under the jaw taut. Keep the camera at or just below eye level, because shooting down from above makes a double chin more visible. Light the face from one side so the shadow under the jaw and along the cheek gives the outline an edge. Keep the lips slightly parted rather than pressed together, and shoot in short bursts as the head settles.
How to pose for a picture while sitting?
Start at the feet and keep the toes pointed, because a forgotten foot ruins an otherwise good seated frame. Sit slightly forward in the chair rather than back into it, angle both knees a few degrees off camera, and keep the front ankle under the knee rather than crossed over it. Rest the forearms on the thighs or let the hands meet loosely, and finish by angling the shoulders toward the camera so the body is not square to the lens.
How to be photogenic in pictures for men?
Photogenic is a set of small habits rather than a gift. Practice the seven adjustments – weight on the back foot, a 45 degree body turn, shoulders down, chin forward and down, hands busy, eyes focused, camera off the center line – until they run without thought. Most people look their best in the frame after a movement rather than in a held pose, so let the photographer shoot a short sequence instead of holding one face still. Ask for the frames that happen in between and trust the selection.
What are the 7 posing points?
The seven posing points for a male portrait are: weight on the back foot, feet turned about 45 degrees off the camera with toes gently outward, shoulders down and back with the chest open, chin pushed forward and down, hands given a task, eyes focused on a specific point, and the camera moved off the center line. Work through them in that order on every setup and most stiff-looking male portraits resolve without a single retouch.
Conclusion
Start with the feet. Ask your subject to shift his weight onto the back foot and turn about 45 degrees, and you will see the frame improve before you touch anything else.
From there, work upward: shoulders down and back, chin forward and down, hands given a task, eyes given somewhere to look. Ten minutes of that on every setup is the whole craft, and the rest is repeating it until the instructions stop sounding like instructions.
Then shoot variations rather than a single frame. Change the weight, the gaze, the hands and the camera position one at a time, and capture a short sequence each time. Nine out of ten of those frames will be forgettable, and the one you keep will be the frame you would never have thought to ask for. That is still the standard photographers are aiming at in 2026, and it is a habit rather than a gift.