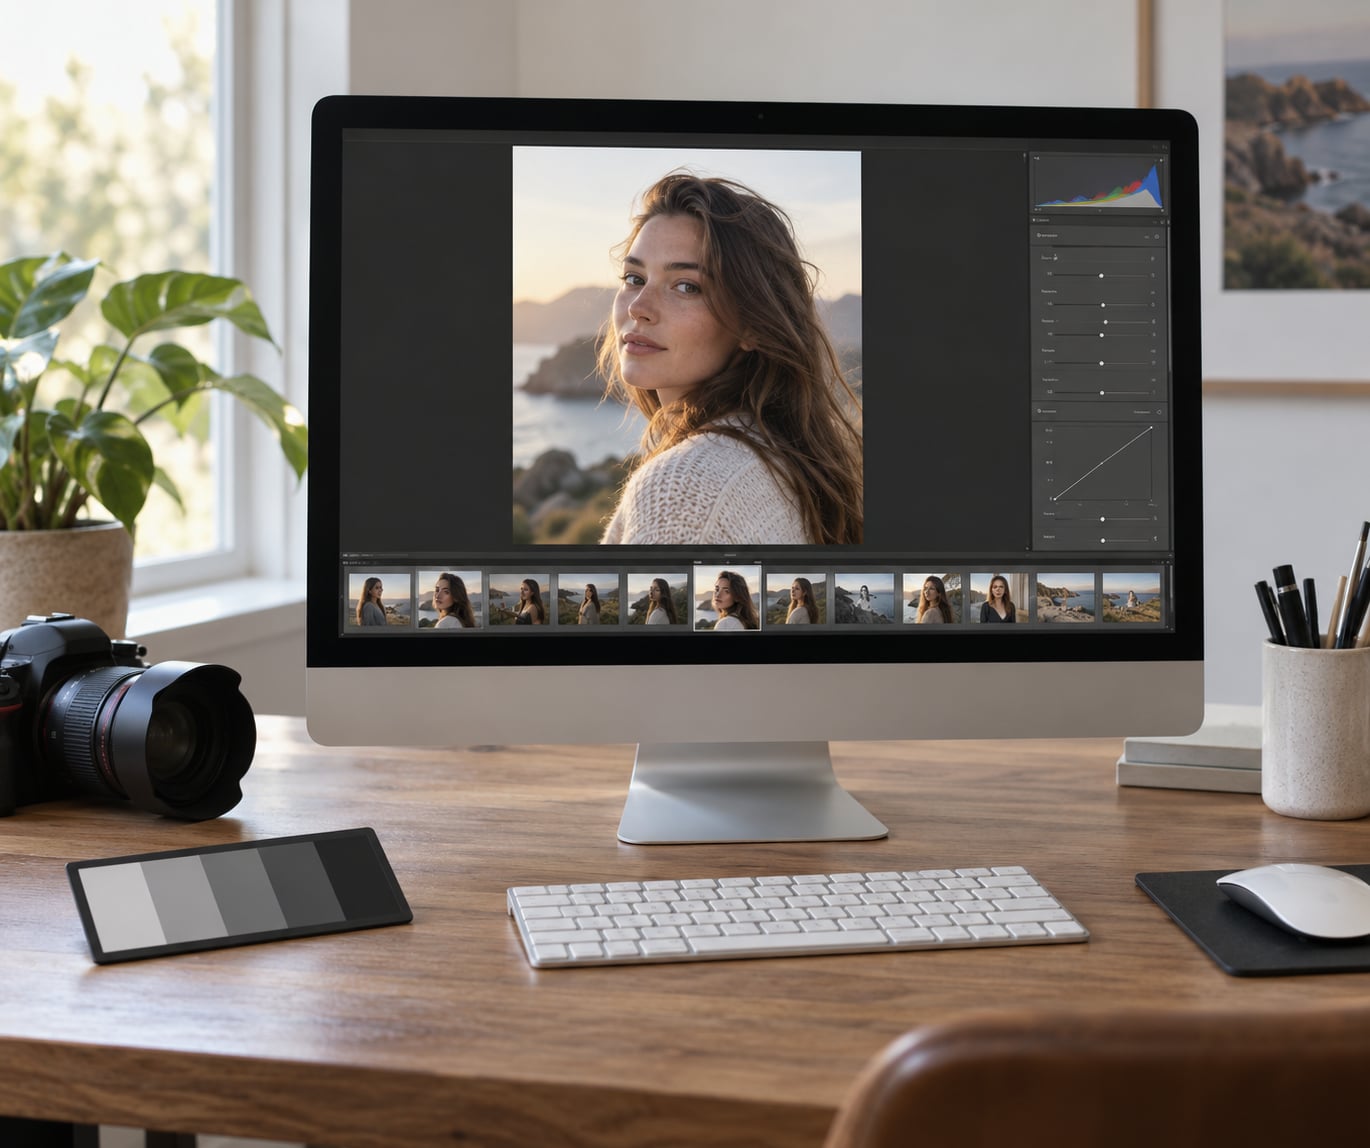
To edit skin tones in Lightroom, fix white balance first, then use the Color Mixer (called HSL in older versions) and the Point Color tool inside the Develop module, usually inside a subject mask. Skin lives mostly in the orange and red channels, so nudging hue, saturation and luminance there shifts skin without touching the rest of the frame.
- Set Temp and Tint in the Basic panel until skin looks neutral, not orange or green
- Use a gray card, color checker or known gray object as your reference
- Dial the Orange channel in the Color Mixer, in small moves of 5 to 10 points
- Mask the subject so a global slider never has to carry the whole correction
- Add color grading last, once skin already looks right
- Check the face at 100% zoom and on the histogram before exporting
Skin color is the first thing a viewer reads in a portrait, and a wrong one undercuts an otherwise solid edit. Most orange-looking skin is not a camera problem. It is a white balance problem that got pushed further than it needed to go.
Table of Contents
What You Need
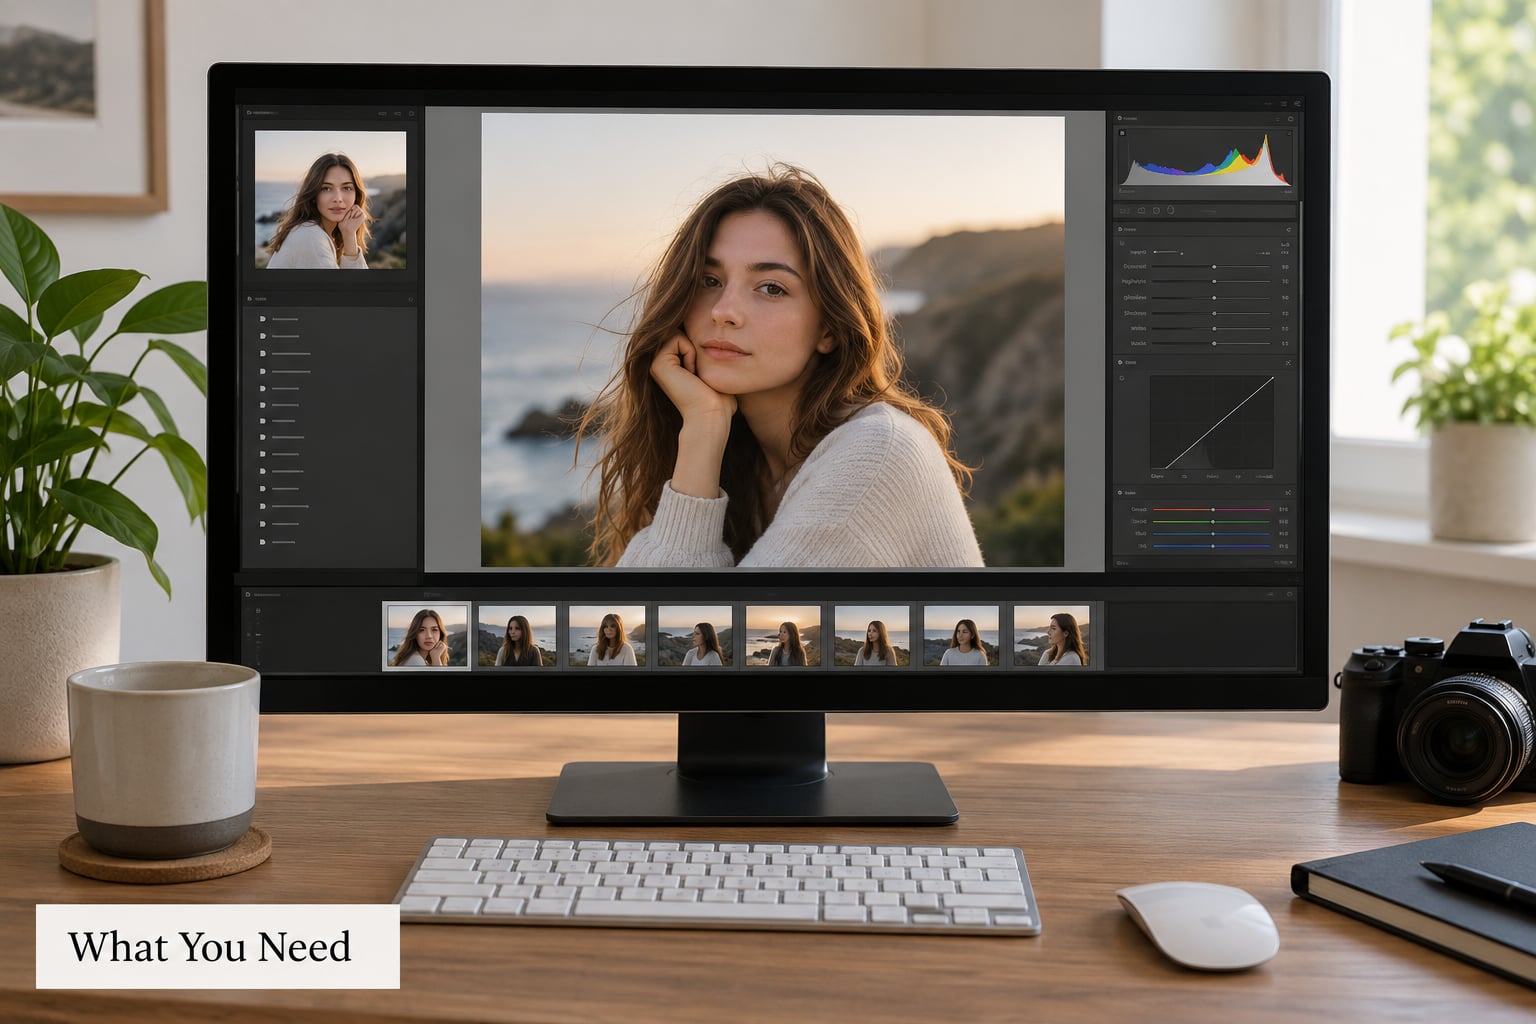
A single portrait in RAW, the Develop module, and a few minutes of uninterrupted time. Working on a RAW file matters here because a JPEG already has the camera’s white balance baked in, so you are correcting a guess instead of a choice.
Turn on the Histogram panel and the RGB parade. The histogram tells you when a channel is clipping, and the parade shows you which one. Both are in the Develop module panel menu on the right.
You also want one of these as a neutral reference: a gray card shot in the same light, a color checker, or an object in the frame you already know is gray. Concrete, white shirts and silver cars all work. Without a reference, correcting a color cast becomes guesswork.
Lastly, open the masking tools (the icon with the dotted circle, next to the histogram). Select People and the Adjustment Brush live there, along with Color Range Mask for when both fall short.
Step-by-Step: How to Edit Skin Tones in Lightroom
Work through these in order. Each step depends on the one before it, and skipping ahead is what produces the radioactive-orange look most people complain about.
1. Set the White Balance Before Changing Skin Color
Open the Basic panel and use the eyedropper on the gray card or your known neutral. That sets Temp and Tint for you in one click. Without a reference, click the eyedropper directly on the brightest patch of forehead and start pulling Temp away from yellow.
The Temp slider runs on a warm-to-cool axis. Toward yellow is warm, toward blue is cool. The Tint slider is the second axis, green to magenta; toward green is green, toward magenta is magenta.
Skin reads wrong when it gets pushed along one axis and nobody checks the other. Too warm shows as orange, too cool shows as gray-blue, too magenta reads as pink and sunburnt, and too green reads as ill. Judge white balance by the face and the neutrals together, because they can each lie a little.
2. Set Exposure, Contrast, and Overall Color
Color corrections made on a badly exposed image will not hold. Set Exposure so skin sits where you want it in brightness, then pull Highlights down if forehead and cheekbones are blowing out, and lift Shadows if the jaw and neck are going black.
Use Texture and Clarity here, lightly. Both affect micro-contrast, and both are common reasons skin looks gritty or plastic once the camera is close enough. A Texture value around 10 to 20 keeps pores visible without the crunchy look.
Whites and Blacks set the endpoints of your range. If you push them too far, the space where skin lives gets squeezed, and any color work afterward has less room to move.
3. Edit Skin Tones in Lightroom With the HSL Panel
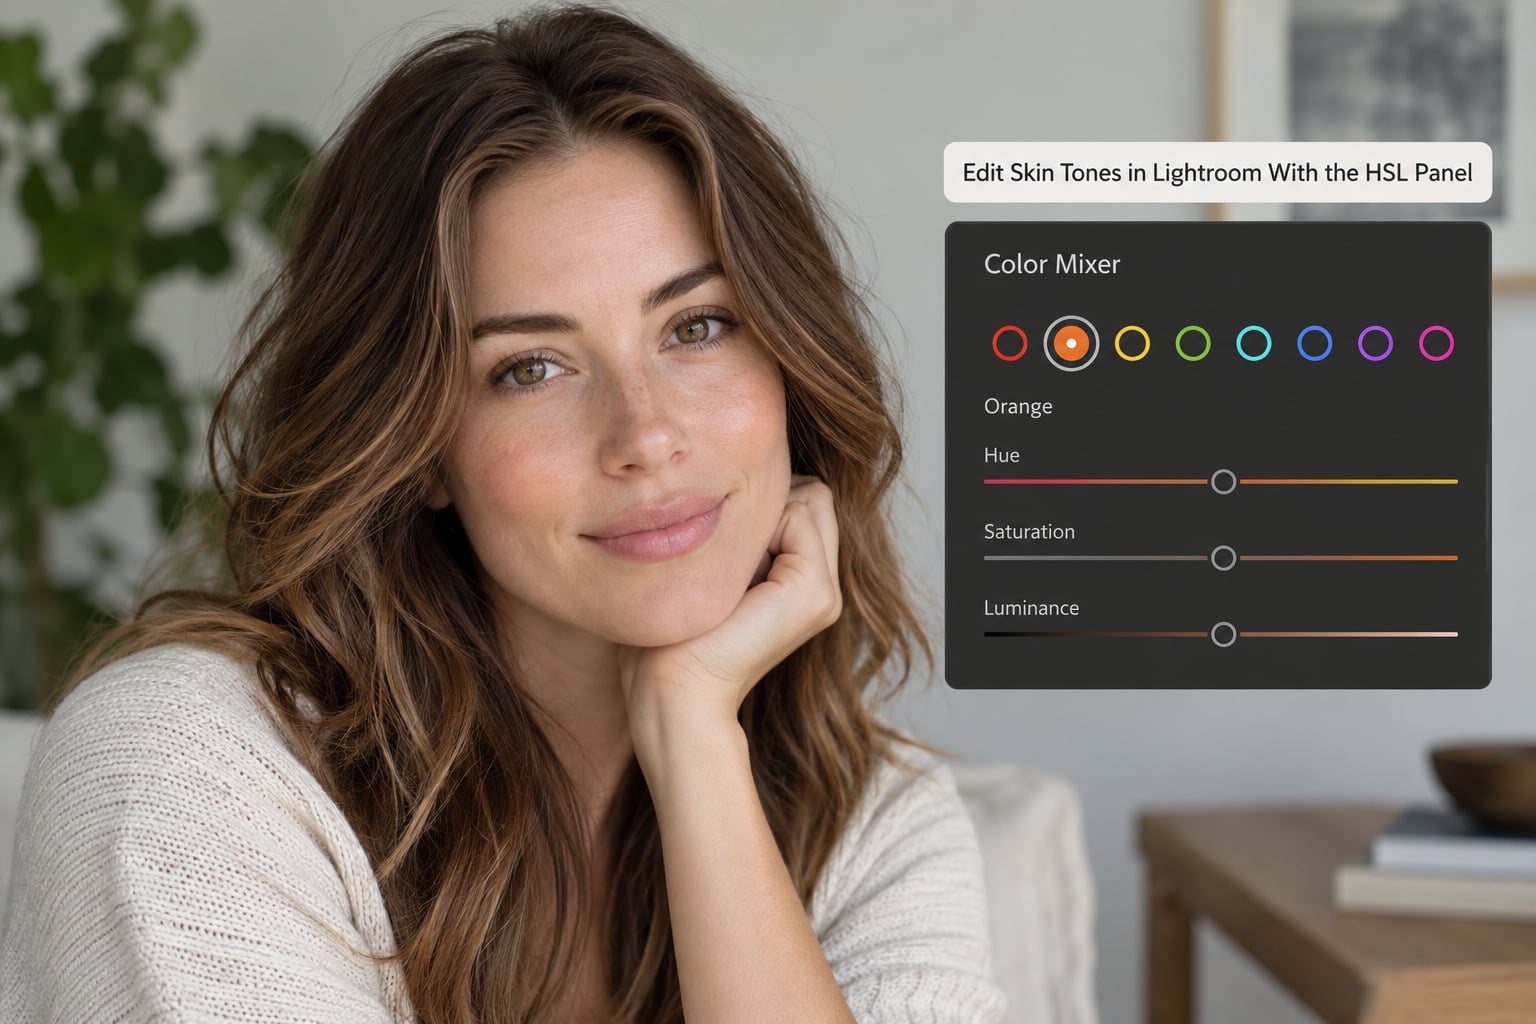
Open Color Mixer in the panel below the histogram. It was called HSL / Color in earlier Lightroom versions, and you will see that name if your catalog came from an older install. Same three sliders, same job.
Select the Orange row first, because that is where skin sits. Hue moves orange toward yellow on one end and toward red on the other, in 5 to 10 point steps while you watch. Saturation pulls the intensity, and Luminance controls brightness of that channel alone.
Too orange usually means Saturation down a few points plus Hue nudged slightly toward yellow. Reddening means Hue toward red or up on Red Saturation. Yellow skin often wants Orange Saturation down and Yellow Saturation down together, with Luminance slightly up.
For deep and olive skin tones, go lighter on saturation. Warm film-style profiles assume lighter complexions and routinely push darker skin into an orange that was never there. Lower Orange Saturation, leave Hue near neutral, and add brightness with Luminance or Exposure instead.
4. Refine Skin Color With the Color Grading Controls
Color grading changes skin tone, which is exactly why it goes after the corrections. A warm midtone or a teal-and-orange shadow will happily undo the work you just did on the Orange channel.
When you do grade, keep the midtones close to neutral and let the mood live in the shadows and highlights. Then go back to the Color Mixer and re-check Orange. That second check is the habit that separates a clean grade from one that fights itself.
5. Use a Mask or Adjustment Brush for Problem Areas
This is the step that keeps the rest of the photograph intact. Open the masking panel, choose Select People, and paint the mask across the person or people in the frame. The Auto Mask checkbox catches hair and shoulders you would brush around by hand.
Inside the mask, drop a small Temp and Tint adjustment to correct the face without touching the background, and add a point color adjustment if you are on a recent Lightroom version. Point Color lets you set a sample color from the skin itself and shift just that sample, which is more precise than dragging the Orange row globally.
With the Adjustment Brush, set a brush size a little larger than the face, take Feathering to roughly 50, and keep Flow low. A Flow around 20 to 30 lets you build in passes. High flow is how you get halos and visible edges around the jaw.
When Select People misses, fall back to a Color Range Mask. Sample the skin, narrow the range with the eyedropper controls, and refine with Shift-click to subtract hair or background. It takes longer, and it works on things subject detection struggles with, like a face in a crowd.
6. Check Skin Tones at Several Zoom Levels
Zoom to 100% on an eye. Skin that looked fine in the grid will show you uneven patches, stray color on the hairline, and any halo your mask left behind. Toggle Before and Back with the Y key, or Backslash for a side-by-side, and your eye catches changes far better than memory does.
Watch the histogram at the same time. A skin tone pushed into the far right of the red channel is about to clip, and clipped skin has no color left to adjust, only flat brightness.
Compare against another frame from the same sitting. If your corrected portrait and a neighbouring shot read as different complexions, the lighting moved between them and the correction needs to move with it.
Common Mistakes
Trusting Auto White Balance
The camera has no idea what color your subject’s skin should be, only what the light was. Auto assumes a neutral subject under neutral light, which is a rare combination indoors.
Adding Clarity or Dehaze to Make Skin Pop
Both boost local contrast, which reads as texture first and glow second. If you want more life in the face, a point adjustment on luminance or exposure inside the mask does it without the crunch.
Making Every Complexion the Same
Correcting every frame to one skin tone is how a wedding gallery ends up looking synthetic. Match skin to the light it was shot in, then match across frames from the same setup.
Editing Only One Area
Fixing the face and leaving the neck, chest and hands untouched creates a seam that viewers notice without being able to name. Extend the mask or brush down to match.
Pushing Orange Saturation Too Far
Orange is the easiest channel in the panel to overdo, because the change is so visible at small values. If skin is glowing, step Saturation back before touching anything else.
Ignoring Undertone and Lighting
Olive, deep and light skin all sit differently in the Orange channel, and a tungsten-lit or green-tinted window changes the starting point entirely. Some scenes have no clean fix. Bad venue light at a reception is a lighting problem, not a slider problem, and no panel in the Develop module changes that.
Tips for Natural Skin-Tone Edits
- Keep adjustment values small and write them down. Most corrections land between 5 and 15 points.
- Use the masking panel’s Mask feathering and refine edges so the subject blend stays invisible
- Lift Orange and Yellow Luminance instead of raising Exposure when skin looks dull rather than dark
- Save your finished Temp, Tint and Color Mixer settings as a preset, then dial the preset back with Amount so it starts at 60 instead of 100
- Copy settings across frames from the same shoot with Ctrl or Cmd plus C and plus V to keep a gallery consistent
- Export in the same color space you calibrated with, or the correction you carefully made shifts on the way out
- Zoom into hair, teeth and lips once before exporting, since masking errors show up there first
Frequently Asked Questions
How do I edit the skin tone on a photo?
Correct white balance first using Temp and Tint, with a gray card or known neutral as your reference. Then open the Color Mixer, select the Orange channel and adjust hue, saturation and luminance in small steps. Mask the subject so the correction stays on skin and the background keeps its own color. Finish by checking the face at full zoom and on the histogram.
How do I get creamy skin tones in Lightroom?
Start from corrected skin, then raise Orange and Yellow Luminance by a few points rather than adding Clarity. Keep the highlight end soft by pulling Highlights down slightly, and use a gentle S-curve on the Tone curve. Creamy means low contrast with preserved texture, so avoid pushing Orange Saturation up, which is what makes skin look tanned instead of soft.
What are some good skin tone presets for Lightroom?
A preset can only average skin, so expect to correct the face afterward in almost every frame. Presets help most when they set a consistent baseline across a whole gallery shot under one lighting setup. Presets built for light skin often oversaturate deep and olive complexions, and warm Kodak-style profiles are the usual culprit. Set the Amount slider below 100 so you can adjust rather than restart.
Is there a skin smoothing tool in Lightroom?
Lightroom has a Texture slider in the Basic panel, which reduces or increases micro-contrast and can take the edge off minor blemishes. That is the limit of it. Anything beyond that, like removing spots, evening out texture or reshaping features, is retouching work that belongs in Photoshop with dodge and burn, spot healing or frequency separation. Lightroom is for the color, not the surface.
Why does my skin look orange in Lightroom?
Usually the white balance is too warm, often because a tungsten or warm LED source was metered as neutral. Confirm with a gray card if you have one. If white balance is right and skin is still orange, drop Orange Saturation in the Color Mixer by 5 to 10 points and move Orange Hue slightly toward yellow. Warm film-style presets are the other common cause.
Should I edit skin tones before or after color grading?
Before, every time. Color grading moves skin as much as anything else in the image, so grading first means your careful Orange channel work gets overwritten. Get white balance and skin color right, grade for mood in the shadows and highlights, then return to the Color Mixer and re-check Orange one more time before exporting.
Conclusion
Start with the white balance, not the Orange channel. Use Temp and Tint against a neutral reference until skin looks believable, set exposure so the face sits where you want it, then work the Color Mixer in 5 to 10 point moves.
Mask the subject so the correction stays on skin, add color grading only after skin looks right, and zoom in on an eye before you export. That sequence, repeated across a shoot, is what keeps a gallery looking like one evening rather than one long correction session.