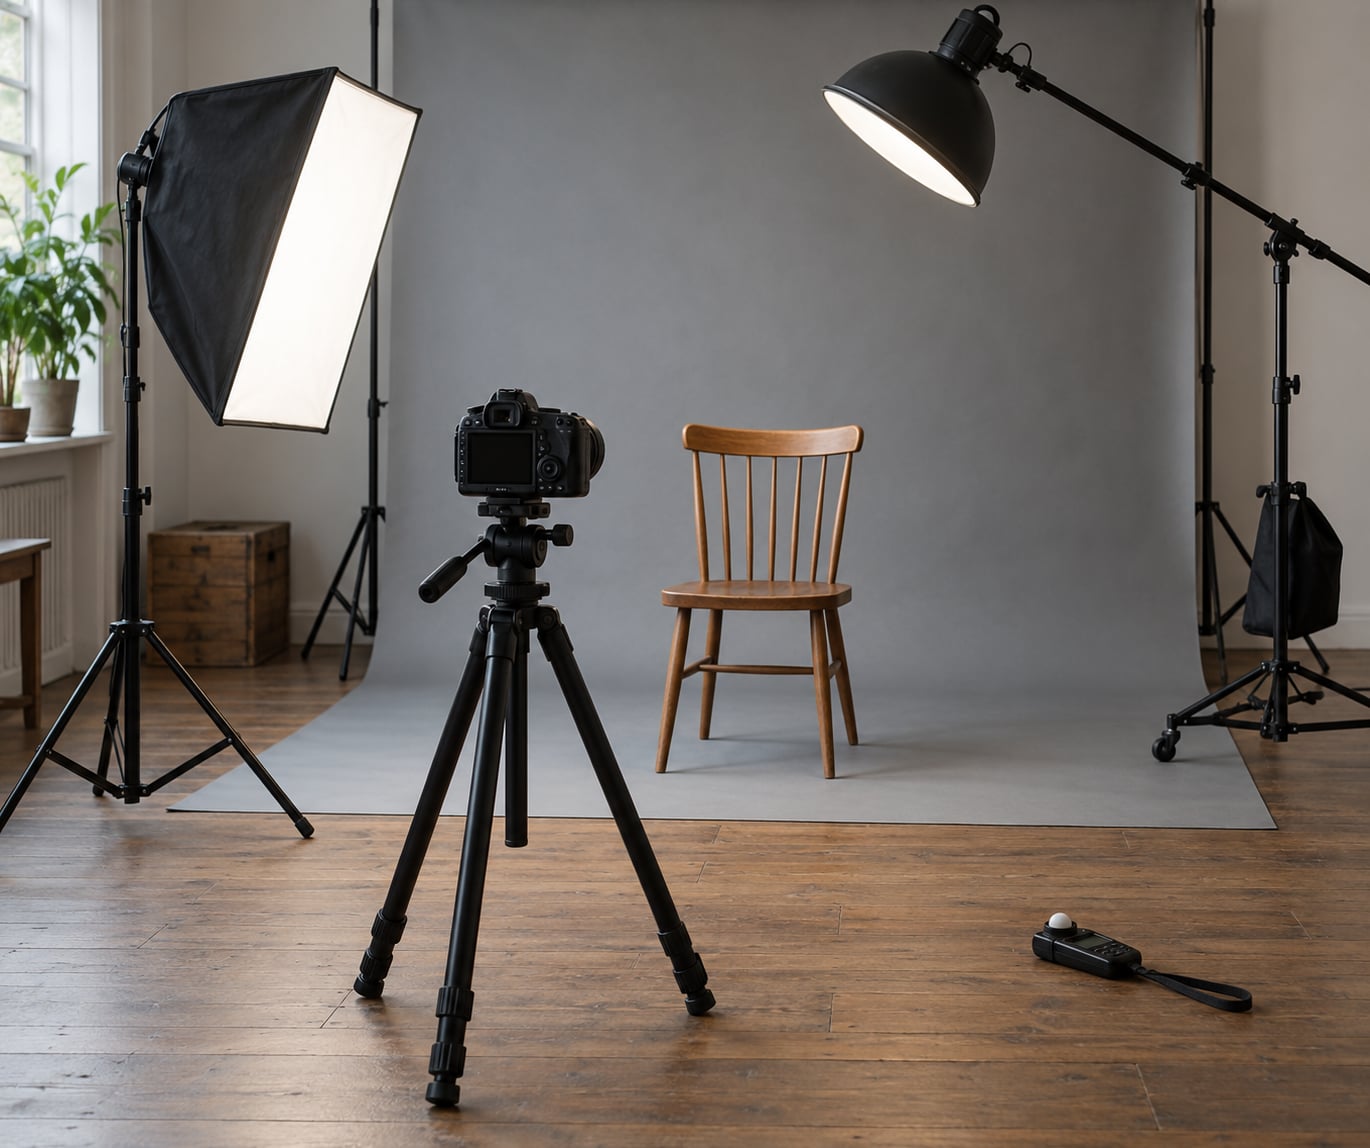
A two light portrait setup uses two sources: a key light placed about 45 degrees to one side of your subject and slightly above eye level, and a second light that either softens the key’s shadows, adds a bright edge behind the subject, or lights the backdrop. The whole thing can be built and dialled in about fifteen minutes.
The reason the second light matters is simple. One light forces you to choose between hiding every shadow, which looks flat, or living with shadows that fall badly across the face. A second light lets you keep the shaping and still control how dark those shadows stay. Placement, not gear, is what separates a good portrait from a bad one.
This guide covers the exact positions, angles and starting settings, plus what to fix when the second light makes things worse. If you have never used more than one light before, read the first section on gear, then work straight down the steps.
Table of Contents
What You Need
Two lights, two stands, a way to fire both at once, and something to shape or soften each one. That is the whole list, and everything on it has a job you can name.
- Two light sources. Two strobes with manual power control are the most repeatable option. Two continuous LED panels work too, and mixing one strobe with one LED is common and fine as long as you match colour.
- Two stands. A boom arm for the key lets you place it high without a ladder. Keep the fill on a straight stand so it stays low and close to the camera axis.
- A trigger or remote. One radio trigger fires both lights from the camera, so exposure is one dial instead of two. Without one you are walking back and forth to the lights.
- Two modifiers. A softbox or umbrella on the key controls how soft the shadows are. The second light often needs a grid or a flag instead of a big diffuser, because spill is the usual culprit.
- A light meter. Optional but transformative. It lets you set the key, then set the fill a specific number of stops below instead of guessing with test shots.
- A reflector, bounce card or white foam board. The cheapest second light there is, and often the one beginners should buy first.
| Setup level | What it is | Who it suits |
|---|---|---|
| Simplest | One light plus a white reflector held or clipped near the camera | Anyone on a budget or in a room too small for two stands |
| Standard | Two lights, softbox key at 45 degrees, fill opposite, both on manual | Portrait and headshot work where you shoot often |
| On location | Two speedlites on stands with a trigger, or one off-camera flash | Weddings, families and travel portraits where you carry everything in a bag |
Worth saying plainly: a light point does not have to be a flash. A white wall, a V-flat, a reflector, or the sun through a window all count. Beginners who buy a second modifier before a second light usually get better results than those who do the reverse.
Step-by-Step: How to Set Up a Two Light Portrait Setup
How to Set Up a Two Light Portrait Setup: Choose the Lighting Pattern
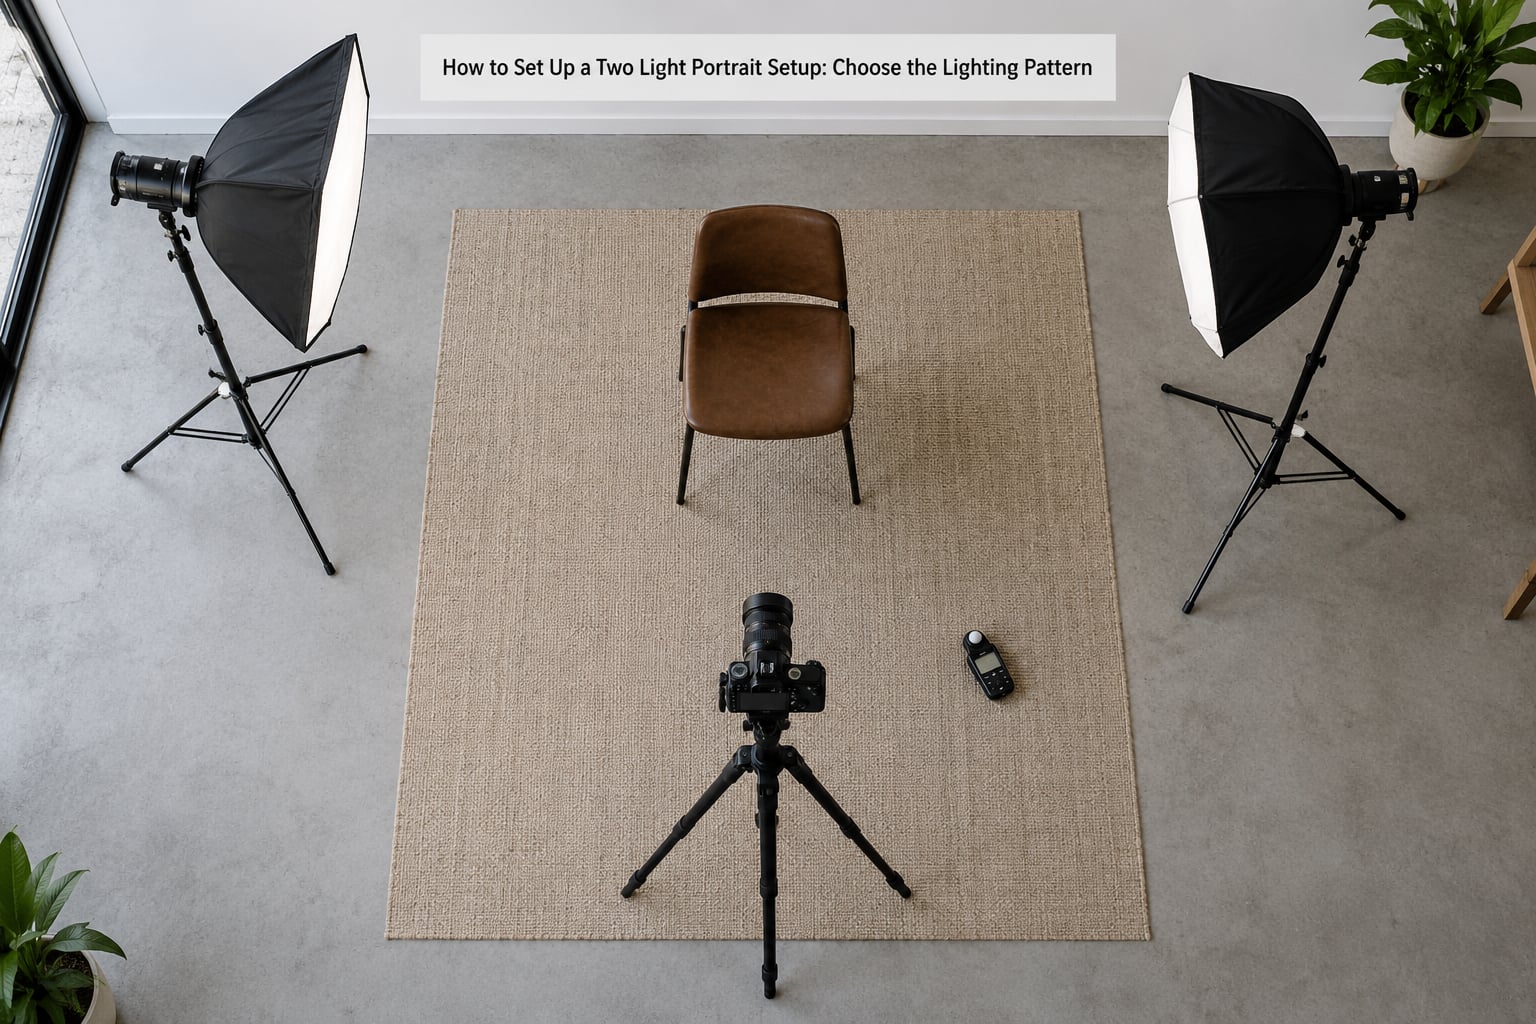
The key light’s position alone decides the shape of the shadow on the face, and the shadow is what tells you which pattern you are shooting. Move the key straight out to the side and the shadow moves under the nose. Push it behind the subject and the shadow drops onto the cheek. Nothing else about the setup matters much until this is right.
Here are the four patterns worth knowing, named for where the shadow from the key lands.
| Pattern | Key light position | Second light position and job | Look it creates | Best for |
|---|---|---|---|---|
| Short lighting | About 45 degrees to one side, above eye level, aimed at the side of the face turned away from camera | Fill opposite the key, 1 to 2 stops down | Dramatic, slimming | Dramatic headshots, textured skin |
| Broad lighting | About 45 degrees to the side of the face turned toward camera | Fill opposite, 1 to 2 stops down | Soft, open, forgiving | Beginners, round faces, groups |
| Loop lighting | 45 degrees but raised so the nose shadow loops down and just touches the cheek shadow | Fill opposite, 1 stop down | Classic, natural depth | Most portraits you will shoot |
| Rembrandt lighting | About 45 degrees up and slightly behind the subject’s line, higher than loop | Fill opposite, 2 stops down or off entirely | Moody, sculptural | Editorial, low-key portraits |
These four plus two variations, key plus rim and clamshell, cover almost every two-light portrait you will ever need. Pick one before you move anything.
Create a Background That Works
Pick the background first, because it changes where your second light can go. A plain seamless paper or a painted wall gives you a clean edge to separate against; a busy room gives you nowhere to hide and needs a much brighter rim or a shallower depth of field.
Decide how bright you want it, then meter it separately from the face. Most portraits sit a bit darker than the subject so the eyes win, somewhere around one stop under the brightest skin highlight. Set that with a background light or by pushing the second light off the backdrop and letting ambient light do the work.
The step beginners miss is spill. When the fill light sits behind the subject and points forward, its back edge often throws a hotspot on the backdrop right behind the head. Aim the fill slightly across the subject, not straight through, and put a flag or grid on it. That one adjustment fixes more bad frames than anything else in this guide.
Position the Key Light
Start with the key about 45 degrees to one side of the camera and roughly 45 degrees horizontally from the subject’s face. Set its height just above eye level, tilted down maybe 10 to 20 degrees. That is the loop position and it is the right default for almost everyone.
Height changes the face more than distance does. Above eye level, the shadow under the brow deepens and the subject looks authoritative. At eye level you get even, open light. Below eye level you get a classic nose shadow that most beginners dislike and most pros use.
For distance, start around 3 to 4 feet from the subject with the key. Doubling the distance quarters the light, so falloff becomes obvious past about 6 feet with a small setup. Closer means faster recycle and softer falloff across the face, which is why headshot shooters work tight.
Feathering matters more than people expect. Turn the key so it points across the subject rather than straight at them, aiming the centre of the beam past the far edge of the face. The shadow edge lands in a different place and the falloff down the face becomes gradual. This is the single biggest difference between amateur and working portrait lighting.
Position the Fill Light
Put the fill on the opposite side from the key, near the camera axis and lower than the key, usually chest height. It should point at the same face and do exactly one job: lift the shadows the key created.
Start one stop below the key and stop there. Two stops down is still natural. Three to four stops down gives you a pronounced shadow side, which is a deliberate look, not a compromise.
Meter the ratio rather than guessing. Expose the key side of the face, then expose the fill side with the same meter and settings. One stop between them is a 2:1 ratio. Two stops is 4:1. Three or more is where portraits start to look sculpted and serious.
| Ratio (key to fill) | Stops apart | What you keep | Mood |
|---|---|---|---|
| 1:1 | 0 | Every bit of shadow detail | Flat, commercial, safest for groups |
| 2:1 | 1 | Full shadow detail with visible shaping | Natural, everyday portraiture |
| 4:1 | 2 | About half the shadow detail | Noticeable dimension |
| 8:1 and beyond | 3 or more | Only the highlights and a hint of shadow | Dramatic, low-key, editorial |
Sometimes a reflector beats a second light. A white or silver reflector on the shadow side does the same job for free, and a silver one comes closer to a 2:1 or 3:1 ratio than white. To go the other way, put a black V-flat just outside frame on the fill side. That negative fill adds contrast to a face already getting too much from the room.
When you already own two lights and still want more control, flag the fill so it lights only the face. A fill that spills on the background is not a fill, it is a second background light.
Set Camera Controls and White Balance
Put the camera in manual and shoot in raw. That is the only way the exact same settings repeat for the next person through the door, which matters more in a two-light setup than in any other kind of shoot.
Start at ISO 200, 1/200 second, f/4 with the lights on manual power. Adjust ISO and aperture for your room, not the other way around. Never let the aperture become a lighting control, because the depth of field changes and your soft background quietly gets harder.
Flash duration is set by your shutter speed, and it is the one exposure parameter the lights do not control. Above your camera’s native sync speed, most flashes switch to high-speed sync, which cuts their effective output and makes the meter reading lie to you. Stay at or below sync speed for clean, bright results.
For white balance, set it to the colour temperature of your lights rather than leaving it on auto. Two different lights at two different Kelvin values will shift colour across the face as your subject moves, and no edit fixes that cleanly.
| Setup | ISO | Aperture | Shutter | Key power | Second light | Key distance |
|---|---|---|---|---|---|---|
| Headshot, loop pattern | 200 | f/4 | 1/200 | Quarter to half | 1 to 2 stops under key | 3 to 4 ft |
| Half-body portrait | 200 | f/5.6 | 1/200 | Half | 2 stops under key | 4 to 5 ft |
| Low-key Rembrandt | 400 | f/2.8 | 1/200 | Half to full | Off, or flagged kicker only | 3 ft, feathered |
| Family or group of three | 400 | f/5.6 | 1/200 | Full | Matched to key | 6 ft or more |
These are starting points, not rules. Take one test shot, look at the histogram, and change one variable at a time.
Meter, Test, and Fine-Tune the Lights
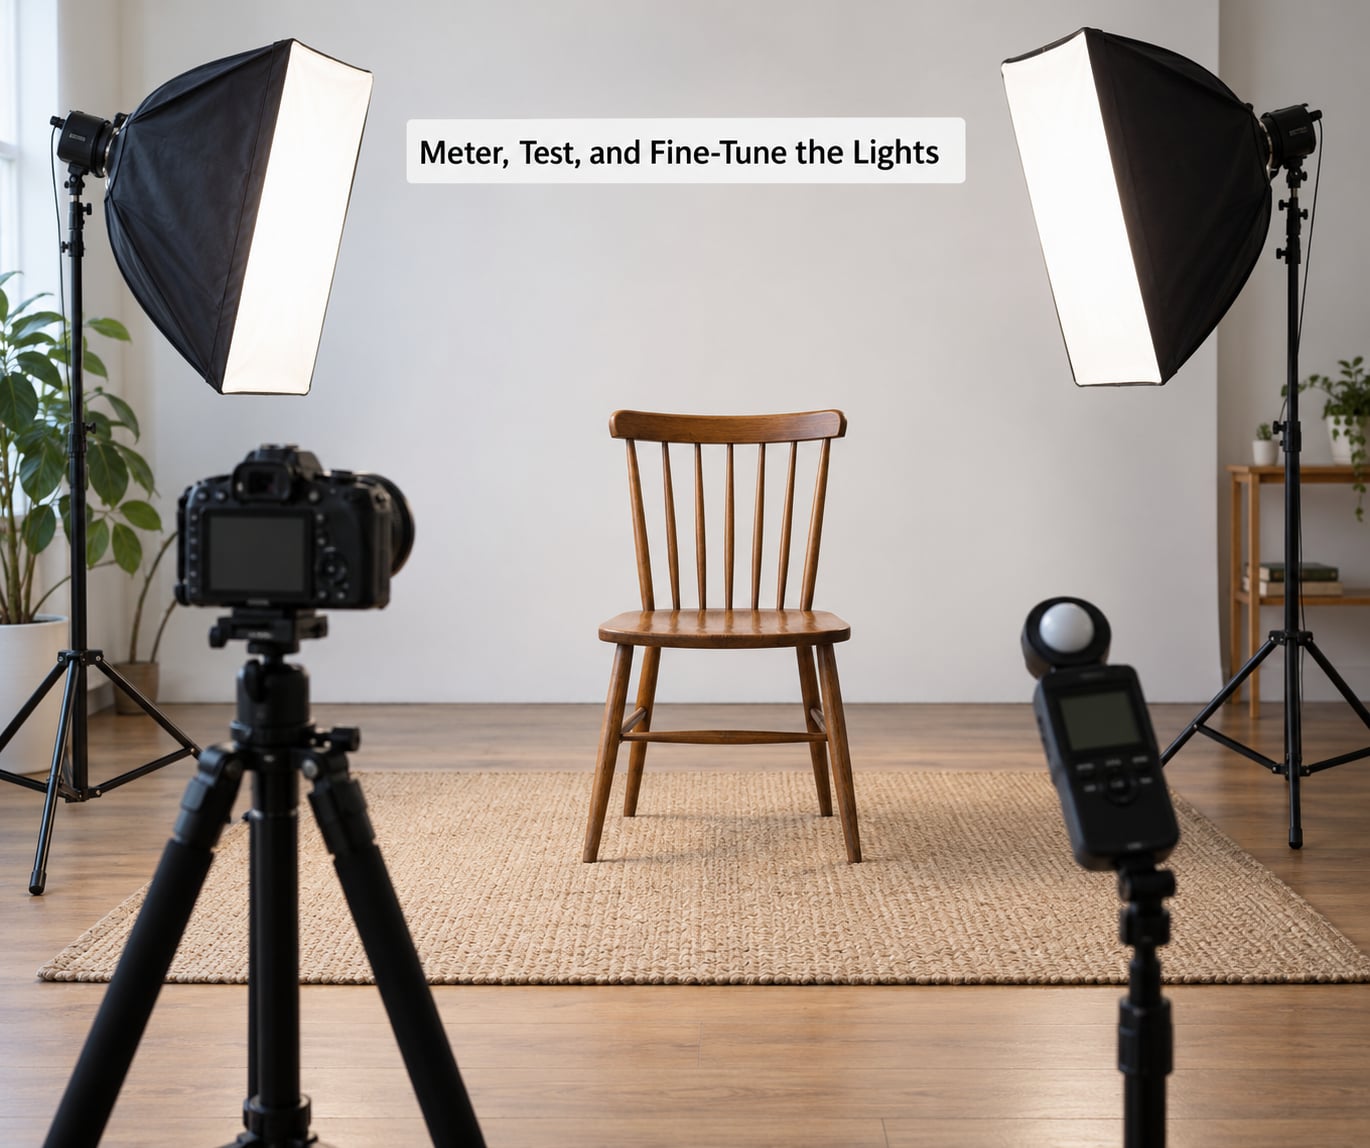
Meter the brightest part of the face that matters, usually the cheek on the key side, and set the exposure so it lands just under clipping. Then meter the fill side with no changes to your settings and note how many stops back it sits. That number is your ratio, and it should be a number rather than a feeling.
Check three things on every test frame. Highlights on the cheek and forehead should show detail, not white. The shadow under the jaw should still have texture at this ratio. And the background should sit at least a stop darker than the brightest skin, or the subject stops popping off it.
Fine-tuning follows a simple order. Change angle first, because position drives falloff and shadow placement. Change power second. Change distance last, since it changes both brightness and softness at once.
If the light you own is fixed power and not adjustable, distance becomes your ratio control instead. That is a real limitation: the person who asks about a 400 watt light and a 300 watt light is right that those two units cannot be matched evenly at the same distance. Put the brighter one slightly further back until the readings match, and treat that as a solved problem rather than a broken kit.
Common Mistakes
Nearly every bad two-light frame comes down to one of six things, and each has a quick fix.
| Symptom | Cause | Fix |
|---|---|---|
| Background has a bright blob behind the head | Fill or kicker spilling past the subject | Angle the light across the subject or add a grid or flag |
| Face looks flat and lifeless | Fill set to equal the key, or ambient light filling everything | Drop the fill 1 to 2 stops and turn off room lights |
| One side of a group is much brighter | Light too close to the group, so falloff splits them | Move both lights back and raise the power to match |
| Shadows land in the wrong place | Pattern never chosen, lights placed by feel | Pick loop or broad first, then adjust from that reference |
| Skin tones shift as the subject moves | Two lights at different colour temperatures | Match Kelvin values or gel the cooler light with CTO |
| Harsh edges and hot spots in a small room | Lights forced close to the subject by space | Bounce off the ceiling or use a larger modifier further back |
The small-room case deserves one more line because it comes up constantly. When you cannot get the key further than 2 feet away, stop pushing it back and bounce it off the ceiling instead. You get a bigger apparent source, gentler falloff across the face, and a softer shadow than any modifier alone can produce in a tight space.
Quick Tips for Better Portraits
- Watch the catchlights. A single catchlight high in the eye reads as confident and open; two catchlights from both lights read flat. Flag the fill so it stops adding a second one.
- Control glasses glare by rotating the subject and key slightly rather than by moving the light straight down. Straight down is the same reflection every time.
- Use feathering on the key and keep the fill near the axis. That combination gives you depth without a hotspot or a double catchlight.
- Mark your floor. Put gaffer tape down for the key stand, the fill stand and the subject mark, and you can rebuild the same lighting in a different room in under five minutes.
- Add a rim instead of more fill when a subject looks pasted onto the background. A bare light behind the subject at 45 degrees, aimed at the shoulders and hair, separates faster than any amount of front fill.
- Stop at one light more often than you think. If the frame already works, the second light is decoration, and it is very easy to make a good portrait worse by adding one.
Frequently Asked Questions
Can I use one light for a two light portrait setup?
Yes, and for many portraits it is the better choice. A white or silver reflector held near the camera axis fills the key’s shadows for free, and a white wall or V-flat works the same way on a bigger scale. A reflector gives roughly a 2:1 ratio, a silver one closer to 3:1. The setup counts as two lights as long as the second source is deliberate and measured.
Where should I place the key and fill lights for a portrait?
Put the key about 45 degrees to one side of the subject and just above eye level, and put the fill on the opposite side near the camera axis at chest height. Aim the key across the subject rather than straight at them so the shadow edge lands where you want it. Keep the fill lower than the key and flag it so it lights the face, not the backdrop.
Should the fill light be exactly half the power of the key light?
Half power is a rough starting point, not a rule, because power and distance both change how much light arrives at the face. Two strobes of different wattage cannot be matched evenly at equal distances, so set the ratio with distance as well as power. Meter the key side and the fill side at the same settings and work from the number of stops between them: one stop is natural, two is noticeably moody.
What shutter speed should I use with studio flashes for portraits?
Stay at or below your camera’s native sync speed, typically 1/200 second or 1/250 second. Flash duration equals shutter speed, so the shutter controls how sharp a moving subject is, not how bright the frame is. Above sync speed the flash switches to high-speed sync, which cuts output and makes meter readings unreliable. Raise ISO or open the aperture instead of pushing the shutter faster.
How can I use two lights in a small portrait studio?
Bounce before you buy anything bigger. Angle the key up into the ceiling and let the light come back down, which enlarges the apparent source and softens falloff across the face. Put the fill close to the camera axis so spill misses the wall, and use the second light as a rim behind the subject rather than another front source. If your lights only reach two feet, distance is no longer a usable ratio control.
Start With One Key Light and Measure the Fill
If you only do one thing from this guide, place the key at 45 degrees just above eye level, get the exposure right with a meter, and stop. Look at the frame before adding anything.
Then add the second light with a number in mind rather than a guess. Measure the key side, measure the other side, and decide how many stops apart you actually want them to be. Write those positions down on the floor with tape and the whole two light portrait setup becomes repeatable instead of something you rebuild by feel every session.
More lights is not better. Two lights done with consistent placement will beat four lights placed on instinct, every time.