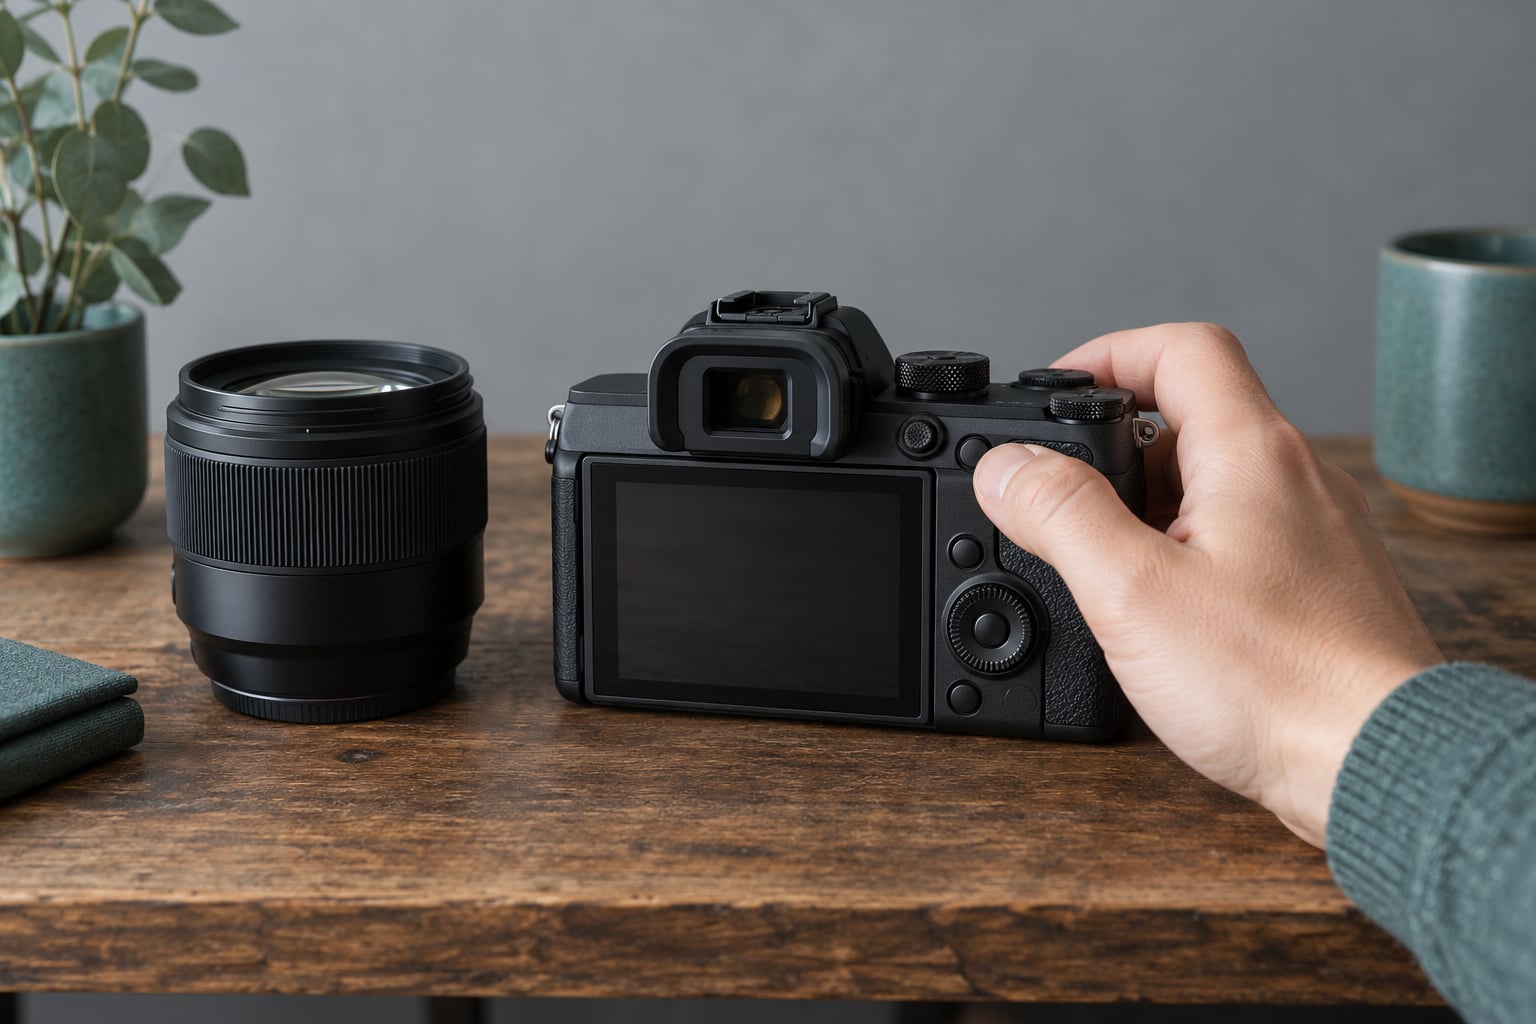
Back button focus moves autofocus off the shutter button and onto a rear button, usually AF-ON or AE-L/AF-L, so your thumb starts focusing while the shutter only meters and fires. That one change is what lets you place focus on the subject, release the button, and recompose without the camera snapping back to a different distance at the moment you press the shutter. It takes about ten minutes to set up and a couple of days of practice before your hands stop tripping over the old habit.
The real win shows up in portraits. Subjects breathe, lean and blink between the moment you focus and the moment you press the shutter, and a half-press on the shutter button can quietly drag focus off the near eye in that gap. A rear button gives you a deliberate focus action you control.
It is worth a short practice routine rather than a single afternoon, because the setup is one-time but the retraining is a week. Shoot one subject for five minutes each day, focus on the near eye, recompose, fire, and check the result at full size. The awkward part lasts a day or two for most people, then it feels like the camera finally does what you meant.
Table of Contents
- What You Need to Use Back Button Focus
- How to Use Back Button Focus Step by Step
- Common Mistakes When Using Back Button Focus
- Frequently Asked Questions
- Can I use back button focus with any camera?
- What does the AF-ON button do on a camera?
- Should I use single-point AF or subject tracking with back button focus?
- Does back button focus work with eye detection?
- Is back button focus useful for video?
- Should I use back button focus for fast-moving portraits?
- Conclusion
What You Need to Use Back Button Focus
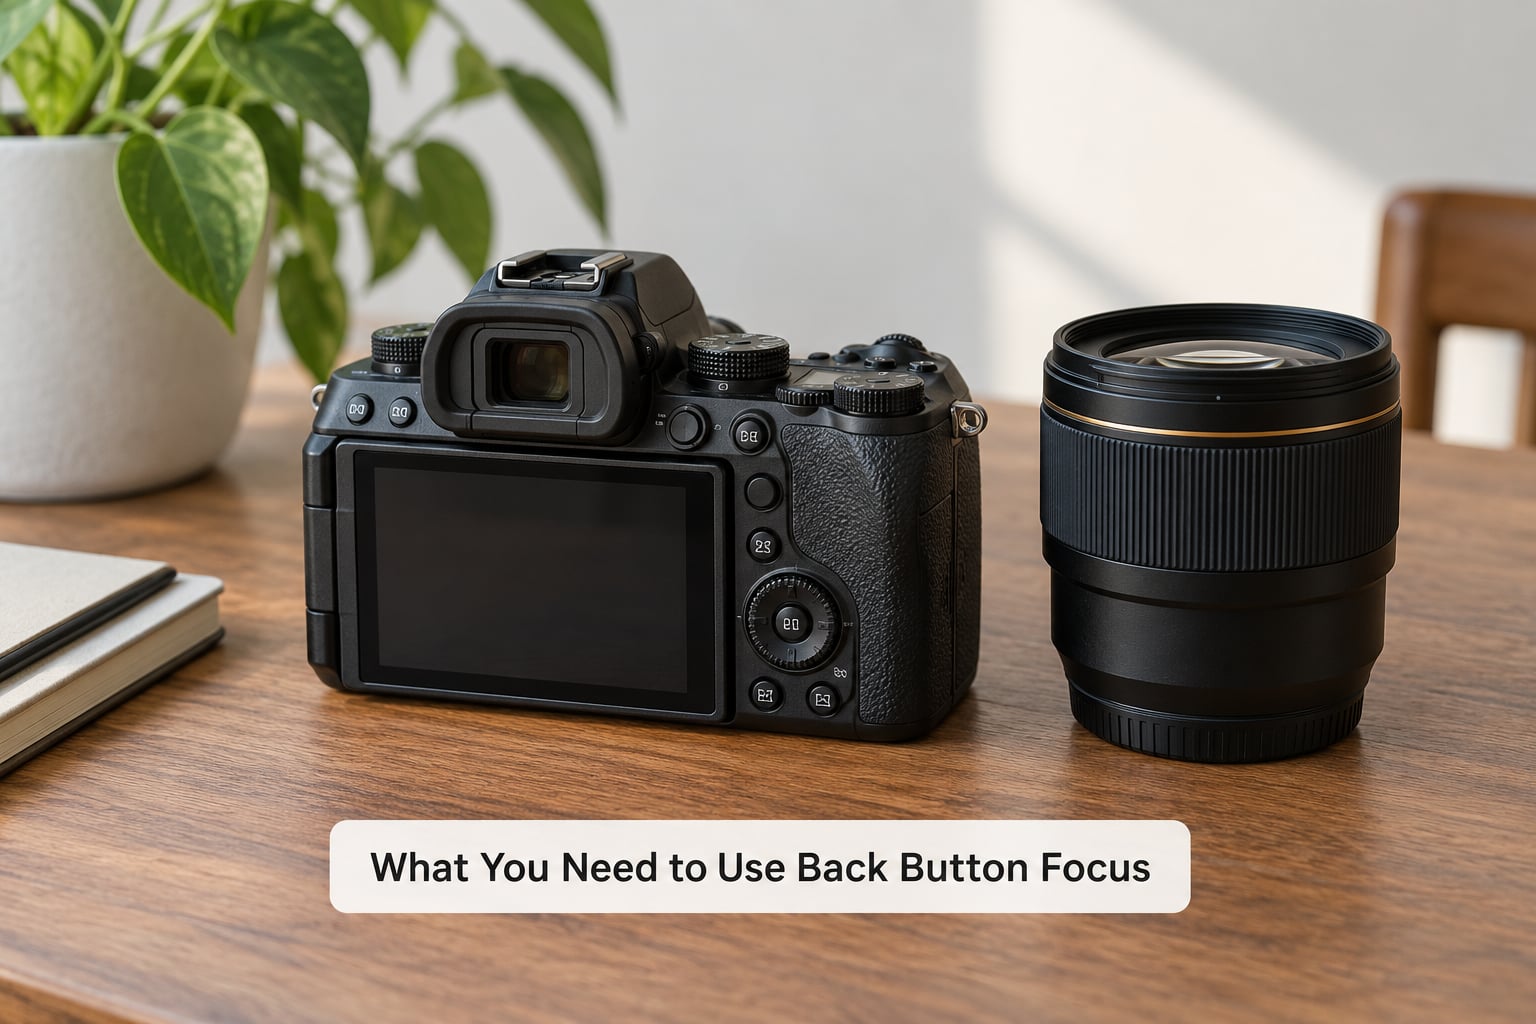
You need far less than most guides imply. A camera with at least one assignable rear button is the only hard requirement, and almost every DSLR and mirrorless body made in the last fifteen years qualifies. I have never met a camera where the one thing I needed was a second button — the real change is mental, not technical.
- A camera with customizable buttons. A dedicated AF-ON button is ideal. A body without one, or an entry-level model with a fixed control layout, needs a different button assigned instead.
- An autofocus lens. Any kit zoom or prime with AF works. The technique is about the button, not the glass.
- An AF-area mode. Single-point AF or a small flexible zone gives you manual control of where focus lands.
- An AF behaviour choice. One-Shot AF or Servo AF decides whether focus happens once or continuously.
- Ten minutes and a subject who will hold still. The setup is one-time; the retraining takes longer.
If your camera has no rear buttons worth assigning, the Quick Control button, the depth-of-field preview button, or a custom Fn button can all carry the autofocus function instead. On some mirrorless bodies the touchscreen does the same job, though it is far less useful when you are wearing gloves or shooting fast.
How to Use Back Button Focus Step by Step
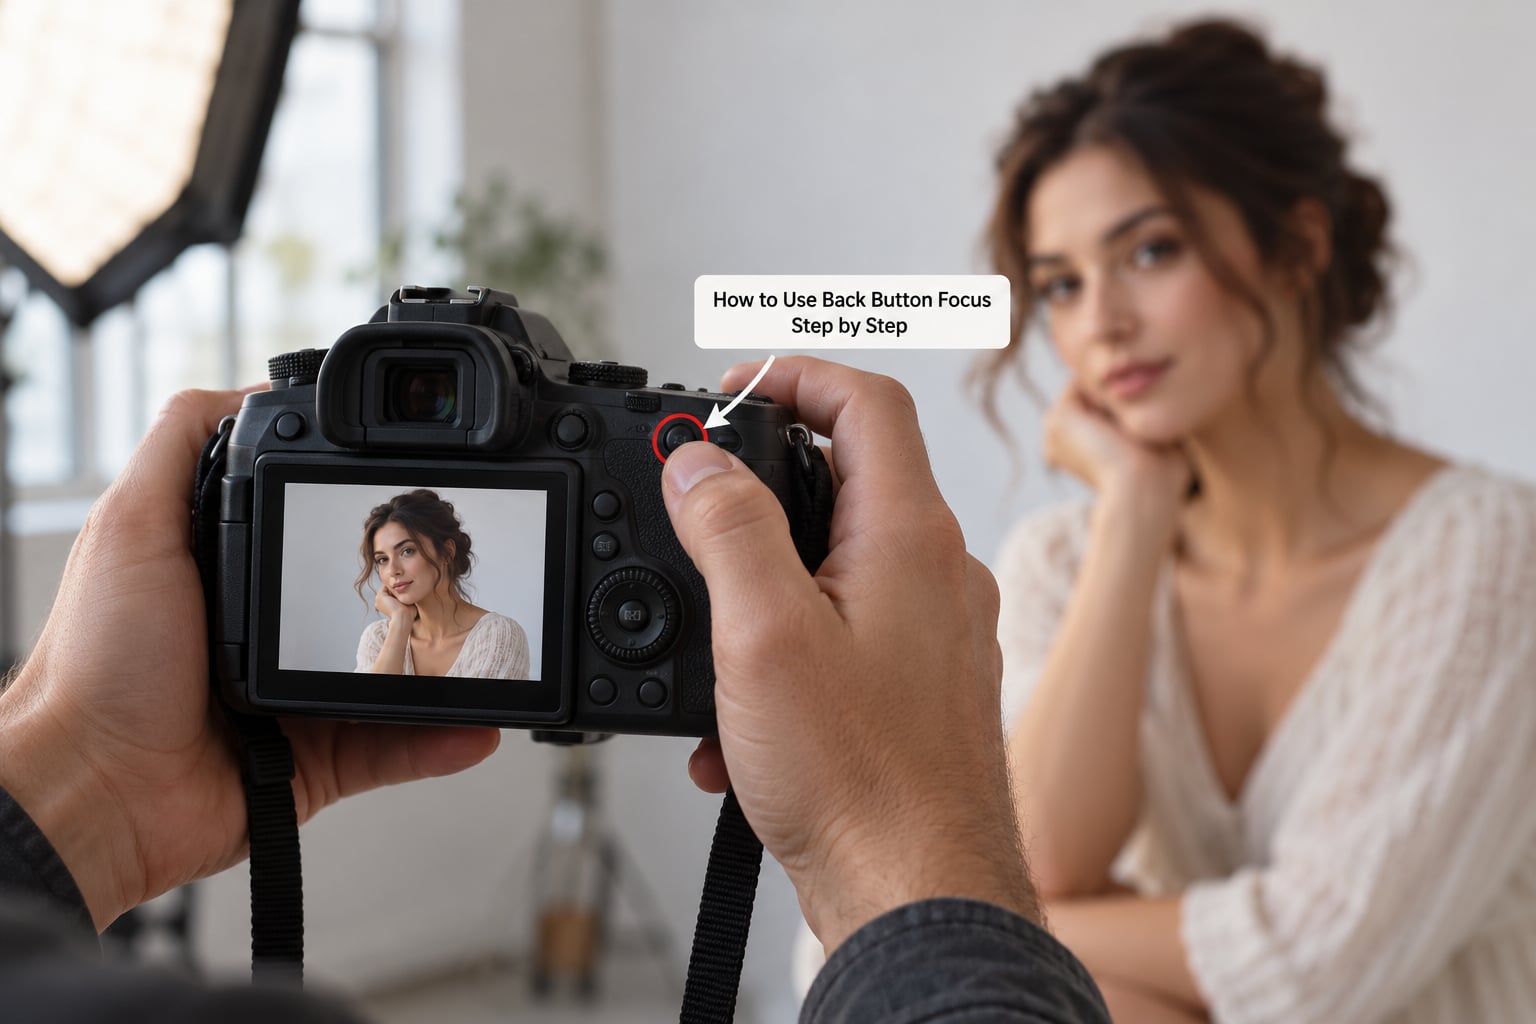
1. Choose a button for autofocus
Open your camera’s custom controls menu and assign autofocus to a rear button. On most bodies the real-time view of which button is which sits in a grid on the screen, so you move a highlight onto the button and choose the function you want.
On Canon bodies with a dedicated AF-ON, the button already does this and you only need to change the shutter button. On Nikon, Fujifilm, OM System and Panasonic cameras, the rear button is usually labelled AE-L/AF-L and has to be reassigned. Canon calls its setting “AF start”; Nikon calls it “AF activation” in Custom Settings a4 for DSLR bodies.
2. Select a useful AF-area mode
Start with single-point AF, the smallest selectable focus point on your camera. This is the mode that makes back button focus worth learning, because you choose exactly where the lens looks and nothing moves without your permission.
A small flexible zone is the sensible middle ground when your subject will not hold a pose. Reserve wide zone or subject tracking for subjects that genuinely move, and use them with a different step at the end of this sequence.
3. Turn off autofocus from the shutter button
Now remove focusing from the shutter. That setting is called Metering Start on Canon, Shutter Release Function on Nikon, and Shutter Release Focus on Fujifilm. Set it so half-pressing the shutter still starts exposure metering but no longer drives the lens.
If you skip this step, nothing changes, and that is the single most common reason people think their AF-ON button is broken.
Menu paths to use back button focus on your brand
| Brand | Where to reassign the rear button | Where to remove shutter AF |
|---|---|---|
| Canon | Press Q, choose Custom Controls, tap the rear AF-ON icon, set to AF start | Same grid, tap the Shutter Button icon, set to Metering Start |
| Nikon (DSLR) | MENU, Custom Settings, a4 AF activation, pick AF-ON button | MENU, Custom Settings, a11 Shutter-release, set to Metering |
| Nikon Z | MENU, Custom Settings, g Control, assign AF-ON | MENU, Custom Settings, Control, shutter stays metering only |
| Sony | Menu, My Menu or Custom, Assignable Button, set the rear button to AF On | Same screen, set the shutter button to Metering Start |
| Fujifilm | MENU, My Menu or Setup, Button Assignment, set the rear button to AF-ON | MENU, AF/MF, Release, Shutter Release Focus to OFF |
| OM System | Menu, Custom, Button Assignment, set the rear button to AF | Menu, Custom, turn shutter-release focusing off |
| Panasonic | Menu, Custom, Operation, assign AF to the rear button | Menu, Custom, Focus, Shutter AF to OFF |
Wording shifts between generations and firmware versions, so if a label is missing, look for the option that mentions AF activation, shutter release or focusing with the shutter button. Model names change the page numbers, not the logic.
4. Place focus on the subject
Put the single focus point on the eye nearest to the camera. On a three-quarter turn that is almost always the correct choice, because the far eye sits a fraction further back and goes soft at wide apertures.
Reposition the point each time the subject changes their head angle, and move it deliberately when someone switches which shoulder is turned toward you. The whole point of the technique is that this placement is your decision, made once, on purpose.
5. Focus, recompose, and shoot
With One-Shot AF, press and release the rear button. The lens focuses once and holds that distance as your thumb comes off the button. Now adjust your framing as much as you like — the focus stays exactly where you put it, and you can fire as many frames as you want without a single refocus.
Back button focus vs shutter button focus
You can see the difference for yourself by comparing the two setups side by side.
| What happens | Shutter-button focus | Back button focus |
|---|---|---|
| What starts focusing | Half-pressing the shutter | The rear AF button |
| Recomposing after focus | Focus often shifts at the last instant | Focus stays put |
| Moving subject | Camera decides what to track | You hold the button and choose the mode |
| Subject breathing or blinking | Often missed focus on the near eye | Locked distance survives the gap |
| Setup effort | None, it is the default | About ten minutes, one time |
| Handing the camera to someone else | They can just point and shoot | They will need the settings explained |
One detail beginners miss: after focusing, do not press the rear button again unless the distance has actually changed. A second press is a fresh focusing action, and in One-Shot AF on a soft subject it can land slightly in front of the eyes.
6. Practice with a moving subject
Switch to Servo AF, which Canon calls AI Servo, Nikon calls AF-C, Sony and OM System call continuous AF, and Fujifilm labels AF-C. Now the camera focuses for as long as you hold the rear button, and keeps following the subject while it lasts.
That gives you two distinct workflows. For a person leaning on a wall, hold the button, watch the point stay on the eye, then fire. For a child who bolts behind a post, lift your thumb off the button to freeze focus on whatever is in front of you, reposition, and hold again — a trick r/AskPhotography photographers recommend for exactly this reason.
Photographers on r/SonyAlpha also run two buttons, one holding One-Shot and one holding Servo, so each hand can pick the right behaviour without a menu dive. It takes a week to feel natural and it removes a decision from every single frame.
Common Mistakes When Using Back Button Focus
Pressing the shutter before focusing. If you keep releasing the rear button a fraction before the shot, you have recreated the old habit and added a step. Press the button first, watch the point turn solid or hear the beep, release, then shoot.
Leaving the shutter button set to autofocus. This is the number one cause of a button that appears to do nothing. Recheck the shutter setting after any firmware update or factory reset, because those often put it back.
Choosing a wide AF zone for a still subject. Wide zones and subject tracking make their own decisions about what matters in the frame. If a portrait keeps coming out with the background sharp and the face soft, this is usually why.
Focusing on the wrong feature. The bridge of the nose sits nearly in line with the eyes, so a sloppy placement looks plausible and photographs soft. Zoom in at 100 percent to check where the point actually landed before you take a batch.
Forgetting that focus holds only until something changes. In One-Shot AF the lock survives recomposing but not a subject who stands up and moves across the room. Check the distance, then refocus deliberately.
Ignoring orientation when shooting vertical. The focus point sits in a different place in the frame when you rotate the camera. r/CanonR6mkii users who shoot a lot of vertical portraits recommend setting up separate orientation-linked point positions so the near eye lands under the point in both orientations.
Troubleshooting: symptom, cause and fix
| Symptom | Likely cause | Fix |
|---|---|---|
| AF-ON does nothing | Shutter button still set to autofocus | Set the shutter to Metering Start or shutter-release metering only |
| Focus will not hold | Servo AF still active, so focus follows the subject after you release | Switch to One-Shot AF for still subjects |
| Camera refocuses anyway | Half-pressing the shutter triggers autofocus, or a second press lands on the rear button | Set shutter to metering only and keep the finger off the rear button after focus |
| Lens hunts back and forth | AF point is in a low-contrast area such as hair against a bright window | Move the point onto the eye or nearest high-contrast edge |
| Focus drifts off the eyes | Wide zone or subject tracking competing with eye detection | Switch to single-point AF and place it yourself |
Users on r/fujifilm pair the rear button with manual focus and focus peaking for close-up work, where even good autofocus can be slower than a fixed distance and magnification. Worth knowing about, though I would learn the normal workflow first.
Frequently Asked Questions
Can I use back button focus with any camera?
Almost any DSLR or mirrorless camera with customizable buttons can do it. You assign autofocus to a rear button and change the shutter button to metering only. Bodies without a dedicated AF-ON button can use AE-L/AF-L, a Fn button or the Quick Control button instead. If your camera has no assignable controls at all, that is rare, and the technique is not available on it.
What does the AF-ON button do on a camera?
AF-ON is the rear button that starts autofocus. With back button focus enabled, the shutter button no longer focuses at all, so AF-ON becomes your only way to drive the lens. Press it once for One-Shot AF and the camera focuses and holds that distance. Hold it with Servo AF and the camera keeps focusing continuously for as long as your thumb stays down.
Should I use single-point AF or subject tracking with back button focus?
Start with single-point AF, the smallest focus point your camera offers, because you control exactly where it lands. That is where back button focus earns its keep for portraits. Subject tracking still works with a rear button, but then the camera is choosing the subject and you have given up the control that made the technique worthwhile. Use tracking for genuinely moving subjects with Servo AF held down.
Does back button focus work with eye detection?
Yes, and it is worth checking. Many recent mirrorless bodies let eye detection run only while the assigned button is held, which gives you the best of both: the camera finds the near eye, and focusing stops the instant you release. On other bodies eye detection is always active and competes with single-point AF, so check your menu and pick one. Both approaches produce sharp eyes, they just feel different.
Is back button focus useful for video?
It can be, particularly for locked-off shots, product work and interviews where you want focus on a fixed point rather than a moving one. Most video shooters prefer continuous autofocus with a face or eye detection mode, because holding focus manually through a shot is demanding. If your body supports touch or focus peaking, that pairs better with video than a rear button alone.
Should I use back button focus for fast-moving portraits?
Fast movement means Servo AF, held down, not One-Shot AF tapped and released. Children, dancers and pets will move between the point and the shutter, so hold the button, keep the point on the face, and fire a short burst. When an obstacle blocks the subject, lift your thumb to freeze focus on whatever is in front, reposition, and hold again. If your camera tracks well, test eye detection first, then decide.
A note for anyone comparing this to modern mirrorless: r/photography photographers usually describe the first few days as awkward, with old habits pulling the thumb to the shutter, and most say they do not go back. The honest version is that excellent eye detection has closed the gap on technical subjects, but deliberate focus placement is still the difference between a good portrait and a lucky one.
Conclusion
Start with three things today: assign a rear button to autofocus, switch the shutter button to metering only, and set the AF-area mode to single-point AF. Then practise on one person until placing the point on the near eye, releasing, recomposing and firing feels like a single movement rather than four. Everything else — Servo AF, dual buttons, orientation-linked points — comes after that habit is solid.