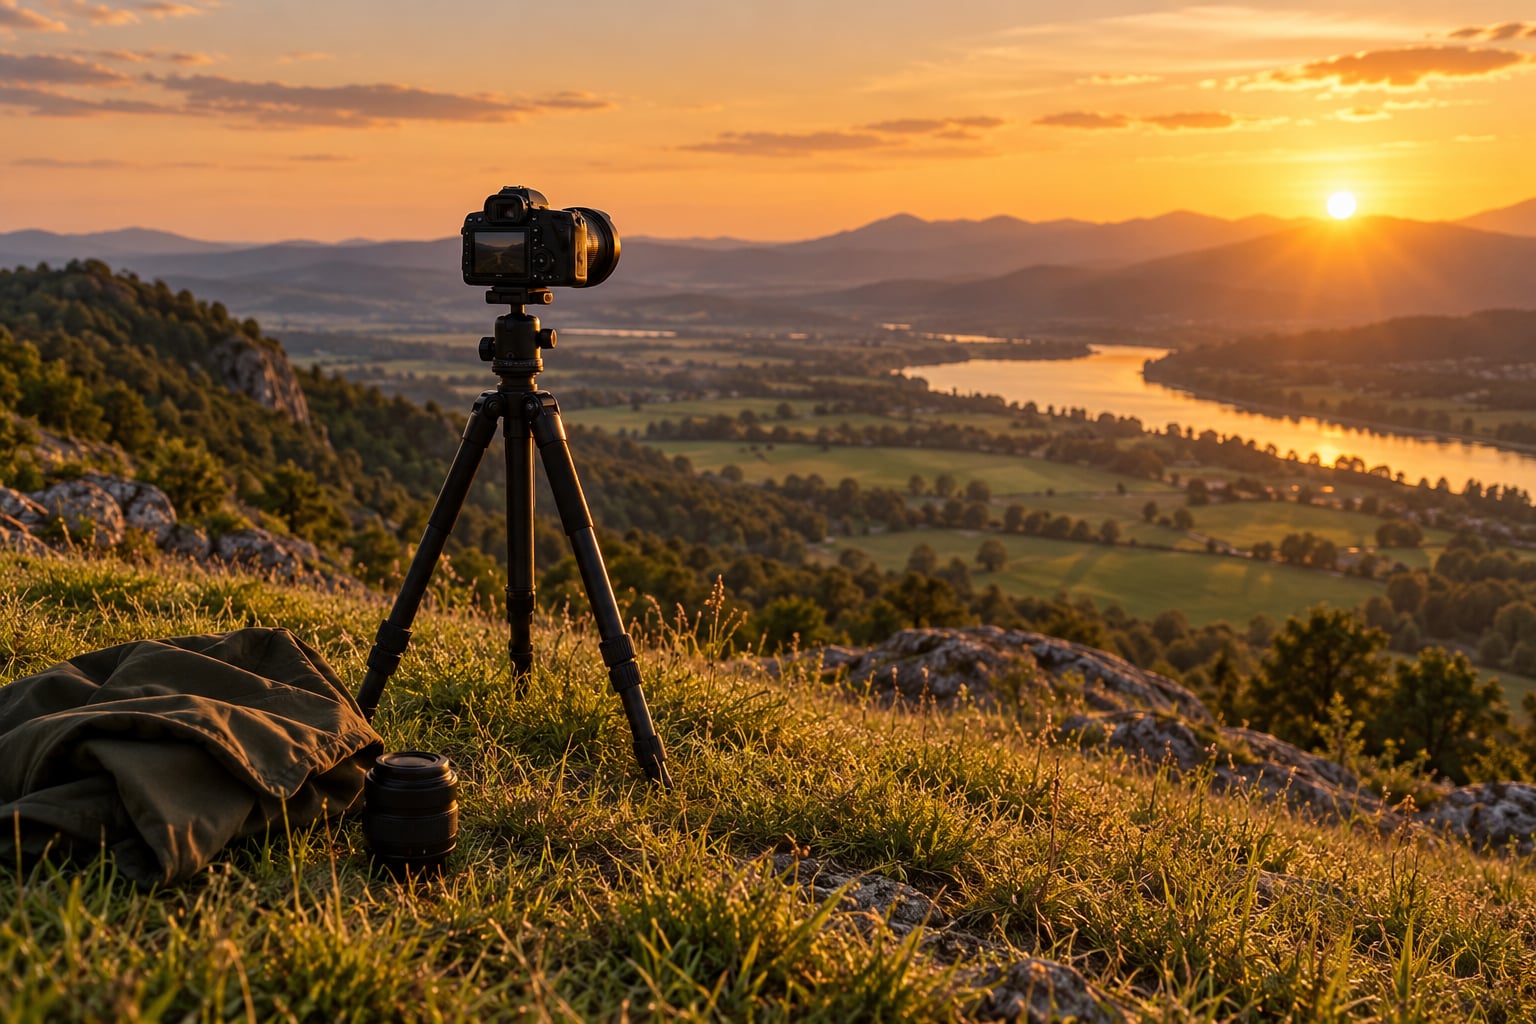
Golden hour is the short window after sunrise and before sunset when the sun sits below about 6 degrees above the horizon, and learning how to shoot during golden hour is mostly about working fast inside that window rather than owning special gear. Find your sunset time, scout a spot with the sun behind or to one side, arrive 30 to 45 minutes early, then protect the highlights and shoot several exposures as the color changes.
The light is warm because it travels through far more atmosphere than it does at noon, and that same long path is what stretches shadows across a field and softens skin tones. It really is better light for most outdoor work, though heavy overcast or thick haze can flatten it completely, so checking conditions matters as much as checking the clock.
Most sessions are 20 minutes of actual shooting wrapped around an hour of setup and walking. Here is the gear you need, the sequence that works, the mistakes that cost people their best frames, and how to fix each one.
Table of Contents
What You Need
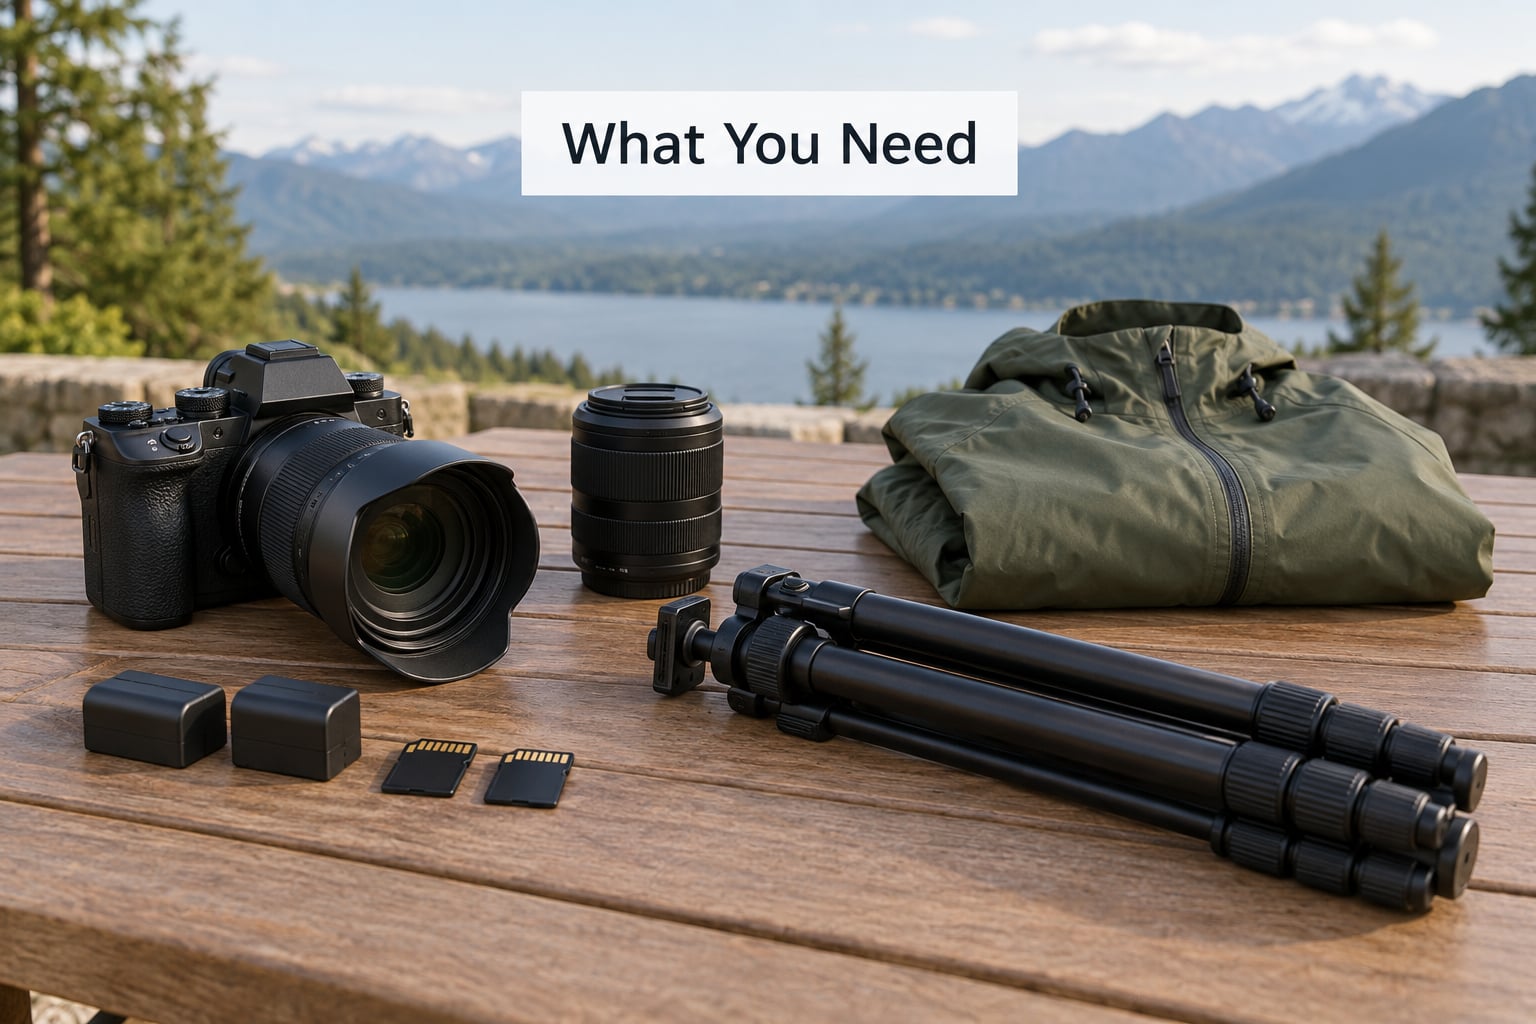
Any camera that takes good pictures will do. A mirrorless or DSLR body, a compact with a manual mode, or a phone that exposes manually all work inside this window if you know what the light is doing.
- A lens that suits your subject. A 24mm to 70mm covers most scenes. A longer lens compresses layered hills and lets you find the light on a face from a distance.
- A tripod. Not just for landscapes. As the light fades you want slower shutter speeds, and a tripod is the easiest way to keep ISO low and noise down.
- Spare batteries. Cold mornings and long dusk sessions drain them faster than expected, and the golden glow is not worth missing over a dead pack.
- Two memory cards, or one with room to spare. Bracketing eats files fast, and a full card in the best light of the year is a genuinely painful mistake.
- Weather protection. A light rain jacket and a dry cloth for the front element. Dew arrives quickly once the air cools after sunset, which is exactly when you are still shooting.
- Optional: a reflector or small diffuser. A reflector bounces warm fill into shadowed faces. A diffuser softens harsh side light when the sun is still too low to wrap around your subject.
How to Shoot During Golden Hour: Step-by-Step
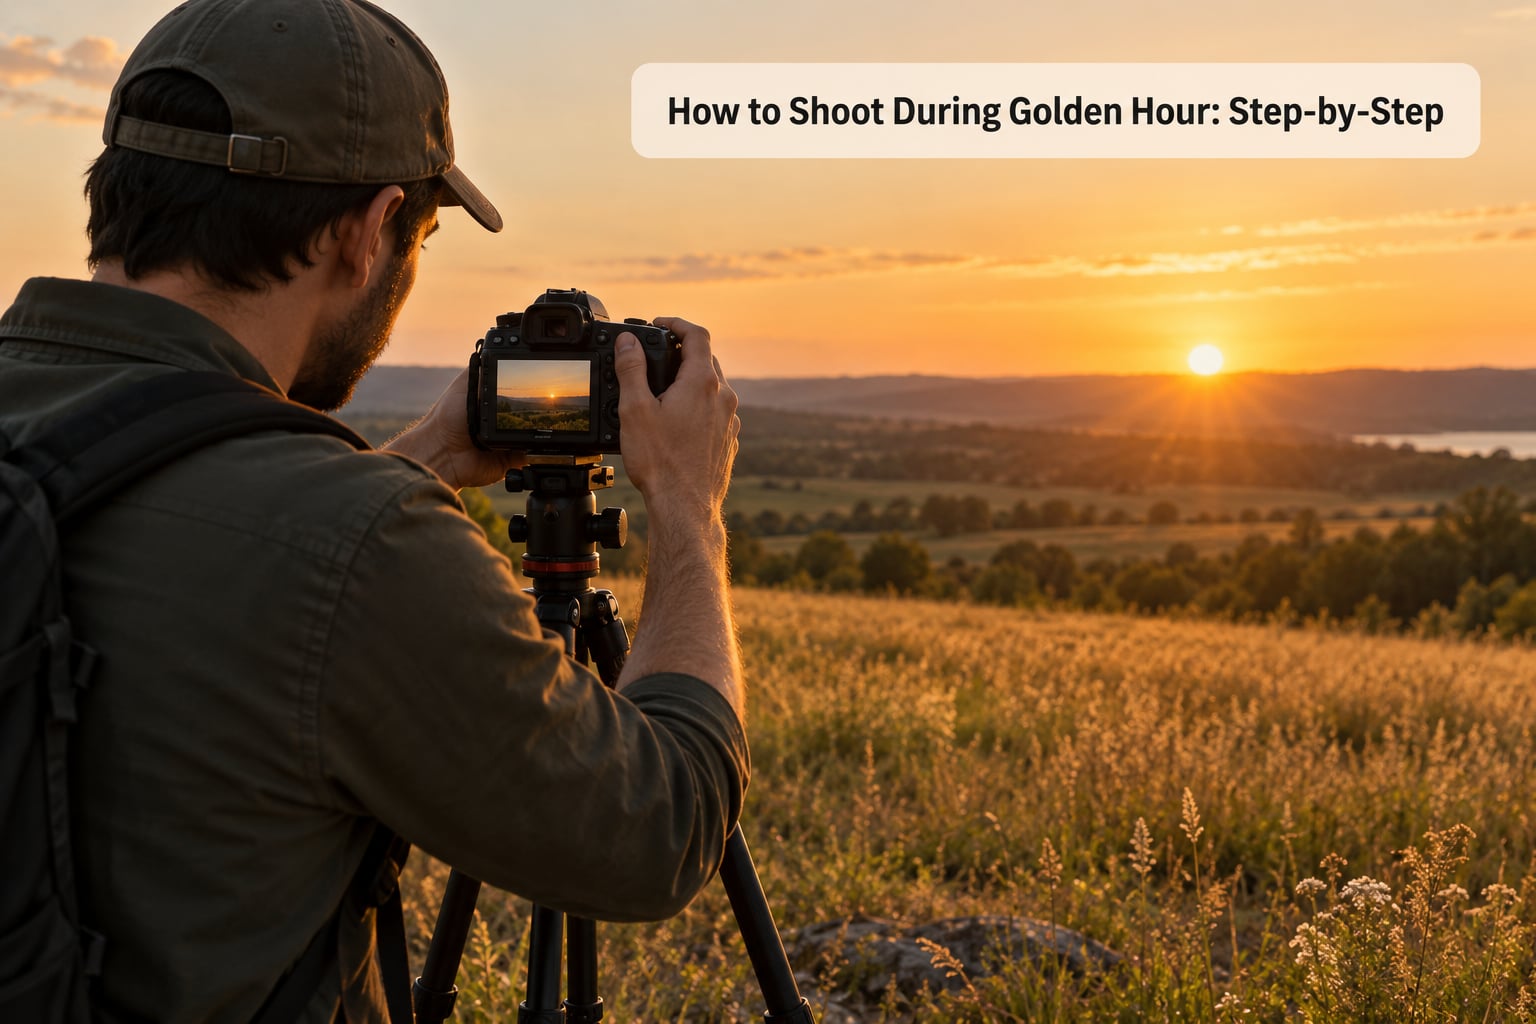
The order below matters more than any single setting. Timing and scouting happen days ahead, exposure decisions happen in seconds, and the light will not wait while you swap lenses.
1. Check the golden hour timing and conditions
Work out when the sun crosses the horizon at your exact location, then count back 60 to 90 minutes. That is the window you are planning for, and it is longer near the equator and shorter in winter at higher latitudes.
While you are in the app, check the sun’s azimuth so you know which direction the light comes from, and pick a location that faces the right way. A west-facing ridge works for sunset, an east-facing one for sunrise, and a subject with the sun behind them gives you the glow everyone wants.
Then look at clouds. Broken mid-level cover is the ideal forecast, because the light bounces off those clouds and fills the shadows. A solid stratus deck gives you a flat grey sky, and thick low haze kills color altogether. Check the forecast twice, once a few days out and once that morning.
2. Scout the location before the light changes
Walk the spot in full daylight so you are not discovering the trip wire or the drop while the good light is already gone. You are looking for five things: open space so nobody is blocking the sun, a reflective surface such as water or glass, a foreground with texture, long clean shadows to use as lines, and a safe place to stand.
Stand at your shooting position and turn in a slow circle. Whatever the sun hits, you now have a rim or backlit subject. Whatever sits in the sun’s path, you have flare to plan around, and you can usually solve that by shifting a few steps rather than changing lenses.
3. Set a starting exposure so you can shoot during golden hour without blowing out the sky
Start in manual or aperture priority with a conservative baseline, then check the histogram rather than the screen. For portraits, begin around ISO 200, f/2.8 to f/4, and 1/250s, then let the shutter float with the light. For landscapes, ISO 100, f/8 to f/11, and a shutter speed matched to your tripod.
Set exposure compensation to about minus one third to two thirds of a stop when you are shooting into the sun. That single adjustment is the difference between a sky with detail and a white slab. Meter for the brightest area you care about, and remember the brightest part of the scene is the sky, not the face.
Leave white balance on daylight or auto rather than chasing the color with filters. The warm cast you see is the real light, and RAW keeps far more of it than any correction made in the moment. If your camera has a highlight warning, turn it on and treat it as a hard stop.
Watch what happens as the sun drops. The window splits into two usable phases: the earlier soft light, roughly 60 to 30 minutes before sunset, and the last few minutes of direct color with the sun at or just under the horizon. Most photographers fill the first phase with portraits and the second with wide scenes and silhouettes.
4. Compose for warm light and long shadows
Backlight your subject and you get a bright outline along the hair and shoulders, which is the classic golden hour look. Position them a few steps off dead center so the sun is not directly behind the head, and expose for the face or use a reflector to lift it.
Side light gives you shape. It textures skin, trees, and buildings, and it makes a flat field look like a landscape. The cost is the dark eye nearest the sun, so angle the face a few degrees toward the light or turn the head slightly away.
Use the shadows rather than ignoring them. A long fence line or a bare tree’s shadow across a path is a leading line that leads the eye into the frame. Reflections in water double the warm color and fill the bottom third, and when the sun is fully below the horizon a silhouette against a colored sky needs almost no exposure help at all.
Leave negative space in the direction the light is coming from. Wide empty sky above a small subject reads as calm; a busy frame reads as clutter.
5. Capture the light in several exposures
Do not take one frame and leave. The light changes visibly every few minutes, and the version of the scene you framed may not be the version that looks best.
Bracketing is the practical answer. Shoot three frames at two-thirds stop apart, one around -1 EV to protect the sky, one at your baseline, and one brighter to see what the shadows hold. The bright frame will look wrong on the camera and often saves the shot.
Vary your other variables between frames too. Try a wider aperture for the bokeh shot, a slower shutter for motion in the water, and a different focal length. Make sure at least a third of your frames hold the sun in shot without flare, since that frame is often the one you print.
Stay until the color leaves. The first ten minutes after the sun drops produce the richest reds, and people who pack up at sunset consistently miss them.
Common Mistakes
Blown-out sky. The sky is several stops brighter than a backlit subject. Underexpose by a third to a stop, check the histogram, and shoot RAW so you can recover shadow detail that is still there in the file.
Subjects too dark. This is the same problem from the other side. Add a reflector, use a fill flash at low power, or move the subject until the sun hits the face. Brightening a very dark raw file in editing just brings up noise.
Skin and white clothing looking orange. Set white balance to daylight and leave it there. If the color is still extreme in the file, adjust the temp and tint slightly in editing rather than with a filter, and avoid the tungsten setting entirely.
Muddy, low-contrast shadows. Broken cloud cover is what fills them. When the sky is empty, use a reflector or bounce, and accept a little shadow rather than flattening the whole frame.
Lens flare. Shade the front element with your hand, step sideways until the sun is just outside the frame, and shoot with the sun near the edge of the frame rather than the middle. Flare also shows up when you shoot through a dirty filter, so keep glass clean.
Focus missed on movement. Use single-point autofocus with the point on the near eye, switch to continuous autofocus for people walking, and turn off stabilization on a tripod if your camera offers it.
Hard-looking flash. If you use flash, dial it down and raise it off the camera slightly so it bounces. On-camera fill at full power is what gives golden hour portraits that flat, midday look.
Camera shake. Tripod for anything slower than about 1/125s, turn stabilization on when shooting handheld, and rest your elbows against your body when the light forces a slow shutter.
Leaving at sunset. The window runs 60 to 90 minutes before and 20 to 30 minutes after, and the best color usually comes after the sun has gone.
Tips for Better Golden-Hour Results
- Shoot RAW. It is the only way to recover a blown highlight and it keeps the color range your camera recorded. The file will look flat until you process it, which is fine.
- Watch the histogram, not the rear screen. Bright outdoor screens lie, especially in direct light. The histogram does not care how bright it is outside.
- Bracket toward the shadows. Dynamic range is the reason this light is forgiving. A frame that looks dark on the back of the camera often opens up beautifully.
- Pick the light for the subject. Portraits want the earlier soft phase and a reflector. Landscapes and cityscapes want the later color. Street work often works best when the sun is behind a building and bouncing.
- Have a flat light backup plan. If the cloud deck is solid, shoot it anyway as a moody monochrome or a soft portrait, and come back when the forecast improves.
- Clean the front element. Smudges and fogging get far worse in low-angle light, and cleaning the glass is the cheapest quality upgrade available.
- Protect the camera from dust and dew. Hang the camera over your head between setups, keep a dry bag in the pack, and resist changing lenses in a dusty field.
- Use apps to plan. PhotoPills, The Photographer’s Ephemeris, and the golden hour calculators built into most weather apps all give you the sun position, and a sun path preview shows you what the frame will look like before you commit.
- On a phone, tap the sky to set exposure and lock it. Hold the screen, drag exposure down slightly, then shoot in the highest resolution mode with HDR off if it flattens the color.
For editing, keep the warmth honest. Pull the temperature up a little if the frame reads flat, protect the skin tones from going neon, and match a batch of shots to one reference so a series does not look like five different evenings.
Frequently Asked Questions
What time is golden hour?
Golden hour is the period when the sun is between about -4 and 6 degrees above the horizon, which works out to roughly 60 to 90 minutes before sunset and 60 to 90 minutes after sunrise. The window is longer near the equator and shorter in winter at high latitudes. Check a golden hour calculator for your exact location and date rather than assuming a fixed time.
What ISO is best for golden hour?
Low ISO is best because you want clean files you can brighten later. Start at ISO 100 to 200 for landscapes on a tripod, and ISO 200 to 400 for handheld portraits, pushing toward 800 only once the light drops sharply. If you find yourself climbing past 800, a tripod will let you drop the ISO and get a better image than a noisy fast one.
What camera settings are best for sunset?
For landscapes, start at ISO 100, f/8 to f/11, and a shutter speed your tripod can support. For portraits, start at ISO 200, f/2.8 to f/4, and 1/250s. In both cases, set exposure compensation to around minus one third of a stop when shooting toward the sun so the sky keeps detail. Shoot RAW and check the histogram to confirm.
Can you shoot golden hour with a phone?
Yes. Tap the sky to meter, then drag the exposure slider down a little so the highlights survive, and lock those settings so they do not drift between shots. Turn off auto HDR if it flattens the color, shoot at the highest resolution, and clean the lens first. A small tripod for the phone is worth more than any filter.
Do clouds make golden hour better or worse?
Broken mid-level clouds usually make it much better, because they bounce warm light into the shadows and give the sky structure. A solid overcast deck removes the color entirely and leaves flat, grey light. Thick low haze is the worst of both because it scatters the light before it reaches you. Clear sky is fine for a clean silhouette, but it leaves the shadows empty.
What is the difference between golden hour and blue hour?
Golden hour comes first, while the sun is still up and the light is warm, soft and directional. Blue hour follows once the sun has dropped below the horizon and only scattered sky light remains, giving a cool blue tone that suits cityscapes, water and long exposures. Many photographers plan for both and stay through the handover.
Conclusion
Start with the timing, because everything else depends on it. Look up sunset for your location, pick a site that faces the right direction, walk it in daylight, and get there half an hour early with your batteries charged and a memory card free.
Then underexpose a little, keep the ISO as low as your shutter allows, and make several frames while the color changes. Getting how to shoot during golden hour right is mostly about being ready before the light arrives rather than reacting once it does, and the light will do the rest if you are standing in the right place with the camera ready.