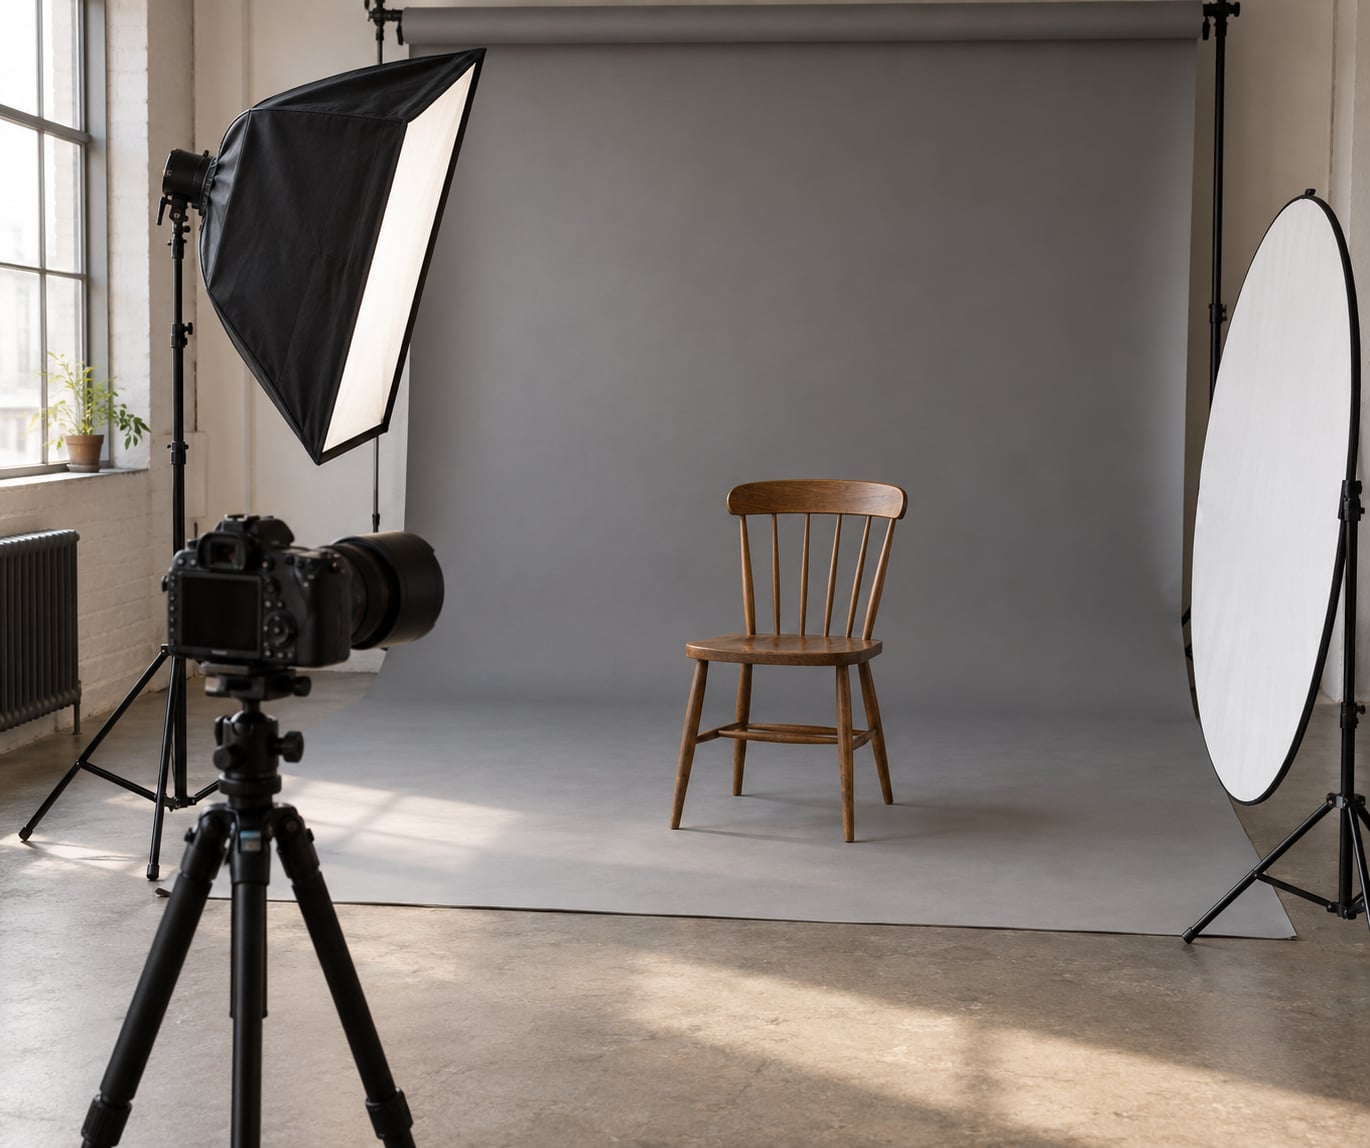
An actor headshot is a tightly framed head-and-shoulders photograph that casting directors and agents use to judge how a performer looks on camera. Getting a good one is mostly about four things: one soft key light placed slightly off the camera axis, a background that stays quiet, head and shoulder position that flatters, and direction that pulls a real performance out of your subject. Most of what you need is equipment you may already own.
This guide walks the full session, from the pre-shoot conversation about acting type through to the folder of exported files the actor submits. A first headshot session with one actor and a simple setup runs about 60 to 90 minutes, and the craft part takes an afternoon to learn.
Table of Contents
- What You Need
- How to Photograph a Headshot for Actors: Step-by-Step
- 1. Define the headshot’s purpose
- 2. Prepare the actor and background
- 3. Set up flattering lighting
- 4. Choose the camera settings
- 5. Direct posture and head position
- 6. Coach believable expressions
- 7. Photograph variations systematically
- 8. Check focus, expression, and edges
- 9. Edit for a natural casting headshot
- 10. Deliver organized headshot options
- Common Mistakes
- Frequently Asked Questions
- Conclusion
What You Need
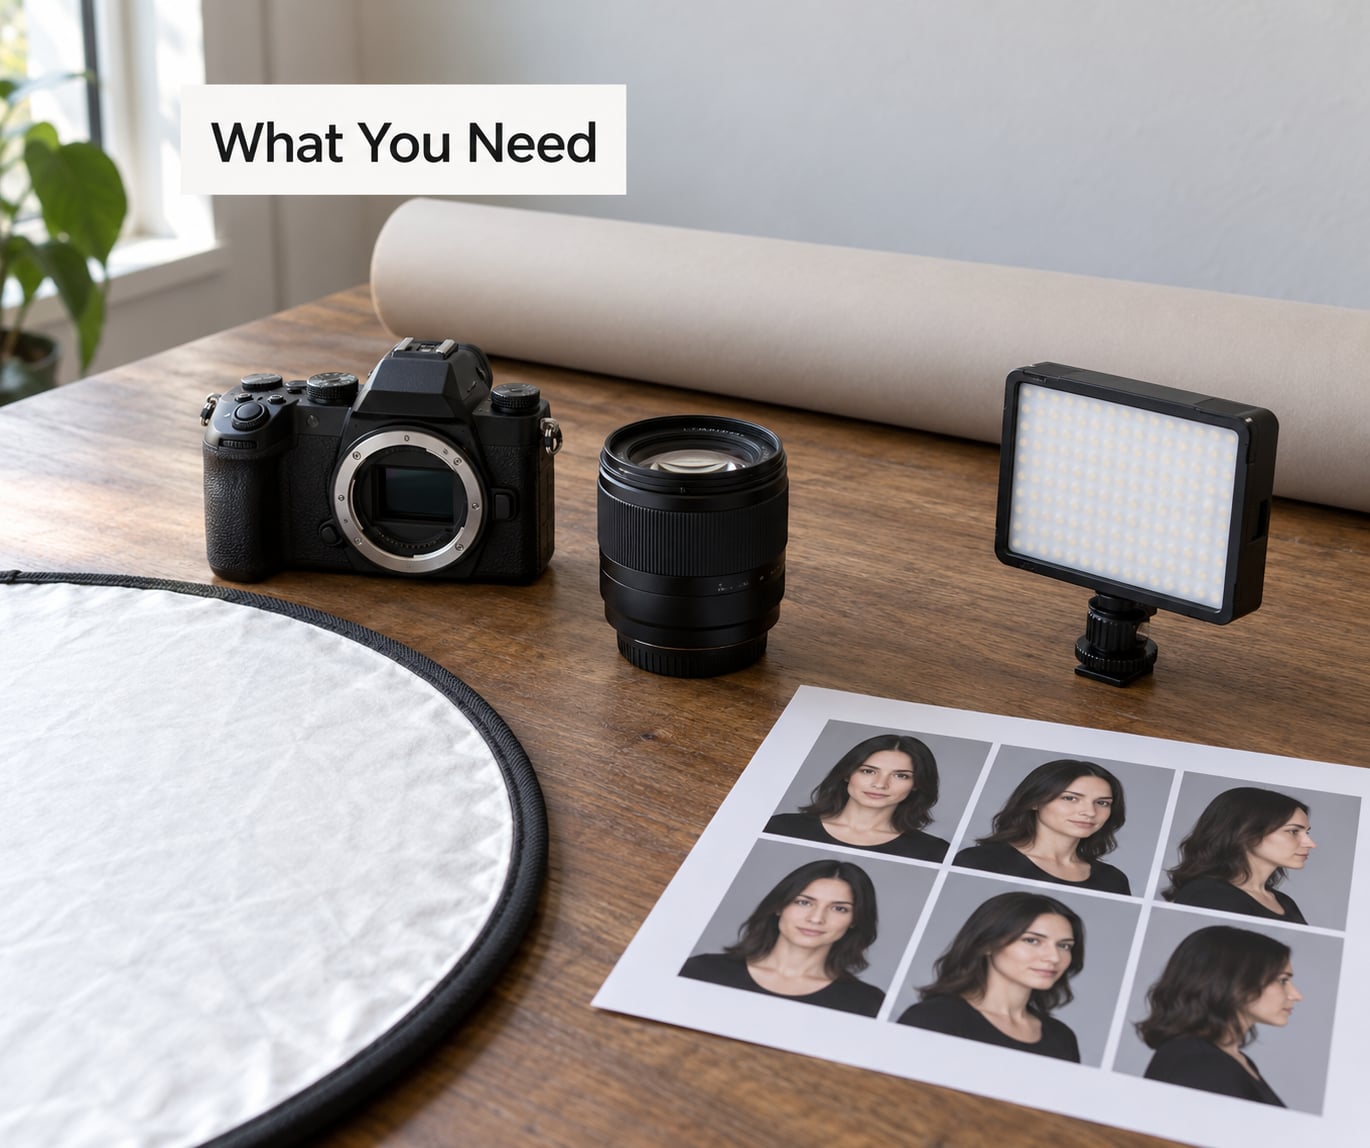
You need a camera, one light, something to bounce or fill with, and a plain background. Everything beyond that is a preference, and beginners do better with a small kit they fully understand than with an expensive one they do not.
- Camera: any interchangeable-lens camera with reliable eye-detect autofocus. A full-frame body gives you more room at short distances, but APS-C bodies work when you step back and use a longer lens.
- Lens: an 85mm prime for most studio headshots, or a 50mm if your room is shallow and you want a more natural perspective. Avoid wide angles under 35mm for headshots, because they stretch the nose at close range.
- Key light: one strobe with a softbox, octabox, or large umbrella. A continuous LED panel also works, though a strobe is easier to shape and does not cast a colour shift on the face.
- Fill: a white reflector on a stand, or a second light at half power. This controls how much shadow sits under the cheekbones and jaw.
- Separation light: a small speedlight or second strobe aimed at the background or the back of the head. It keeps hair from merging into a dark backdrop.
- Background: a roll of seamless paper in mid grey, warm grey, or off-white, or a plain painted wall with nothing on it. Texture is fine if it is subtle and out of focus.
- Support gear: light stands, sandbags, a stool or posing box the actor can sit on, a grey card or colour checker, and a tethering cable with a laptop.
- Editing software: Lightroom or Capture One. Both handle the exposure, crop and colour work a headshot needs without much fuss.
If you are shooting this on a tight budget, one window with indirect light, a plain wall, and a reflector held by an assistant covers the commercial look perfectly well. Many working actors shoot their own first headshot that way before they ever book a studio.
How to Photograph a Headshot for Actors: Step-by-Step
The workflow below runs in order, and each stage gives you a visible sign that it worked. If the last check passes, move on; if it fails, fix that stage before touching the next one.
1. Define the headshot’s purpose
Start by asking what the image is for: commercial work, theatrical roles, corporate or presenter roles, or a general casting profile. Match styling and expression to that answer, and you avoid the common failure of a single set that suits nobody.
Ask which roles the actor wants to be booked for, and which two or three acting types they are cast as. Write those types down. They become the reference for every lighting and wardrobe decision that follows.
You can tell the session worked when the actor recognises the set as their own. Photographers report this is the moment a session stops being a technical exercise and starts producing usable casting images.
2. Prepare the actor and background
Wardrobe should be simple, fitted, and free of logos, text, and busy pattern. Ask the actor to bring three to five options, and choose together rather than at the end of a long session.
For colours, avoid anything that competes with the face: bright red, neon green, saturated orange, and hot pink pull attention away from the eyes. Muted tones, black, navy, cream, grey, and deep jewel colours photograph quietly and survive both colour and black-and-white conversion.
3. Set up flattering lighting
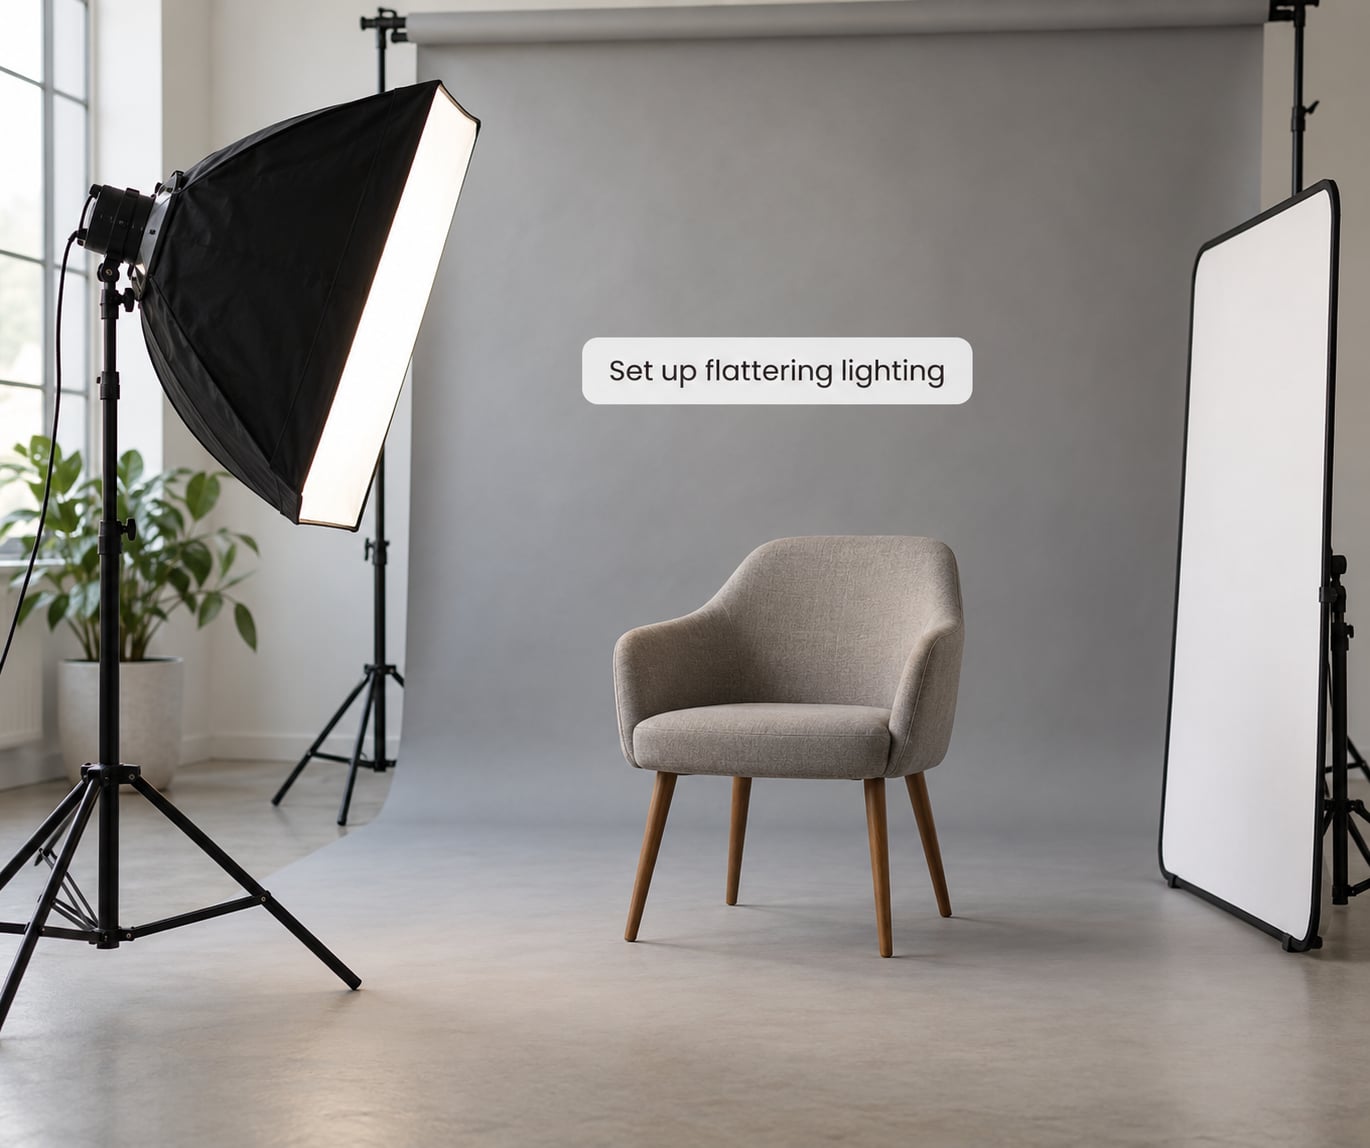
Place one large diffused key light 30 to 45 degrees off the camera axis and slightly above eye level, then add fill from the opposite side with a reflector. It worked if one side of the face is a touch brighter, the shadow side still holds detail, and neither cheek is black.
Move the key closer and higher for more drama and a stronger shadow under the cheekbone. Move it further out and level with the eyes for a flatter, more commercial result. The theatrical look comes from keeping that shadow; the commercial look comes from lifting it with fill.
For background separation, hit the backdrop with a second light until the grey behind the actor is about a stop brighter than the shadow side of the face. You can see the win immediately as the outline of the head separates cleanly.
Window light works the same way: the window becomes the key, a white card opposite becomes the fill, and a sheet of white paper behind the subject handles separation. Keep the actor turned about 45 degrees to the glass, never facing it flat.
4. Choose the camera settings
A dependable starting setup for headshots is manual exposure, an 85mm lens, f/2.8 to f/4, 1/200 second or faster, and ISO 100 to 400 with a strobe. That combination keeps skin sharp through the eyes and lets the background fall away.
Use single-point or eye-detection autofocus on the nearest eye, then switch to manual focus once it locks so the shoot does not hunt between poses. Set white balance manually around 5200K for flash or match it to the light source, and leave it there for the whole session so every frame is consistent.
Check the frame for three things: focus on the near eye, no clipped highlights on the forehead or teeth, and shadows that are dark but not solid. A histogram only tells you about light; it tells you nothing about focus.
5. Direct posture and head position
Turn the shoulders about 30 to 45 degrees to the camera and bring the chin forward and slightly down. That lengthens the neck, defines the jaw, and stops the camera from shooting a flat, passport-style face.
Camera height changes how the actor is read. Shooting from above softens and can read younger or more vulnerable; shooting from below sharpens the jaw and reads stronger or more authoritative. Eye level is the neutral default.
Keep the head rotation shallower than the shoulder rotation. When the head turns further than the body, the far cheek collapses and the neck twists visibly.
6. Coach believable expressions
Give actors a situation rather than an adjective. Instead of “look serious”, try “you just recognised someone you know from school and you are deciding whether to say hello.”
Ask the actor to think the thought and then hold it for a beat before speaking. Real emotion shows up in the seconds around a line, not in the second the camera fires, so shoot in short bursts and watch the frames.
Work through neutral, warm and open, genuinely amused, focused and guarded, and hurt or angry. Watch for the squint that comes with a real smile, and ask for it directly rather than hoping for a smile out loud.
For actors who say they are not photogenic, the fix is rarely retouching. It is a shorter lens, softer light, more time on set, and a tethered screen so they can see a good frame of themselves within the first ten minutes.
7. Photograph variations systematically
Work through a written shot list so the set has range instead of two hundred near-identical frames. For each look, capture front-facing, three-quarter, and near-profile, with the face turned to each side of the light.
Change one variable at a time: expression, then head angle, then light position. Moving all three at once makes it impossible to know which change earned the frame you like.
The set is finished when you have a commercial look with a relaxed or warm expression and a theatrical look with more shadow and a more specific emotional read. Actors consistently say two distinct looks beat five variations on the same one.
8. Check focus, expression, and edges
Inspect each candidate frame at full size before you move on. Zoom to the near eye, check the teeth for a natural edge, look at the jawline for a soft blur, and confirm the shoulders are not cut awkwardly at the frame edge.
For head-and-shoulders framing, leave a small amount of headroom above the hair rather than a large empty gap. Crop so the top of the head sits close to the frame and the eyes land in the upper third.
If a frame fails, name the reason out loud before you change anything: focus, expression, angle, or light. Fixing the right problem in ten seconds beats shooting another two hundred frames and guessing.
9. Edit for a natural casting headshot
Start with exposure and white balance, then crop to a consistent head-and-shoulders frame across every selected image. Matching the crop across the set matters because casting sites display headshots in a grid.
Retouch temporary things only: a stray hair, a temporary blemish, a shirt lint. Clean up background distractions such as a light stand edge or a wrinkle in the seamless paper.
Leave identity alone. Do not narrow the nose, enlarge the eyes, remove every line, or smooth skin to plastic. Actors report that over-retouched picks get rejected, because the casting team has seen the person in the room.
Finish with a light dodge and burn to balance the face, moderate sharpening on the eyes, and an export at 300 DPI in sRGB. A casting-ready file is roughly 8 by 10 inches at high JPEG quality, delivered alongside a full-resolution version for print and agent use.
10. Deliver organized headshot options
Build a contact sheet of every usable frame, group them by look, and let the actor mark favourites before you do the final select. Actors consistently pick the safe, flattering frame when left alone, so offer a short list of three or four instead of an open gallery.
Name files clearly, for example ActorLastName_Commercial_Smile_01.jpg, and deliver a folder with the final colour set, a black-and-white version of the same frames, and a separate folder of the full-resolution files.
Include a short written note with the delivery listing which frame is the commercial pick, which is the theatrical pick, and which one to submit when a casting listing asks for a single headshot. That one line saves the actor a lot of indecision in audition season.
Common Mistakes
Most failed headshots come from a handful of repeated errors, and each has a straightforward fix on set.
- Lighting straight on with the camera. Flat frontal light flattens the face. Move the key 30 to 45 degrees to one side and add fill opposite.
- Using a wide angle up close. The nose and forehead distort. Switch to an 85mm and step back.
- Forcing every frame to smile. A smiling-only set reads as commercial-only. Shoot one warm look and one serious, character-driven look.
- Shooting the same expression two hundred times. You end up with quantity, not range. Follow a shot list and change one variable at a time.
- Confusing wall texture with background interest. Bricks, windows, doors, and strong wall patterns pull the eye away from the face. Use a plain surface, or blur it well past recognition.
- Over-retouching the final picks. When an actor does not recognise themselves, casting does not trust the image. Retouch the temporary, not the face.
- Leaving colour temperature inconsistent between looks. A warm commercial frame next to a cool theatrical frame looks like two different days. Set white balance once and hold it.
- Letting the actor pick all their own images. They will choose the safe frame. Prepare a short list and explain why each frame works.
- Ignoring wardrobe continuity and colour. Clothes that fight the skin tone or the background pull attention away from the eyes. Choose neutral, fitted options.
- Forgetting the file spec. A well-shot image delivered at the wrong size or resolution gets missed. Confirm the requested dimensions before you export.
On background choice, the 20/60/20 rule from photography applies more broadly than most people expect: roughly 20 percent of the frame carries the visual interest, 60 percent sits in a quiet supporting zone, and 20 percent is unimportant. In a headshot, your face and eyes are that 20 percent, so the background should sit in the quiet middle rather than competing.
Frequently Asked Questions
What camera settings are best for actor headshots?
Start in manual mode with an 85mm lens, f/2.8 to f/4, 1/200 second or faster, and ISO 100 to 400 when using a strobe. Focus on the near eye with eye-detect autofocus, then switch to manual focus so it does not hunt between poses. Set white balance manually near 5200K for flash and leave it locked for the entire session.
Do actor headshots need a plain background?
Not strictly, but a quiet background is safer. Casting sees thousands of submissions, so busy patterns, doors, windows, and strong wall texture compete with the face. A mid grey, warm grey, or off-white seamless roll is the most dependable choice, and a textured wall works if it is subtle and falls well out of focus.
Should I photograph an actor straight on or at an angle?
Angle it. Turn the shoulders 30 to 45 degrees away from the camera and keep the head rotation shallower than the shoulders, so the face stays open while the neck stays long. Shooting fully straight on gives a flat, passport-style frame with no dimension. Save a straight-on frame for specific commercial listings that ask for it.
What is the best lens for headshots?
An 85mm prime is the usual answer because it gives flattering compression and keeps you far enough away that the nose does not distort. A 50mm works in a shallow room when you want a more natural perspective. Anything under 35mm will stretch facial features at headshot distance, so leave wide angles for full-body work.
Should actors smile in an actor headshot?
Smile in one look, not in all of them. A relaxed or open expression covers commercial, presenter, and approachable roles. You also need a non-smiling, character-driven frame with more shadow in the face, because that is what covers dramatic and darker roles. Sending only smiling images is a common reason actors get read as one-dimensional.
How much retouching is appropriate for an actor headshot?
Enough to clean up the temporary: stray hairs, a blemish that will be gone by tomorrow, lint, and background distractions like a stand in the frame. Not enough to change the face. Resizing the eyes, narrowing the nose, or smoothing out every line produces an image casting will distrust, and it is work you will have to explain in person.
Conclusion
Start the session by asking what the headshot is for and which types the actor plays, then prepare wardrobe and a quiet background before any light goes on. Place one soft key about 30 to 45 degrees off axis, fill the shadow side, and separate the head from the backdrop. Shoot a written shot list that covers two distinct looks with real expression direction, review the frames on a tethered screen as you go, and deliver a consistent, lightly retouched set the actor can submit the same day.