A crop sensor camera handles portraits beautifully once you stop treating it like a lesser full frame body. Choose your focal length by the framing you want, multiply it by your camera’s crop factor to find the actual lens, keep the background far behind your subject, and add light before you reach for ISO.
This guide walks through that whole process in six steps, with the numbers worked out for APS-C, Nikon DX and Micro Four Thirds bodies. Read it once with a camera in front of you and you will have a repeatable setup for the next session.
Table of Contents
- What You Need
- Step-by-Step: How to Use a Crop Sensor for Portraits
- 1. Choose a Lens That Suits the Crop Sensor
- 2. Set the Camera for Your Portrait Situation
- 3. Frame Tightly Without Losing Expression or Context
- 4. Control Depth of Field: How to Use a Crop Sensor for Background Blur
- 5. Use Distance, Lighting, and Background to Create Separation
- 6. Check Focus, Sharpness, and Image Quality Before Shooting
- Common Mistakes
- Frequently Asked Questions
- Is a crop sensor good for portraits?
- What focal length is best for portraits on a crop sensor?
- Do crop sensors produce blurry backgrounds?
- Should I use a crop-sensor camera in low light?
- Where to Start Tomorrow
What You Need
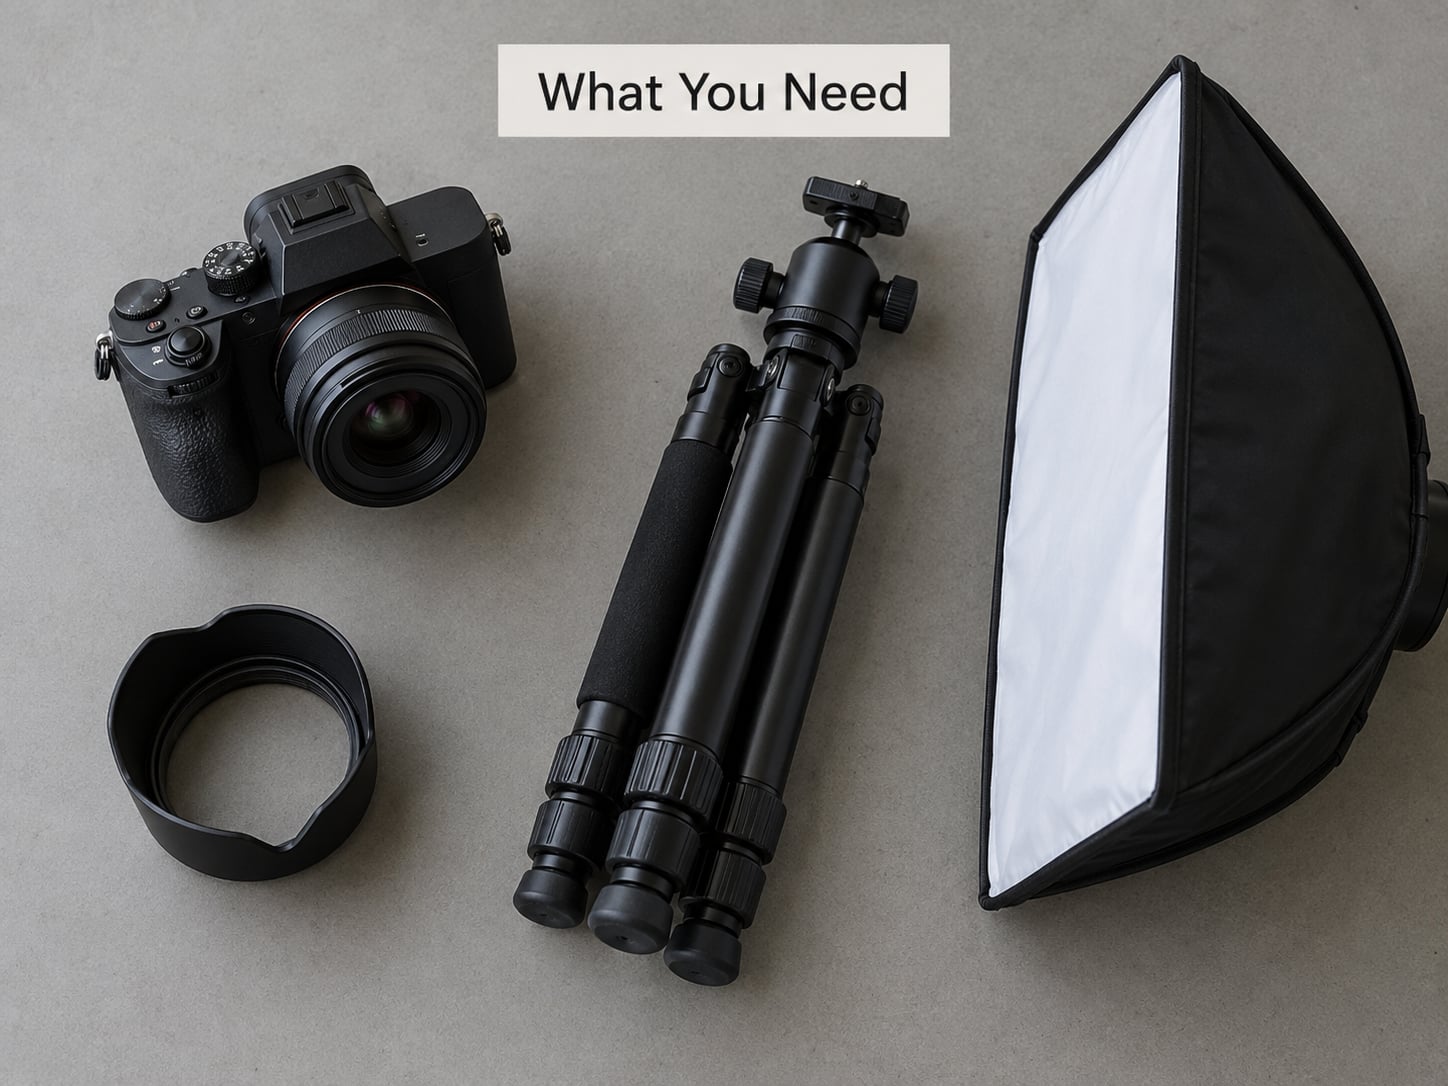
You need very little. A crop body you already own, one lens that suits the framing you shoot most, and a way to control light will cover almost every portrait you’ll want to make.
- A camera body. Any current APS-C, DX or Micro Four Thirds camera does the job. Autofocus performance matters more for portraits than resolution, so favour a body with dependable eye detection over one with more megapixels.
- One prime lens. A 35mm, 50mm or 56mm covers most portrait work on a 1.5x or 1.6x body. A short telephoto gives you more working distance if you shoot in big spaces or want compressed backgrounds.
- A tripod or monopod. Not for shake so much as for letting the camera sit still while you raise ISO less. On a small sensor every bit of light you keep is a bit of grain you avoid.
- A light modifier. A small softbox, a shoot-through umbrella or even a window with a sheer curtain. Diffused light is kinder to skin than a bare flash.
- A reflector or white card. This fills the shadow side of a face for almost nothing, and it takes less setup time than a second light.
- Something to move the subject away from. A wall several metres behind them. This single habit does more for background blur than any lens choice.
If you have never set a camera up manually, get comfortable with aperture and shutter speed first so neither is a surprise later in a session.
Step-by-Step: How to Use a Crop Sensor for Portraits
The workflow below runs in the order that saves the most wasted frames: pick the lens for the framing, set the camera, frame the shot, decide how much background blur you want, then create separation with distance and light. Check your work before you shoot more frames than you need.
1. Choose a Lens That Suits the Crop Sensor
Multiply the focal length you want by your camera’s crop factor to get the real lens you need. On a 1.6x Canon body, an 85mm look comes from a 53mm lens, which means picking up a 50mm. On a 2.0x Micro Four Thirds body, the same look comes from a 42mm, so a 40mm is the closest common option.
| Sensor system | Approx. sensor size | Crop factor | Lens giving an 85mm look |
|---|---|---|---|
| Nikon DX and Fujifilm X | 23.5 x 15.6mm | 1.5x | 57mm |
| Canon APS-C | 22.3 x 14.9mm | 1.6x | 53mm |
| Sony E APS-C | 23.5 x 15.6mm | 1.5x | 57mm |
| Micro Four Thirds | 17.3 x 13mm | 2.0x | 42mm |
Crop factor changes how much your lens sees, nothing else. If you already own a full frame lens, it works on a crop body and the crop factor still applies. Expect some extra vignetting in the corners at wide apertures and a little softness near the frame edge, which is why crop-specific primes usually look cleaner wide open.
Longer focal lengths are worth reaching for outdoors. A 135mm-equivalent view flattens facial features and shrinks the background behind your subject. One rule of thumb: a 50mm lens on a crop body gives the same field of view as an 85mm on full frame, but the view is narrower and you stand closer, so the perspective is not identical.
2. Set the Camera for Your Portrait Situation
Start in aperture priority at f/2.8 or f/4, 1/250s, Auto ISO with a ceiling of ISO 3200, evaluative metering and one-shot autofocus with eye detection. That combination covers a lit portrait and a dim room, and it is the setting group I fall back to most often.
From there, adjust for what the subject is doing:
- Talking head or still subject: f/2.8, 1/250s, Auto ISO. Let the camera find the light.
- Moving subject, children, hands: raise to 1/500s or 1/1000s so motion stops, and widen to f/2.8 or f/4 to keep collecting light.
- Window light: meter for the face, then add one to two stops of exposure compensation if your subject has dark skin or is wearing black, so the camera does not underexpose them.
- Very dim rooms: shoot RAW, set ISO 1600 to 6400 as needed, and put the camera on support.
White balance matters less on RAW, but if you shoot JPEG set it to the shade or overcast preset indoors so skin does not drift orange. Zone or evaluative metering is usually right for portraits; spot-meter the forehead when the background is much brighter than your subject.
3. Frame Tightly Without Losing Expression or Context
Framing is where a crop sensor helps most, because a narrower field of view lets you fill the frame without walking backwards. Pick the framing first, then confirm your lens gives it to you.
| Framing | Full frame focal length | Lens on a 1.6x body | Rough working distance |
|---|---|---|---|
| Head and shoulders | 85-135mm | 53-85mm | 2-3m |
| Waist up | 50-85mm | 31-53mm | 1.5-2.5m |
| Three-quarter length | 50-85mm | 31-53mm | 2.5-4m |
| Full body | 35-50mm | 22-31mm | 3-5m |
| Environmental | 24-35mm | 15-22mm | 4-6m |
These distances are guides, not rules. The practical method is simpler: open the camera on live view, walk backwards until the framing works, then check whether your feet or a wall stop you. If they do, you need a wider lens rather than a longer one.
Tight framing is where people go wrong with expression. A head-and-shoulders frame with a long lens and no space around the head can look cramped. Back off slightly, leave a little air above the hair, and turn your subject a few degrees away from the lens so the far cheek and shoulder are still visible.
Hands tell the story too. Ask your subject to bring one hand up to the collar or rest both on the chair, and check the frame for stray fingertips at the edge before you shoot a series.
4. Control Depth of Field: How to Use a Crop Sensor for Background Blur
A crop sensor gives you usable background blur at f/2.8 or f/4 for head-and-shoulders work, because your subject sits further away than it would on full frame at the same framing. You do not need a f/1.4 lens, and several experienced photographers shooting on crop argue strongly that you do not want one.
Background separation follows four things, in this order of importance:
- Distance from subject to background. A subject 1m in front of a wall gets a blurred wall barely at f/1.4. Move the subject 4m in front of that same wall and it melts at f/4.
- Working distance. A longer lens used from further back magnifies the blur already in the frame.
- Aperture. One full stop doubles the blur on the parts of the background that are already out of focus, though only the light discs become fully round.
- Lens design. Blur quality is more about the lens than the camera. A large round element gives even, creamy out-of-focus areas; a small one gives harder edges.
Stop down deliberately when you need more in focus. A group of five standing shoulder to shoulder needs f/5.6 or f/8 so nobody’s ear is soft, and a person leaning toward the camera needs enough depth of field to hold eyes and ears sharp. Depth of field is a tool, not a ranking.
One warning worth repeating: the sharpest lens available is not the best portrait lens. Very high micro-contrast renders every pore and wrinkle, which means more time in retouching. Aim for the sweet spot of a lens stopped down a stop or two from wide open.
5. Use Distance, Lighting, and Background to Create Separation
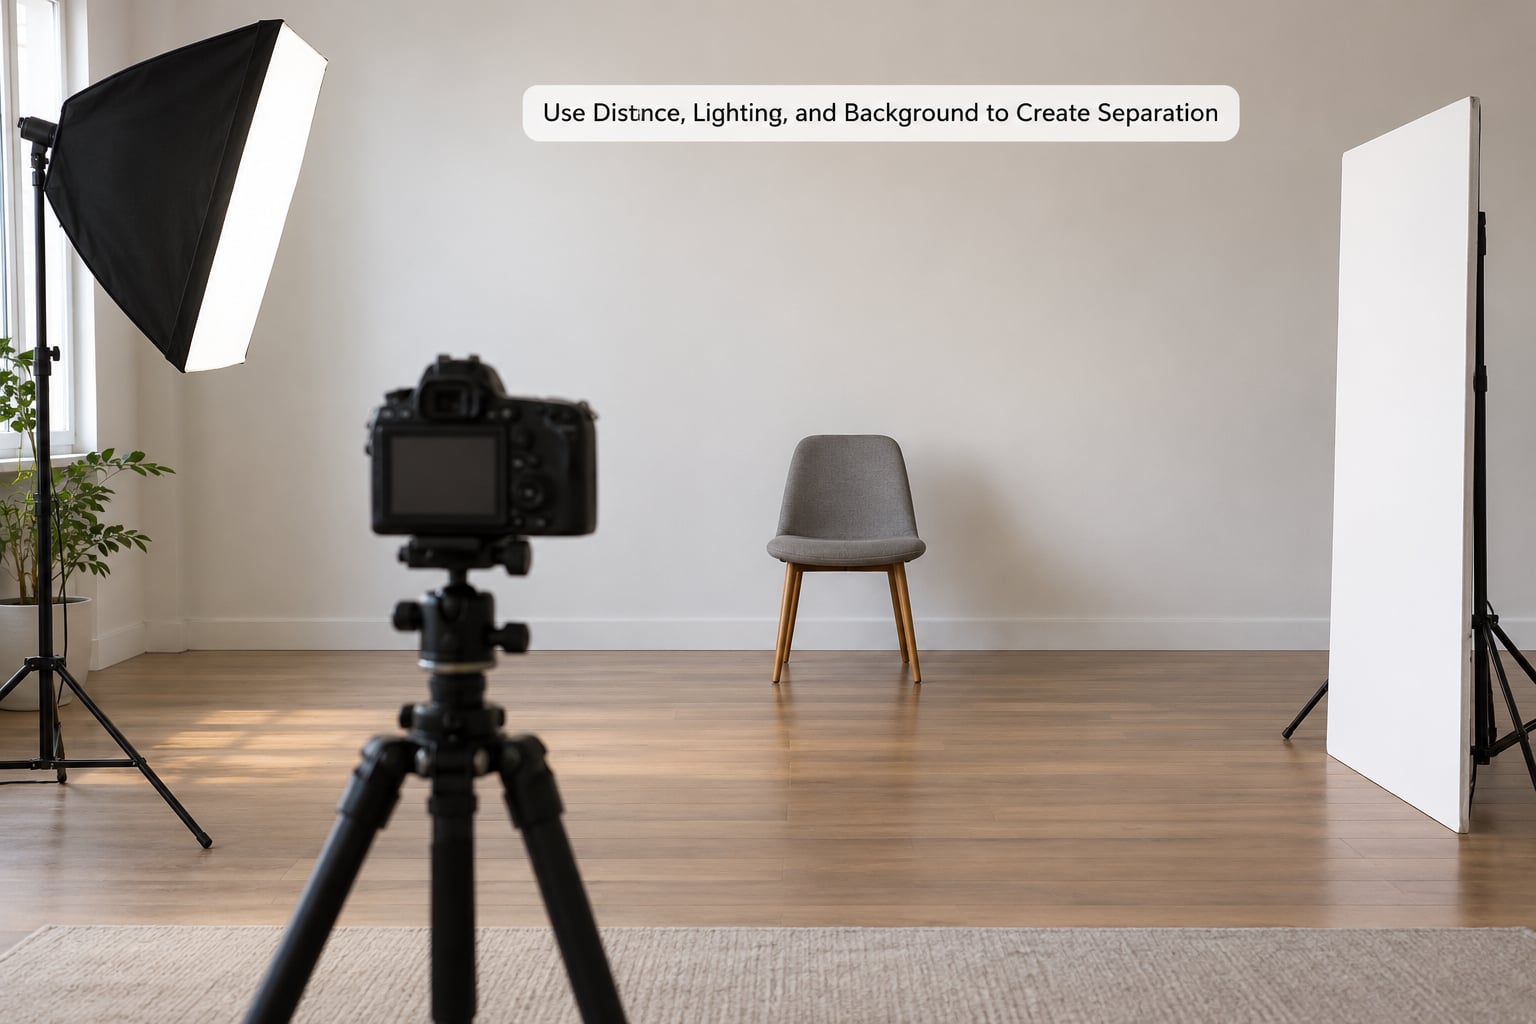
On a small sensor, light is your real exposure budget, so treat it as the first variable rather than the last. Move your subject to the window first, then open the aperture, then raise ISO. That order keeps grain lower than starting at ISO 3200 because you added light instead of sensitivity.
Give the subject a darker or simpler background than their face. Standing them a few steps in front of a painted wall, or off to one side of a bright window, separates them without touching the aperture at all.
Light placement does more than exposure. Raising the light above eye level and angling it down slightly makes features look symmetrical. Blowing it across from the side gives shape and shadow. Lighting from directly in front and slightly above, the way a ceiling light does, flattens a face and puts a distracting shadow under the nose.
If you only own one modifier, make it a small soft source placed close to the subject. Distance between the light and the subject makes it softer, but light falls off fast, so moving the modifier in closer keeps your ISO lower even though the source itself is unmodified.
6. Check Focus, Sharpness, and Image Quality Before Shooting
A twenty-second check between setups saves a whole session of unusable frames. Turn on magnification, focus on the near eye, and zoom in to 100 percent to confirm the lashes or the iris edge are crisp.
Then check exposure. A histogram that touches the right edge means clipped highlights with no recoverable detail in skin. Most portraits want the histogram peaking about a third from the right, not touching the wall.
Check your shutter speed actually held. If you set 1/250s and the light dropped, Auto ISO cannot save you if the camera hit its ceiling and started dropping shutter speed. Watch the displayed shutter speed at the moment you fire.
Shoot RAW. It costs nothing and it gives you the latitude to lift shadows and pull noise down later, which is the difference between a usable file from a crop body and one you delete. Noise reduction works best on a RAW file with clean shadow detail, so keep that latitude rather than saving a stopped-down frame you cannot recover.
Last thing before you move on: make one frame at your intended aperture, your intended focal length and your intended distance. If that frame looks like the portrait you wanted, the setup is finished. Change one variable at a time from there.
Common Mistakes
Buying a fast lens and ignoring the background distance. A f/1.4 lens pointed at a subject standing against a brick wall gives you a sharp brick wall. Move the subject three or four metres further from that wall before spending money on glass.
Standing still when the framing needs a wider lens. If you are backed against a wall and your head-and-shoulders frame will not fit, you need a wider focal length, not to lean forward. Leaning forward adds perspective distortion to the nose and forehead.
Cropping in post to rescue a frame that was too wide. Cropping loses pixels, and on a smaller sensor you have fewer to spare. Frame it right in the viewfinder. Post-cropping is fine for a straightening nudge, not for recovering framing you walked away from.
Assuming f/1.4 is required for background blur. For head-and-shoulders work, f/2.8 to f/4 is plenty, and stopping down gives you a subject sharp from ear to ear. The fast-aperture argument is about very dim rooms, not about general portrait technique.
Over-sharpening skin in post. Noise reduction plus sharpening plus clarity sliders is a recipe for plastic skin. Sharpness belongs on the eyes and hair, and light noise reduction on the face, applied at low strength.
Raising ISO before adding light. ISO does not create light; it amplifies what little you have. Shoot RAW so a noisy frame is recoverable, but the cleaner file comes from one more stop of light on the subject.
Buying full frame lenses you will outgrow. If you may move to full frame later, a 35mm or 50mm f/1.8-class prime covers both mounts and both formats. Check that a lens covers your sensor’s circle of coverage before you commit.
Frequently Asked Questions
Is a crop sensor good for portraits?
Yes, for most portrait work a crop sensor is more than capable, especially headshots, beauty images and tightly framed environmental portraits. Its narrower field of view lets you fill the frame without stepping back, and the extra distance from subject to background produces usable separation at f/2.8 or f/4. The real limits are high-ISO noise and less room for very wide apertures in dim light.
What focal length is best for portraits on a crop sensor?
About 85mm equivalent is the versatile starting point, which means roughly 57mm on a 1.5x body and 53mm on a 1.6x body, so a 50mm or 56mm prime covers it. That view gives flattering compression and enough distance for natural expressions. A 35mm equivalent to about 52mm works when you need more context, are in a small room, or are shooting a group.
Do crop sensors produce blurry backgrounds?
They can, but blur depends on focal length, aperture, subject-to-background distance and lens design rather than sensor size alone. A narrow field of view on its own does not create blur. Shoot a subject at least three metres from what is behind them and open to f/2.8 or f/4, and the background separates cleanly even at 50mm on a crop body.
Should I use a crop-sensor camera in low light?
Use it, with a plan. Add light first, keep the camera on a tripod or monopod, and raise ISO only until you reach a point where grain is more obvious than motion blur. Shoot RAW so shadows can be lifted and noise reduced later. Modern crop bodies handle indoor event portraits well at f/1.8 or f/2.8 if the subject is not moving.
Where to Start Tomorrow
Pick one framing you shoot most, work out the lens your crop factor needs for it, and put your subject three metres further from the background than feels natural. Shoot one frame at f/2.8 and 1/250s in RAW, check the histogram, and compare it against what you were getting with your old setup. Most people find the noise was never the sensor’s fault, and that f/4 was enough all along.