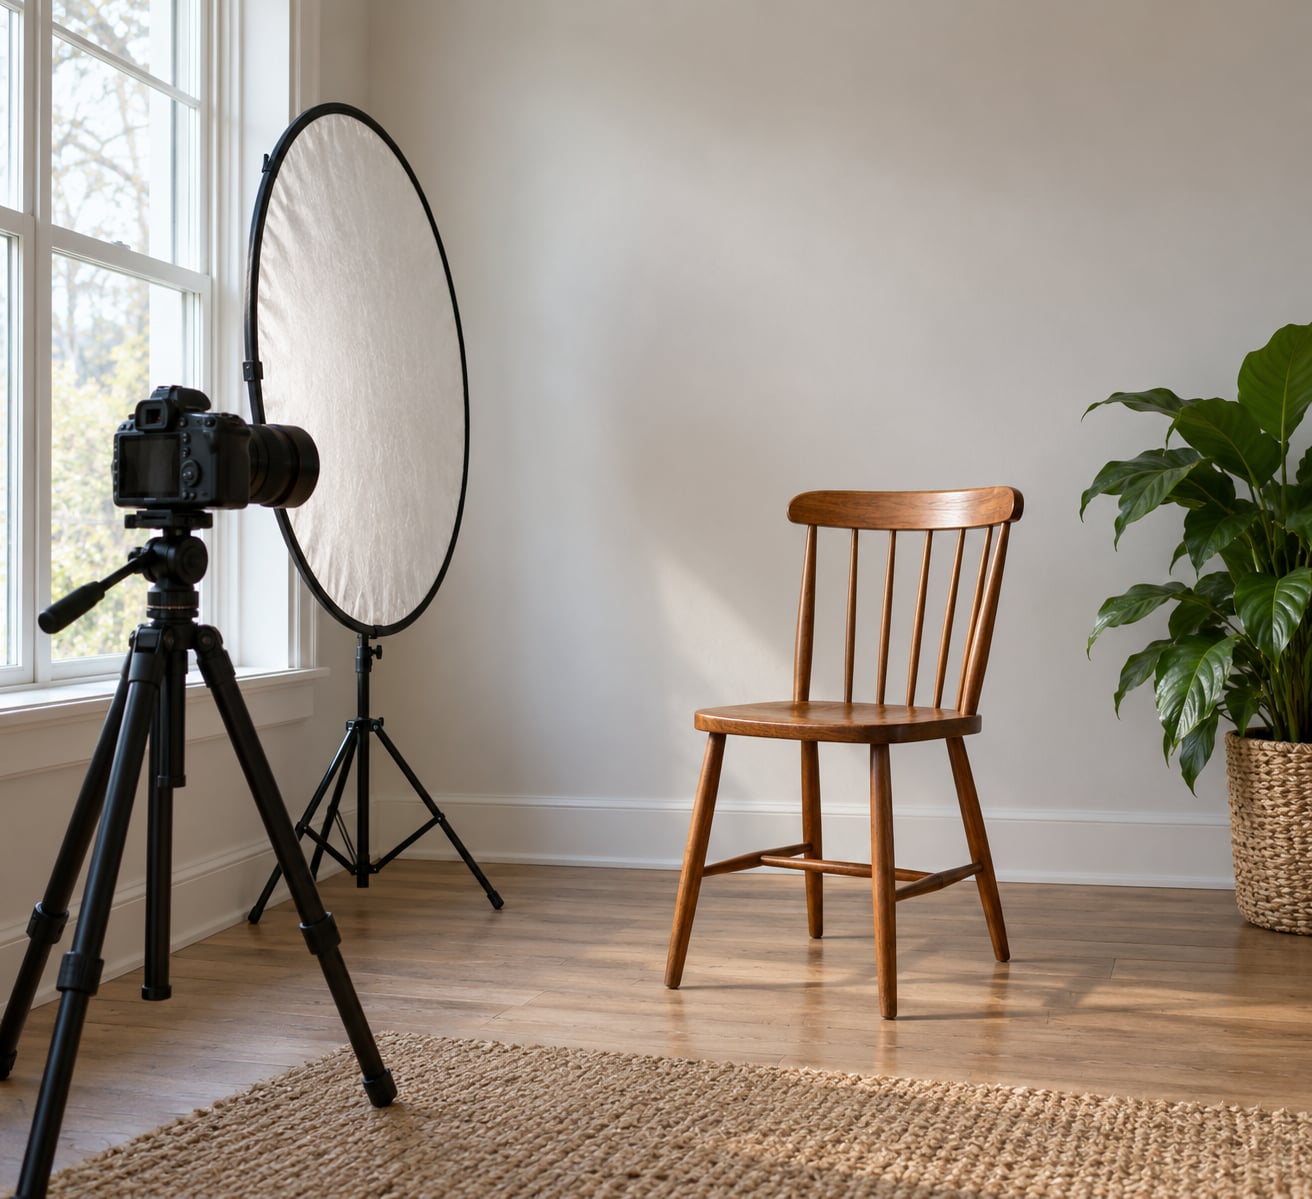
To shoot portraits with natural light, find a large window or a patch of open shade, put your subject about 1.5 to 2 metres from it with their face turned toward the light, and fill the shadow side with a white reflector. Shoot a test frame, check the histogram, then refine the pose. It takes about 15 minutes to learn and costs nothing beyond a reflector you may already own.
Most people picture natural light as a soft, forgiving freebie. It is neither, until you learn to read it. Light arrives from one direction, falls off fast, and changes colour through the day, so the same face looks completely different two hours later.
This guide covers the repeatable workflow I use, from scouting the light to the final review, and it works indoors beside a window or outdoors under a tree. No strobe, no softbox, no light stand.
Table of Contents
- What You Need
- Step-by-Step: How to Shoot Portraits with Natural Light
- Common Mistakes and Quick Fixes
- Frequently Asked Questions
- What equipment do I need to shoot portraits in natural light?
- Is open shade better than direct sunlight for portraits?
- How do I use a window to light a portrait?
- What camera settings work best in natural light?
- Should I put the sun in front of or behind my subject?
- What time of day is best for natural light portraits?
- Conclusion
What You Need
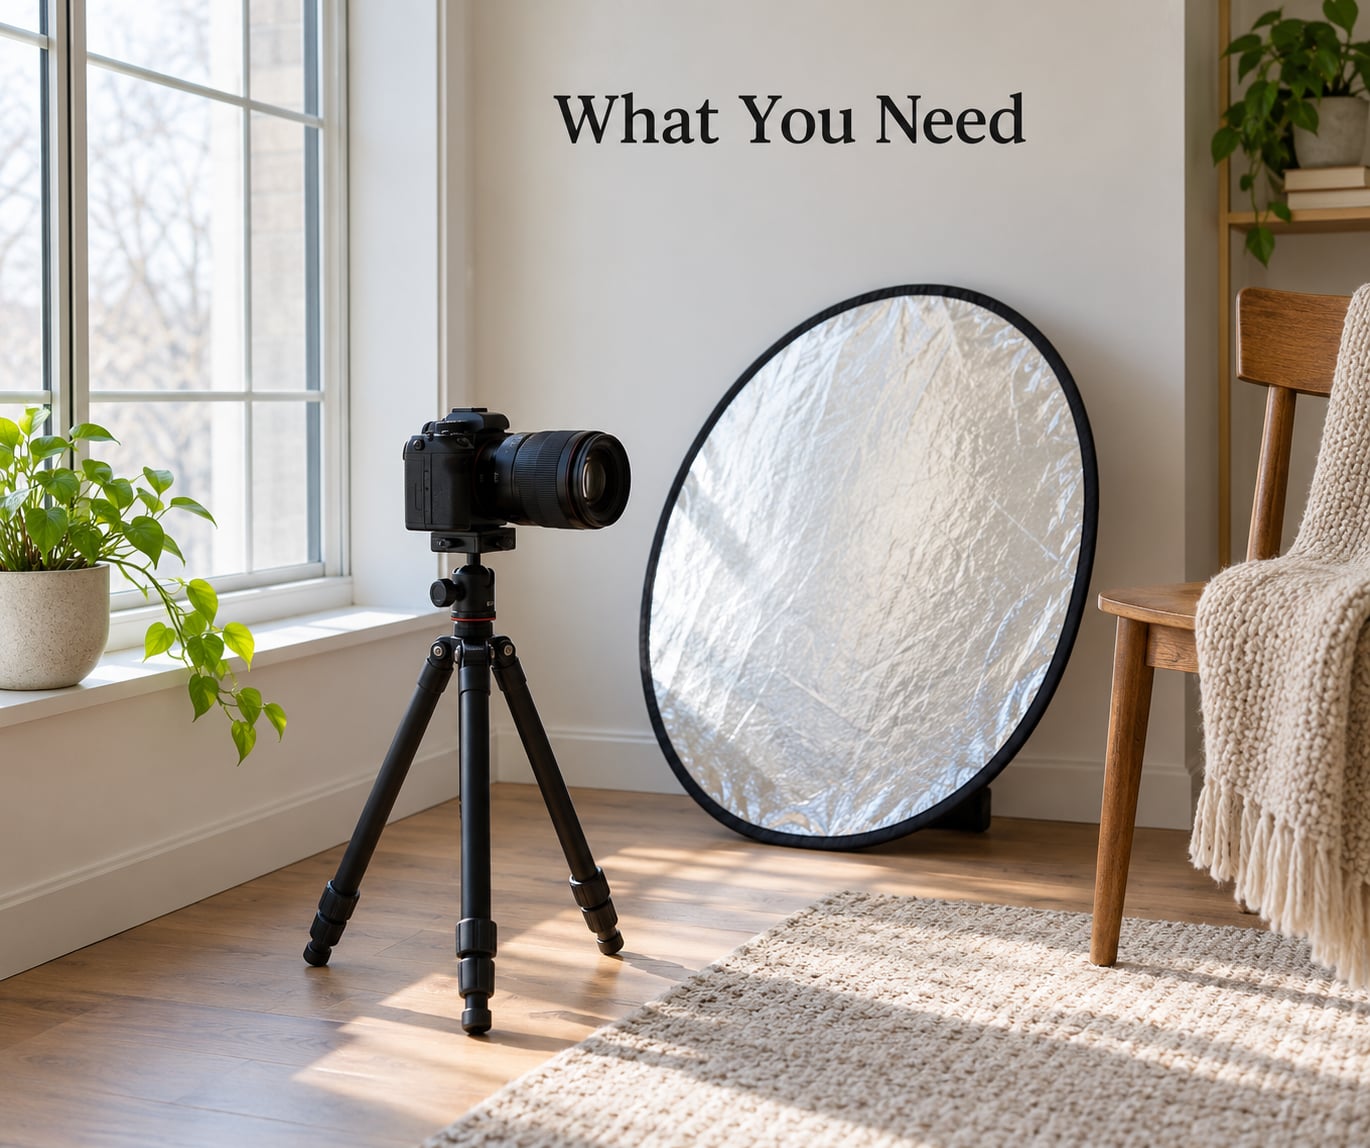
You need a camera and a normal lens. A 35mm or 50mm prime covers the distance most portraits are shot from, and a kit zoom at 55mm or longer works nearly as well. A phone camera handles this technique fine too, as long as you tap the screen to lock exposure on the face instead of leaving it automatic.
- A reflector. A 5-in-1 reflector around 30 inches for one person at arm’s length, 50 inches or larger for a group. Check the frame is flat; cheap ones bow, and a bowed reflector throws a lumpy, uneven bounce. A sheet of white foam board or a pale wall does the same job if you have no reflector at all.
- A small tripod or a stable surface. Needed if the light drops and you want a consistent frame, or for self-portraits on a timer.
- A diffuser or scrim, optional. A translucent panel between the sun and the subject turns hard midday light into something usable. Without one you can still work, but you’ll be repositioning instead of modifying.
- Black card or dark fabric, optional. Negative fill. Holding it on the shadow side deepens the contrast and stops a wide-angle face from looking flat.
Choosing the location matters more than any accessory. Look for the biggest, softest source you can find facing the subject, and check that the background is a metre or two behind them rather than pressed against their shoulders. Turn off overhead lights before you start indoors, because mixing warm room bulbs with cool daylight gives you two colour temperatures in one frame.
Step-by-Step: How to Shoot Portraits with Natural Light
Step 1: Scout the Light Before the Shoot
Arrive fifteen minutes early and walk the location without the camera out. Windows, open shade, reflected light and indirect sunlight are all usable, and you can usually find two or three of them within a short walk.
Judge four things. Direction tells you where the subject faces. Sofeness is decided by the size of the source relative to the subject, so a window is soft and a bare sun disc is hard. Colour shifts warm in the last hour before sunset and turns blue after, which is pleasant but means you should set white balance by hand rather than leaving it on auto. Contrast is the gap between the lit and shadow sides of the face; that gap is what you control in the next step.
Check the background too. Move whatever you can, then change your shooting angle by a metre and a half if you need to. Slightly shooting off-centre often kills an ugly background that you couldn’t tidy away.
Step 2: Position the Subject Relative to the Light
The single most repeated piece of advice in photography forums is also the correct one: move the subject, not the camera. Slide your subject closer to the window and the light gets softer and dimmer; move them further away and it gets harder and brighter. One knob, two effects.
Beside a window, stand your subject about 1.5 to 2 metres out, then have them turn their face roughly 45 degrees toward the glass. That quarter turn gives you shape on the face rather than the flat, symmetrical look you get head-on. Push the turn further and you approach split lighting, where one side is lit and the other falls into shadow. Straight to the window, a few degrees above eye level, gives butterfly lighting with a small shadow under the nose.
Outdoors, find the shadow edge. Buildings, walls, trees and parked cars all throw open shade with a soft border, and placing your subject just inside that border puts their whole face in shade while the background stays bright. Reflector surfaces help here: a pale wall facing your subject becomes a free bounce card, and a dark hedge on the other side becomes instant negative fill.
Watch the subject’s eyes. If they are lit as brightly as the cheek, the light is too frontal; a small turn away gives the eyes some shape and stops the flat, staring look.
Step 3: Set the Camera for Accurate Exposure
Start in aperture priority and meter for the face, not the background. A broad forehead and a white shirt will otherwise pull the meter two stops bright and leave your subject grey.
Move closer and use spot or centre-weighted metering on the forehead if your camera offers it. Then check the histogram and the highlight warnings after every shot. If the whites are flashing, the face is clipping and no edit will rescue it.
| Light condition | Setup | Starting settings |
|---|---|---|
| Overcast daylight | Open, face toward the brightest sky | f/2.8, 1/250s, ISO 200-400 |
| Open shade | Reflector on the shadow side | f/2.0, 1/160s, ISO 400-800 |
| Window light | Subject 1.5-2m out, face turned 45 degrees | f/1.8, 1/125s, ISO 400-1600 |
| Golden hour | Shoot toward the sun for rim light | f/2, 1/500s, ISO 200, +0.7 EV |
| Direct midday sun | Translucent diffuser or scrim above | f/4, 1/2000s, ISO 100 |
For a subject who is moving around, keep the shutter at 1/250s or faster and let ISO rise. A sharp frame at ISO 3200 beats a soft one at ISO 100 every time. If the light is changing fast, lock white balance to daylight rather than auto, otherwise the colour of the skin shifts frame to frame.
Step 4: Refine the Pose, Background, and Composition
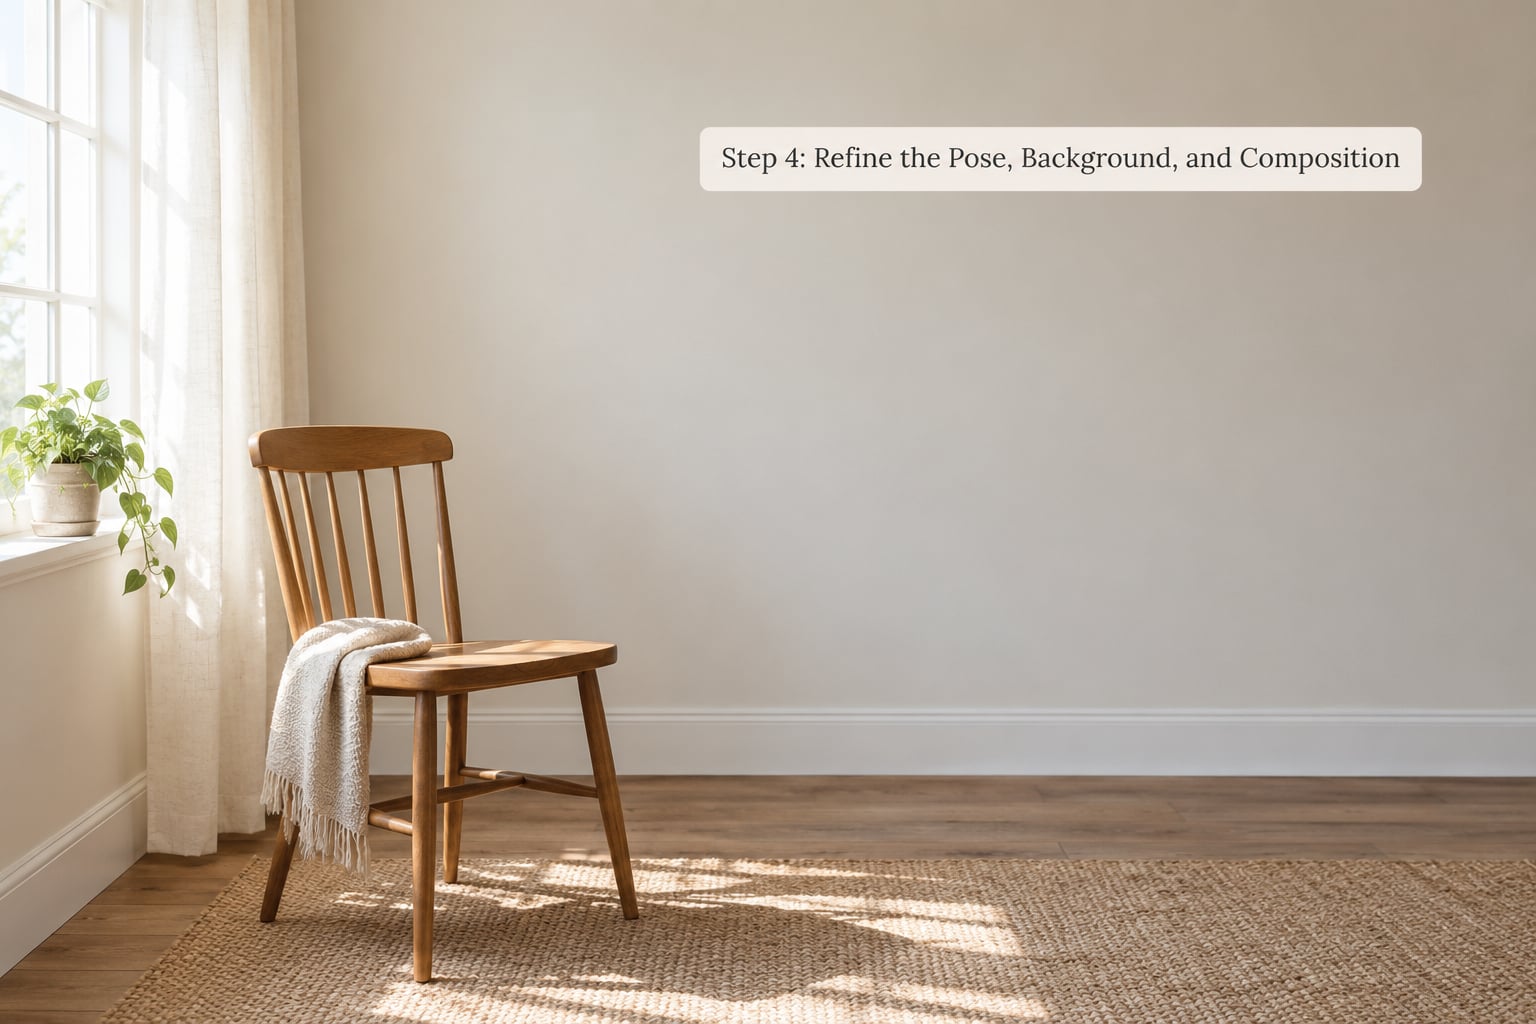
Direction beats technique here. Tell your subject where to put their hands, ask them to turn their shoulders toward the light and lean their weight into the back foot, then have them bring the chin forward and down slightly. That last move opens the neck and stops the chin doubling into the jaw.
Give the pose something to do. Ask them to look past your shoulder toward the far wall rather than at the lens, or to walk three slow steps toward you. One instruction at a time beats a stream of direction while you’re shooting.
Leave negative space on the side the subject faces or looks toward. Aiming an 85mm lens so your subject sits on a third with room ahead of them creates a natural, balanced frame without any editing.
Push the background back by moving your subject away from it, and shoot from a slightly lower or higher angle than eye level so you don’t photograph the ceiling. With a wide lens, step back and use the further distance rather than crowding in, which avoids the stretched nose and ears.
Step 5: Check Focus, Make Test Frames, and Review
Put focus on the eye nearest the camera, use single-servo autofocus, and shoot at a wide enough aperture to keep that eye sharp without turning the background into mush. If your camera has eye detection, check that it has actually locked onto an eye and not the eyebrow before you start firing away.
Make three test frames before anything else, then review them at full size on the camera screen. Look at the histogram first, then zoom in on the eyes, then the hair, then the shadow side of the face. Most disappointing natural light portraits fail in one of those three places, and each one has a different fix.
Once exposure and focus hold, vary the frame without moving the light: half a step closer to the shadow edge, a different head angle, a tighter crop. That keeps your lighting setup intact while giving you genuine options at review time. When natural light finally stops working, usually when the contrast between lit and shadow sides exceeds what your camera can hold in one frame, that’s when adding fill flash makes sense.
Common Mistakes and Quick Fixes
- Harsh light with hard shadow lines. Put the subject in open shade or behind a translucent panel. If you can’t move them, have them close their eyes for a beat and shoot on the count of three, when the squint is gone.
- Mixed colour temperatures. One window plus overhead bulbs plus flash gives you three different colours in a single frame. Turn off every artificial source and shoot with daylight only.
- Blown highlights on skin or hair. Meter for the face, then dial in negative exposure compensation until the histogram’s right edge just stops clipping. Recovering a bright window is easy; recovering clipped skin is not.
- Dull, grey faces near a window. Usually too far away or too far back from the glass. Move them within 2 metres and turn the face toward the light, not the window wall.
- Background competing with the face. Increase the distance between subject and background, then open the aperture to blur it. If the background is brighter than the face, expose for the face and let the background go dark.
- Distracting shadow patterns. Railings, window frames and bare branches stripe the subject. Reposition by half a metre or wait for cloud cover; those patterns move constantly on a windy day.
- Reflections in glasses, mirrors and windows. Change the angle a few degrees, which moves the reflection, or have the subject tilt their head down slightly so the reflection falls below the lens line.
- Reflections or heat haze from a reflector on the ground. A reflector lying flat bounces light up into the underside of the face and appears in frame. Raise it to chest or head height, above the bottom of the frame.
- Wrong white balance. Set it manually at around 5200K for open shade and 6000-6500K for direct sun. Auto white balance will swing warm when you shoot toward the sun.
- Focus missed. Switch from continuous AF to single AF, zoom in to confirm, and shoot a burst to pick the sharp one.
One habit prevents most of the above: take the test frame, then look at it before you shoot twenty more. Ten seconds of checking saves a full session of retakes.
Frequently Asked Questions
What equipment do I need to shoot portraits in natural light?
A camera or phone, a lens between 35mm and 85mm, and a reflector are genuinely useful. The reflector, roughly 30 inches for one person, fills the shadow side so the face doesn’t look half-lit, and a sheet of white foam board works nearly as well. A tripod and a translucent diffuser are helpful but optional. No dedicated light is required.
Is open shade better than direct sunlight for portraits?
Yes, for most outdoor portraits. Open shade is a large soft source, so skin tones come out even and shadows under the nose and eyes stay gentle. Direct sun produces a small, hard source that creates dark eye sockets and squinting. Direct light is workable if you soften it with a diffuser or position the subject just inside the shade edge.
How do I use a window to light a portrait?
Put your subject 1.5 to 2 metres from the window, roughly one to two steps away, and have them turn their face about 45 degrees toward the glass. Closer means softer and dimmer, further away means harder and brighter. Add a reflector on the shadow side and switch off any overhead lights so the colour stays consistent.
What camera settings work best in natural light?
Shoot in aperture priority between f/1.8 and f/4, keep the shutter at 1/125s or faster for still subjects and 1/250s or faster for movement, and let ISO rise as needed. Meter for the face, then add or subtract exposure compensation until the histogram stops clipping. Set white balance manually rather than leaving it on auto.
Should I put the sun in front of or behind my subject?
Put it behind or to the side for most portraits. Shooting toward the sun gives a rim of light around the hair and shoulders and a pleasant, glowing background, but you’ll need to add fill so the face doesn’t turn into a silhouette. Shooting with the sun behind you gives flat, even, honest light with no drama.
What time of day is best for natural light portraits?
Late afternoon and early evening are the easiest and most flattering. The sun sits low, the light travels through more atmosphere and arrives warmer and softer. Midday is the hardest because the sun is overhead and small, creating dark eye sockets. Overcast days are excellent, giving soft even light all day long.
Conclusion
Start with one action tonight. Put a chair beside the biggest window you have, sit someone a metre or two away, turn their face toward the glass, and take one test frame at f/1.8 and 1/125s. Check the histogram, then hold a white sheet of card on the shadow side of their face and take a second. That single comparison teaches the whole technique: soft versus flat, bright versus grey. Once it clicks indoors, the same three moves — find the soft source, turn the face toward it, fill the shadow side — carry straight over to open shade and golden hour.