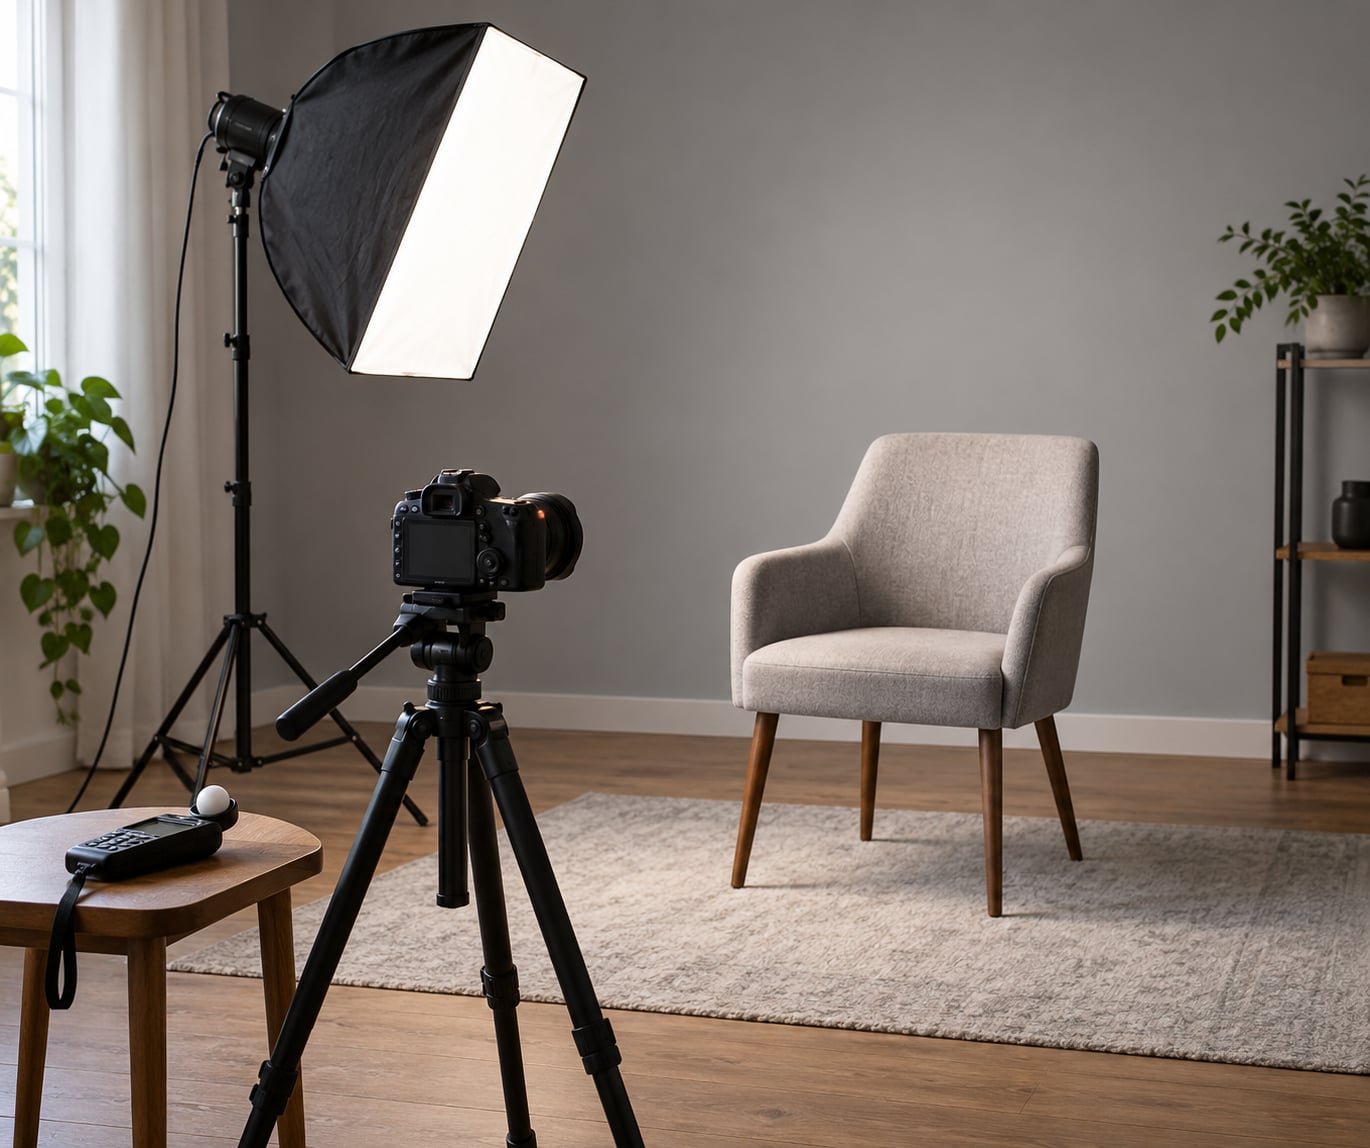
To use a softbox for portraits, mount it on a stand about 3 to 4 feet from your subject and angle it down from roughly 45 degrees to the side and slightly above eye level. Set the power so the brightest part of the face lands a stop below clipping, add a reflector or white card opposite, and shoot. That whole setup takes about five minutes once you have done it twice.
A softbox does one job: it takes a small, harsh bulb or flash head and makes it behave like a big window. Because the apparent size of the light source is what softens shadows, a softbox larger and closer gives you gentler transitions across a face. Everything else, angle, distance, power, is just adjusting how that window faces the subject.
This guide covers the version I wish someone had handed me when I started. No jargon walls, no six modifiers to buy first.
Table of Contents
What You Need
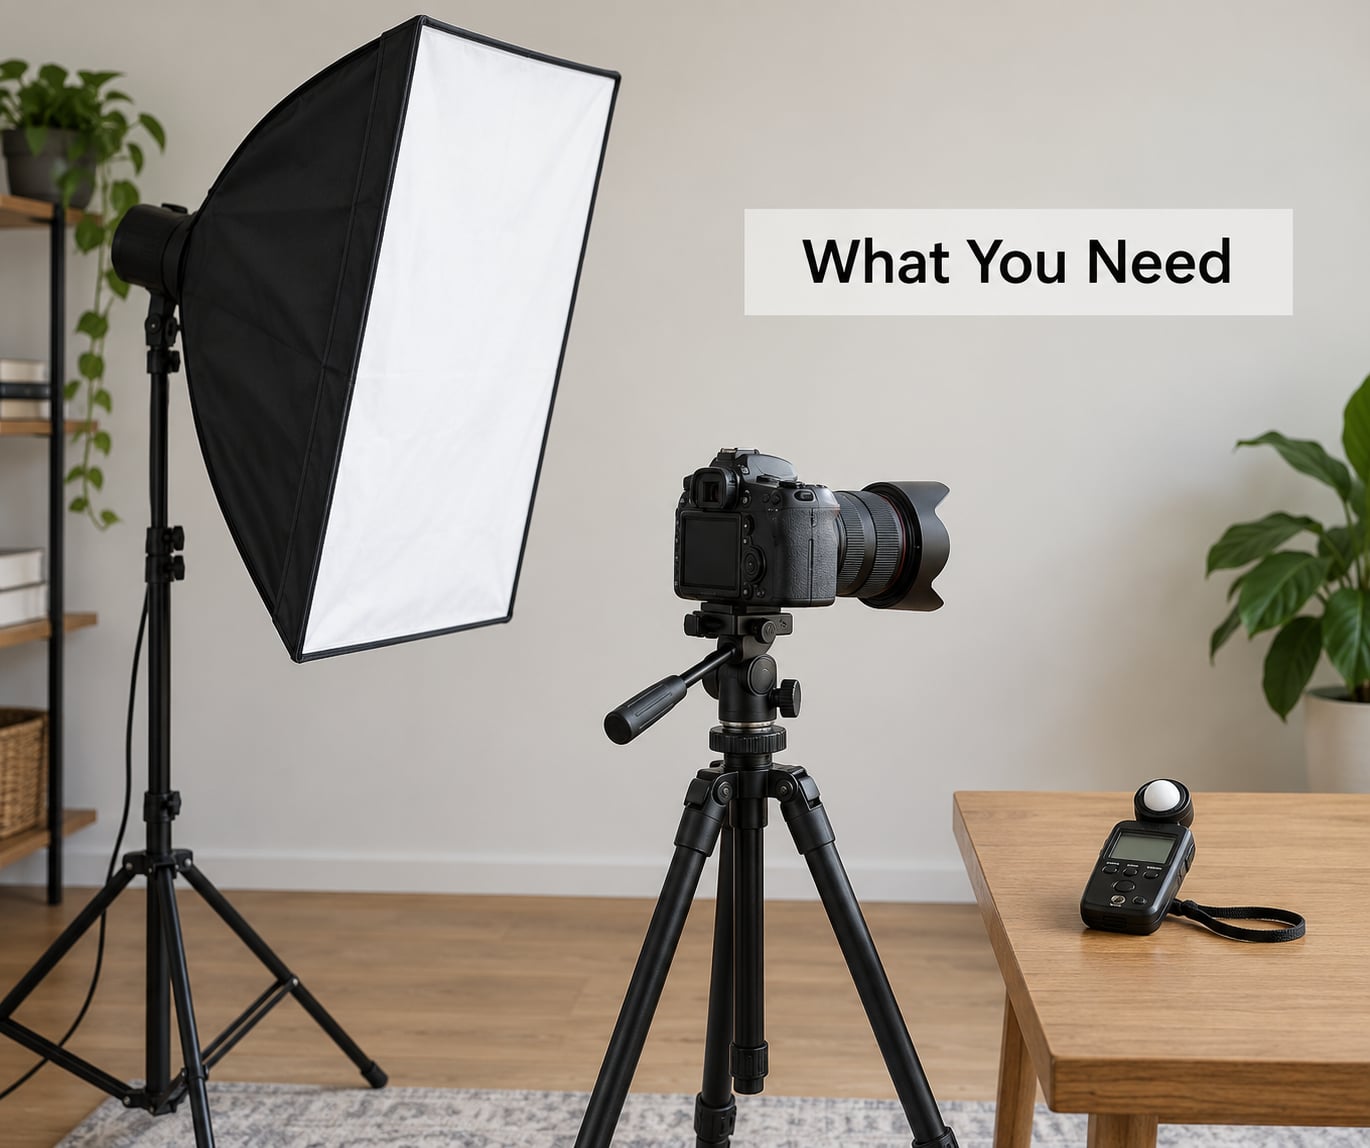
The list is shorter than gear forums make it sound. A light source, a softbox, a stand, a way to fire the light remotely, and something white to bounce fill back into the shadows.
Light source: strobe, speedlight or continuous LED
A monolight (a strobe with its own power controls) gives you the most consistent results and the fastest recycling between shots. A speedlight is lighter and cheaper, but it often runs out of power the moment you step back far enough for the light to look soft. A continuous LED panel is the easiest to judge by eye and the right choice if you also shoot video.
If you shoot indoors and can only own one light, a monolight is the better investment. If you shoot on location and need to move fast, a speedlight in a softbox travels better.
Softbox size and shape
Bigger is softer, up to a point. Around 80 by 80 cm is the practical sweet spot for home studio headshots, and the size most beginners end up using. A rectangular box about 30 by 120 cm gives you a narrow strip of light that suits side-by-side or edge lighting. A round octabox throws a more natural, less rectangular catchlight into the eyes.
The interior matters less than people think. Silver interiors are slightly punchier and cooler, white interiors slightly softer and warmer. Either will produce a good portrait.
Stand, trigger and a light meter
You need a stand that holds a couple of kilos without walking across the room every time you adjust it. A small sandbag on the base stops it drifting. For firing, a radio trigger or a cable release lets you shoot without touching the camera and shifting the stand.
A handheld light meter sounds like overkill until the first time you shoot a subject in a black shirt and a white one in the same frame. Then it earns its keep. Without one, spot meter off the subject’s forehead and dial in your settings from there.
Fill and control
A white reflector or foam board, held on the shadow side, does most of the work a second light would do. Add an egg crate or honeycomb grid when you shoot in a small room and the softbox is spilling onto the wall behind your subject.
Step-by-Step: Set Up Your Softbox for Portraits
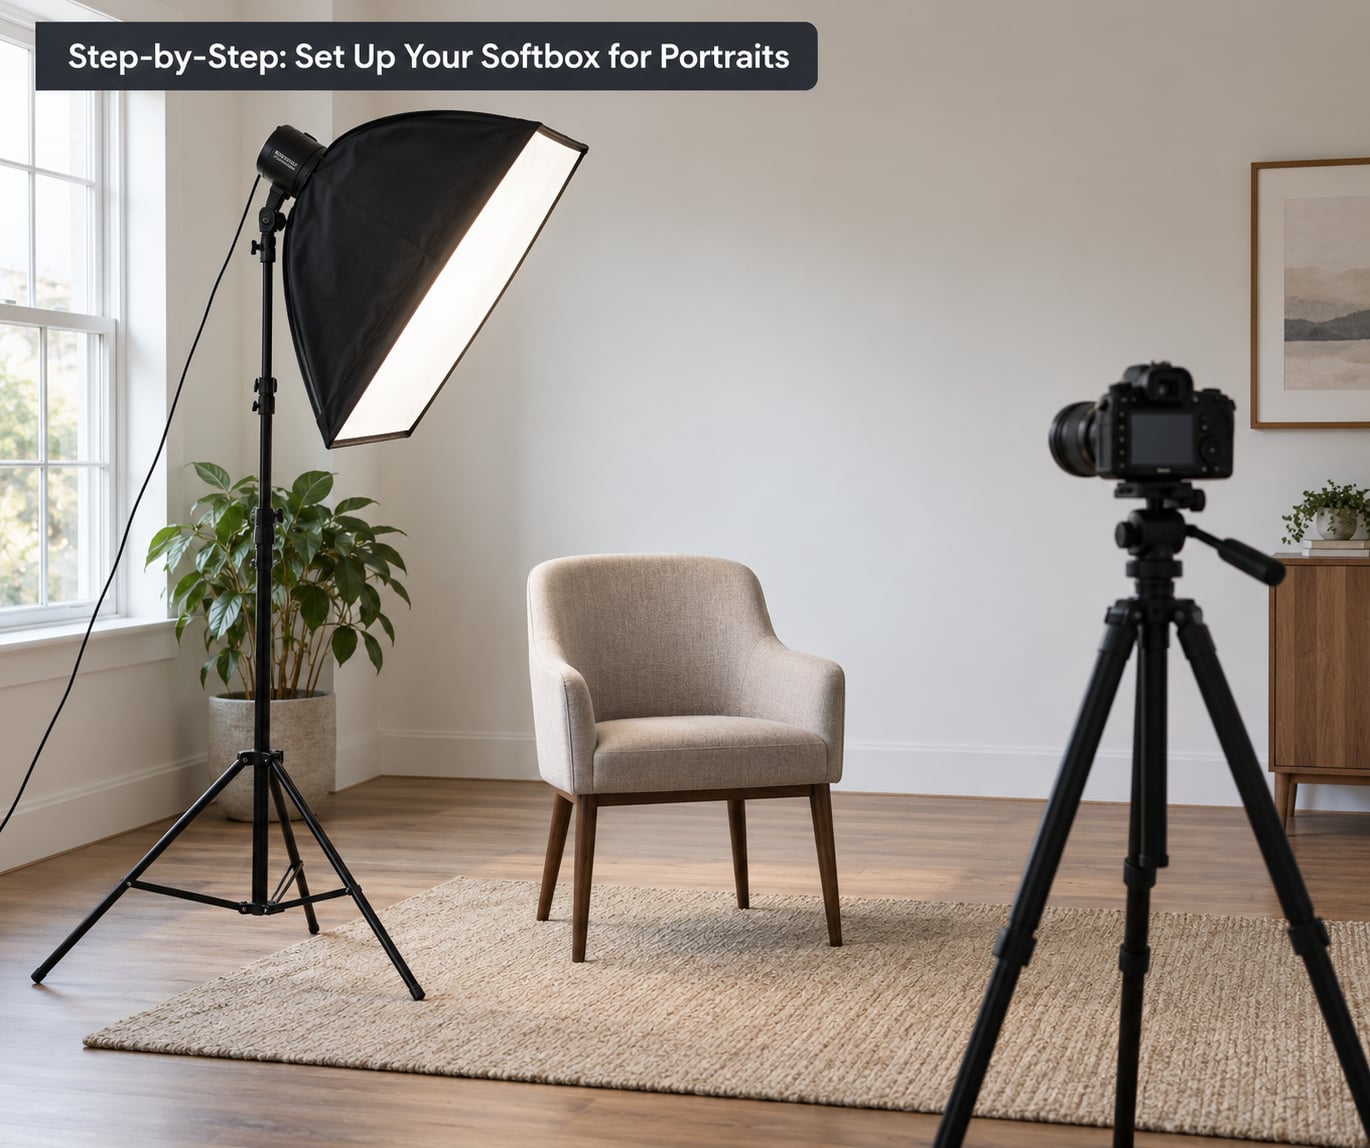
The goal of this setup is simple: light the face from slightly above and to one side, so the shadows fall under and to the far side of the features. That single decision gives you most of what makes a portrait look professionally lit.
1. Choose the Right Softbox and Modifier
Start with a medium softbox, roughly 80 by 80 cm, mounted on the light rather than the camera. It softens the light without needing to sit so far back that you lose power. Add diffusion fabric if your softbox does not already include a panel, and skip the grid until spill becomes a problem.
Feathering the box, angling it slightly away from your subject so the far edge of the front panel sits closer to the camera than the near edge, gives a smoother, more natural wrap across the face. You lose a little brightness and gain a lot of skin rendering.
2. Position the Softbox at an Angle
Place the softbox about 45 degrees to one side of the camera axis and raise it until the centre of the panel is a little above the subject’s eyes, usually chin height or higher. Look at what lands on the nose to confirm the position: a small shadow angled down and away from the cheek is loop lighting, the most forgiving pattern for beginners and the safest default for business portraits.
Move the light closer to the camera axis and raise it more for butterfly lighting, where the nose shadow points straight down and the cheekbones light up. Push it toward 90 degrees and you get split lighting, half the face lit and half in shadow, which reads as dramatic or moody. Aim for the loop position first and only deviate when the portrait calls for it.
3. Set the Light Power and White Balance
Start with manual power at a low setting, fire a test shot with your subject in place, then raise or lower it until the skin is bright without the highlights clipping. Watch the forehead and the highlight on the nose, those blow out first.
Fix the white balance rather than leaving it on auto. Continuous LED panels drift slightly in colour as they warm up, and a flash balanced to daylight stays put. Set your camera to the flash’s rated colour temperature, usually 5600K for daylight-balanced units, or shoot RAW and correct later. Mixed light is the most common reason indoor softbox portraits come out with an odd skin tone.
4. Adjust the Light-to-Subject Distance
This is the control most beginners skip, and it changes the look more than the modifier does. The closer the softbox sits to your subject, the larger it appears from where your subject stands, so the light wraps further around the face and the shadows soften. Falloff also gets faster, which is handy for darkening a background without a second light.
Moving the box back to 6 or 8 feet evens the illumination across the body and makes the falloff gentler, but the light reads harder from the subject’s point of view. For a single portrait, start close, about 3 to 4 feet, and watch how the shadow under the jaw behaves. If the far cheek is going dark, either add fill or step back.
5. Use the Softbox as a Key Light
The softbox is now your key light, the main source that shapes the face. To finish the setup, place a reflector on the opposite side, angled up toward the shadow side of the face, close enough that it fills without flattening.
Aim for a one to two stop difference between the lit and shadow sides. That is a natural, flattering ratio for most portraits. Closer to one stop and the face looks open and businesslike. Two stops gives a little more shape. Beyond three stops the shadow side needs its own light or it turns into a black hole.
With the reflector in place, look at the eyes. If there is no catchlight, the softbox is too high, too far to the side, or the subject is not facing where you think. Catchlights come from the reflection of the light source, so the box has to sit within the subject’s field of view. Slightly over their shoulder and just above eye level is the reliable spot.
6. Check the Result Before Shooting
Take a test frame and look at four things: the highlight on the forehead and nose, the shadow under the jaw, the catchlights, and the brightness of the wall behind your subject. If the background is competing, flag the light or move your subject several feet further from it. If the background has gone grey when you wanted black, bring the subject closer to the wall instead.
Only then start shooting, and keep the settings fixed. Consistency across a session is what makes a set of portraits look like a set.
Common Mistakes
Centering the light on the camera axis. A softbox pointed straight down the lens flattens the face and gives you no shadow to shape with. Move it off axis. Every time.
Putting the box too high. Raise the centre of the panel only a little above eye level. Once it is overhead, shadows drop into the eye sockets and the subject looks tired. Dropping it to just above the eyes fixes most of that.
Standing too close. Inside about 2 feet the softbox acts like a point source relative to the face and shadows turn harsh again. Back off to 3 or 4 feet.
Overpowering the light. Dialling up until the histogram looks right on the back of the camera blows out the skin. Watch the histogram, not the rear screen, and stop a stop short of clipping.
Ignoring the background. A big softbox throws light everywhere unless it is gridded or flagged. Check the wall behind your subject before every setup change, not after.
Letting ambient light mix in unchecked. A window or overhead light fighting your flash gives you colour casts you cannot fix afterwards. Close the curtains, turn off overheads, or balance the two deliberately.
One habit worth keeping: take one frame, zoom to 100 percent, and check the eye sockets before you call the portrait done. It takes five seconds and it catches the mistakes above.
Frequently Asked Questions
What is the best size softbox for portraits?
For most headshots and half-body portraits, an 80 by 80 cm softbox is the practical choice. It softens shadows well while staying close enough that you keep your power. Go smaller for full-body work where you need the whole body lit, and larger for beauty and close-up work where wraparound softness matters most. Shape matters too: a round octabox gives a rounder catchlight, a strip box gives a narrow edge.
How far should a softbox be from the subject?
Start at 3 to 4 feet for a single portrait. Closer means the softbox appears larger from where your subject stands, so shadows wrap further and get softer, and falloff is faster, which darkens the background for you. Further back, at 6 to 8 feet, evens the light across the body but reads harder. Adjust until the shadow under the jaw looks right to you.
Do I need a fill light with a softbox?
Not a second lamp. A white reflector or foam board on the shadow side, held close and angled up, fills almost everything a second light would. Aim for the lit side to be one to two stops brighter than the shadow side. Go beyond three stops and the shadow side goes black, which is the only real case for adding a proper fill light.
Where should I position the softbox for loop or Rembrandt lighting?
For loop lighting, put the softbox about 45 degrees to one side of the camera and slightly above eye level. You get a small nose shadow angled down and away from the cheek. For Rembrandt, raise the light higher, around 45 to 60 degrees above horizontal, so the shadow connects to the shadow on the far cheek and forms a triangle. Look at the nose to confirm which pattern you have.
Can I use a softbox indoors next to a window?
Yes, but you have to control the ambient light or accept the colour shift. Close the curtains, block the window with a duvet, and shoot in a room that is lit only by your flash or panel. If you want the window to contribute, meter for it first, then add the softbox a stop or two under the ambient so it shapes rather than fights the daylight.
Does my softbox need diffusion fabric and a grid?
Most softboxes ship with diffusion fabric, and it should stay on, because removing it turns the light box back into a small hard source. A grid is optional and solves a specific problem: spill. Once your softbox is hitting the wall behind the subject, a grid or egg crate narrows the beam so the background stays dark and the portrait separates cleanly.
Do the boring version first. One light, one softbox at 45 degrees, a reflector on the other side, and a test frame checked on the camera screen at full size. Get that frame right and every variation after it, patterns, ratios and backgrounds, is a small adjustment to something you already understand.