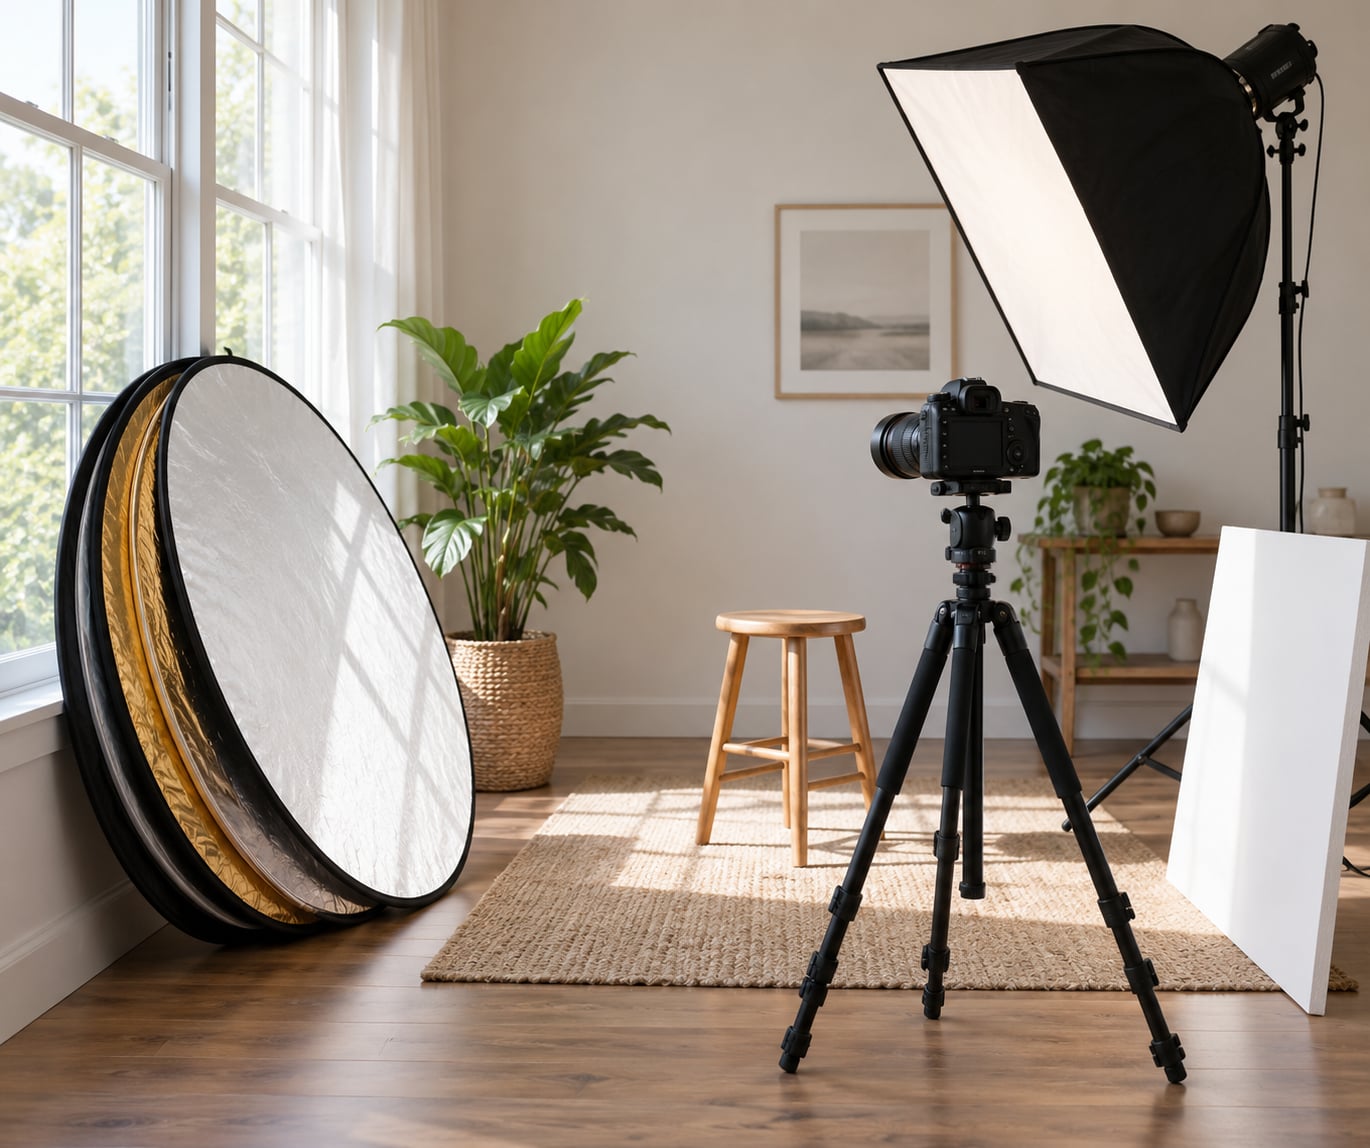
A reflector is a panel with a light surface that you angle back at your subject to bounce existing light into the shadows on their face, giving you a second light without buying one. Learning how to use a reflector for portraits comes down to two things: place it opposite your key light, and move it closer or further away to change how much fill the shadow side gets.
It takes about five minutes to set up once you know where to put it, and it fixes the single most common beginner problem in outdoor portraits: a face with a bright side and a black side.
Below is the sequence I use every time, the surfaces that actually change the look, and the fixes for the mistakes that make a reflector do more harm than good.
Table of Contents
What You Need to Use a Reflector for Portraits
You need three things: a light source worth bouncing (sun, an open window, a softbox, or a speedlight), the reflector itself, and something to hold it. That is genuinely the whole kit.
Size follows the subject. A head-and-shoulders portrait works with a panel around 32 inches across. Waist-up shots want 42 to 48 inches. Full body and couples portraits need the large 48-by-72 panels, because the panel has to cover the subject’s whole lit side or the fill falls off partway down the body and you get a bright face with dark legs.
Group portraits are the exception. Instead of one huge panel that no assistant can hold, use two or three smaller ones spread along the group so every face gets fill.
Surface colour changes brightness, colour temperature and mood. Here is how the five common surfaces behave:
| Surface | Brightness | Colour effect | Best for | Watch out for |
|---|---|---|---|---|
| White | Soft, roughly 1 stop under the source | Neutral, matches the light | Overcast, open shade, indoor fill | Can look flat if the shadows are already soft |
| Silver | Bright, specular, roughly 2 stops of lift | Neutral but slightly cool | Deep shade, backlit subjects, dark backgrounds | Hot spots and blown highlights at close range |
| Gold | Bright, similar to silver | Warm, amber | Backlit subjects at golden hour, adding warmth on purpose | Green skin tones if the light is already cool |
| Black | Absorbs, creates negative fill | Neutral | Adding contrast and shape, taming flare | Darkens the side, the opposite of what most beginners want |
| Translucent | Diffuses the source across the panel | Neutral, softens colour | Shooting into the sun, softening harsh light | Blocks light rather than bouncing it, so it is not a fill tool |
Five-in-one panels bundle most of these as reversible slipcovers on a collapsible frame, so you can carry one panel instead of five. Curved panels wrap slightly around the subject and spread the reflected light more evenly, which is why clamshell setups use them.
Holding options, cheapest first. A reflector arm clamps to a light stand and puts the panel overhead or below the subject. Sandbags on the base matter outdoors because wind is the real enemy of a propped panel. Two C-clamps on a wall or a fence work when there is something solid nearby. Holding it in your free hand works for static shots at slower shutter speeds but limits you to wider focal lengths, since a longer lens and a one-handed grip rarely stay sharp together.
Free substitutes if you have nothing at all: white foam board or poster board, a white bedsheet over a window, a piece of white paper taped to a clipboard, a silver car sunshade, or aluminium foil taped to card. Photography communities have long posted results from a single LED with a sheet of white paper as the fill, and it held up.
Step-by-Step: How to Use a Reflector for Portraits
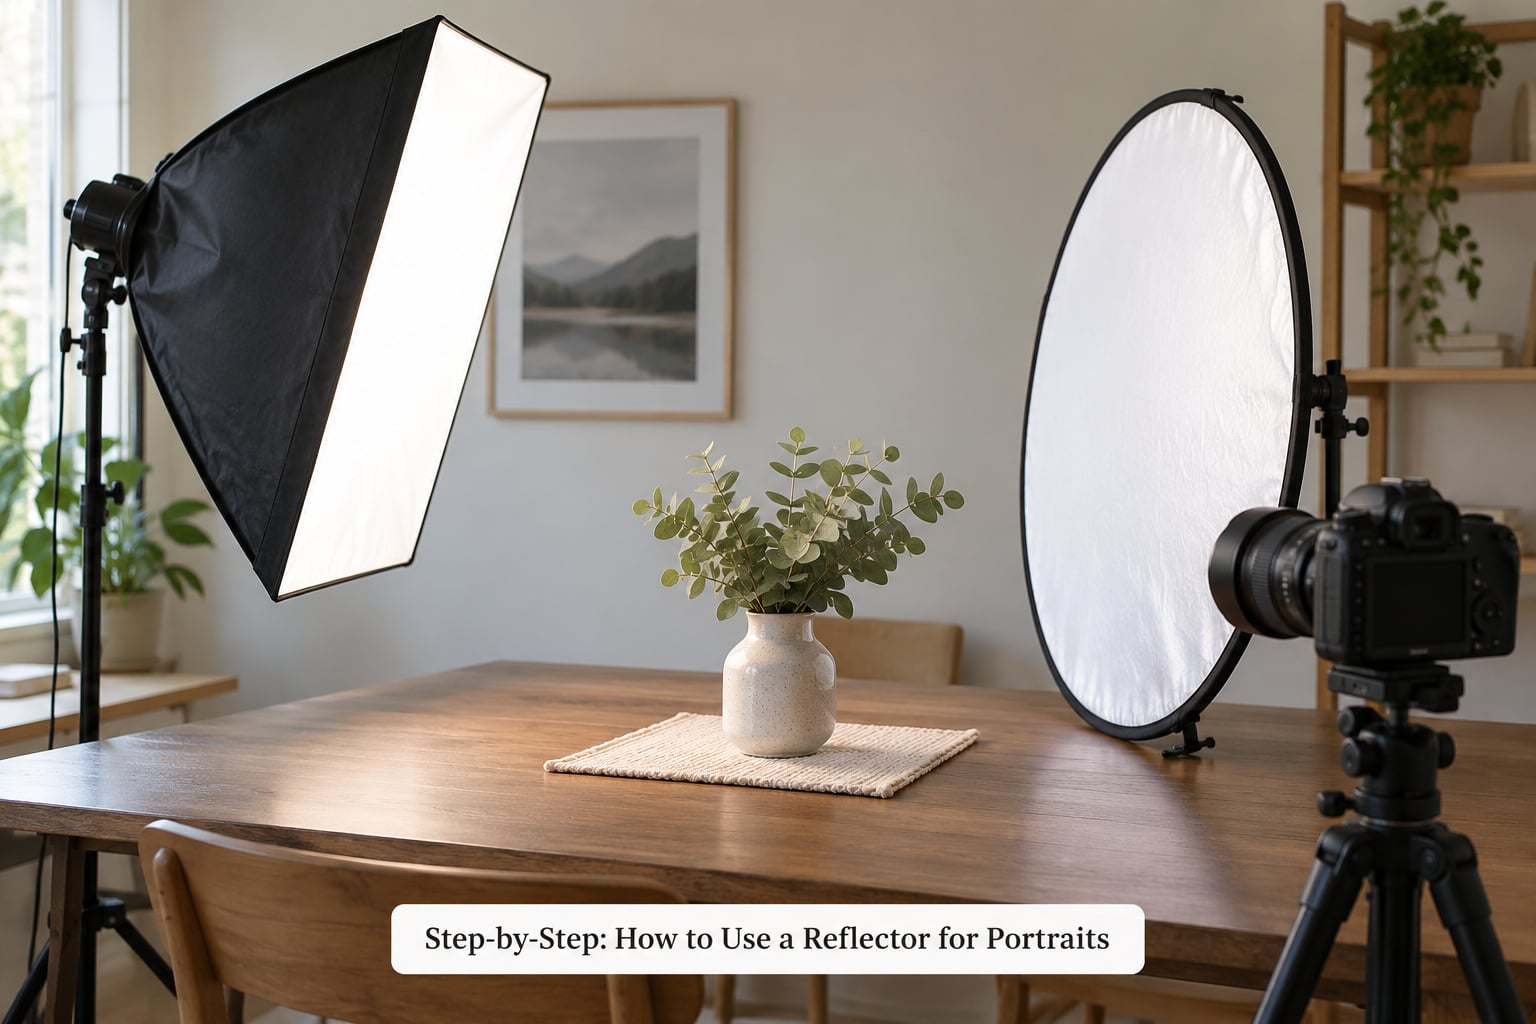
Set Up the Main Light First
Get a working key light before the reflector enters the frame. Put your subject where you want them, aim your key about 45 degrees to one side and slightly above eye level, and take a test shot without any fill.
Check that the shadow side is darker but still holds detail. If it is pure black with no texture, your key is too close or too small, and adding a reflector will only make the image flat rather than good.
Place the Reflector Opposite the Light
Light leaves a source, hits a surface and leaves at the same angle it arrived. That is the whole rule: angle of incidence equals angle of reflection, so the reflector goes on the side the subject is facing away from.
Place it roughly where the key would sit if it were a second light, then rotate it until the reflected light lands on the shadow side of the face. Start about 30 to 45 degrees off the camera axis and close the gap by eye.
How far it sits from the subject controls how strong the fill is. Hold it right under the subject’s chin for the strongest lift and smoothest transitions. Move it a foot or two further out, or turn it partially away, and the fill softens and drops. Doubling the distance roughly quarters the reflected intensity, which is the inverse square law behaving exactly as it does with any other light. This is why a reflector closer to the subject fills more than one further away, and it is the answer to the distance question most beginners ask.
Success check: the shadow side is now roughly one to two stops darker than the lit side. That is a normal portrait ratio. If the two sides match perfectly, you have flattened the face.
Hold the Reflector Without an Assistant
Most people start without help, so here are four ways, in order of what they cost you.
- Hold it in one hand and shoot with the other. Works for tripod shots at a slow shutter speed with a wide or mid-range lens. Fine for a short portrait session, tiring past about twenty minutes.
- Prop it on something nearby. A chair back, a low wall, a car, a fence post. Check the wind, and weight the base if you can. A 42-inch panel catches a surprising amount of gust.
- Use a reflector arm on a stand. One stand, one arm, and the panel sits above or below your subject hands-free. The upgrade that changes everything once you shoot regularly.
- Clamp it to something solid. Two clamps on a wall, pillar or tree. No stand needed, though you are limited to locations with an anchor point.
Success check: take a throwaway frame, look at the histogram, then step over and confirm the panel is still angled at the face and has not crept out of position between shots.
Adjust the Reflector Angle for Contrast Control
Once it works, the panel becomes a contrast dial. Swing it toward the subject’s face and fill rises. Turn it outward toward the background and fill drops. Tip the top edge toward the camera and you can catch a reflection in the eyes.
Catchlights are worth chasing because they are the cheapest sign of good lighting in a portrait. On a single reflector you get one small catchlight, and you steer it by moving the panel, not the subject.
On skin tone, the useful habit is exposure matching. Deep skin tones and light skin tones both need the shadow side lifted to roughly the same ratio relative to their own lit side, but a black or deep brown face loses far more in shadow than a fair one, so it usually needs the reflector closer or on the stronger silver side. Very fair skin blows out first, so pull the fill back a half step and check the brightest part of the forehead and cheekbones at 100 percent.
Success check: highlight the face at playback and confirm no skin tone is clipping to pure white.
Use a Reflector as the Key Light
You can bounce your main source into the subject instead of using the panel purely as fill. On an overcast day the sky is a huge soft source, so face the subject toward an open patch of bright sky, hold the white panel on the shadow side, and it becomes your key. This is also the fix for a face lit by a window with no shadow side in sight: turn the panel toward the window to catch that light and send it back.
Overcast is the easiest reflector portrait there is. Open shade is second. Direct midday sun is the hardest, and the answer there is positional rather than clever: have the subject turn about 45 degrees away from the sun, put the reflector on the shadow side, and shoot from the lit side.
Success check: the lit side of the face is bright and shaped, and the shadow side shows texture rather than grey mud.
Check the Result and Fine-Tune
Review four things on every take. Exposure first: a reflector adds real light, so meter for the shadows and expect to bring exposure down by a fraction of a stop from where you were shooting unfilled.
Shadow softness next. If the transition from lit side to shadow is too abrupt, the source is small or too close. Move it back, or bounce it off a ceiling or wall for a bigger apparent source.
Then colour. Gold and silver panels shift skin tone, and a warm panel under a cool sky can turn skin greenish. White is the safe default, gold is a deliberate choice, silver is slightly cool.
Finally catchlights. No reflection in the eyes usually means the panel is angled below the eyeline, or too far to the side. Nudge the top edge up toward the camera.
That loop is how to use a reflector for portraits properly. Angle, distance, then check, then adjust one variable at a time so you know which change fixed it.
Common Mistakes
Standing the reflector too close. Under a metre from the face, even a white panel overfills and the skin goes flat and grey-white. Success fix: step it back or angle it away, then re-check the ratio between the two sides of the face.
Using silver in bright sun. Silver is bright and specular, so in direct sun it throws hot spots on the cheek and blows out the side of the face closest to the panel. Fix: switch to white or sunlight fabric in midday sun, and save silver for deep shade and backlit subjects.
Reflecting light back into the key. Aim the panel so it bounces toward the subject, not toward your light or your lens. Light leaking back into a speedlight or softbox front can flare the shot, and a reflector aimed into the lens creates a bright rim of flare across the frame.
Making the shadows too flat. Filling until both sides match makes the face look like a passport photo. Aim for the shadow side to sit about one to two stops down. If you want drama instead, switch to the black side for negative fill and let the key do the work.
Overlooking colour temperature. Gold under a blue-grey sky gives you green skin; silver under warm window light cools it slightly. Fix: choose the surface to match the light, or use white and add warmth later in editing.
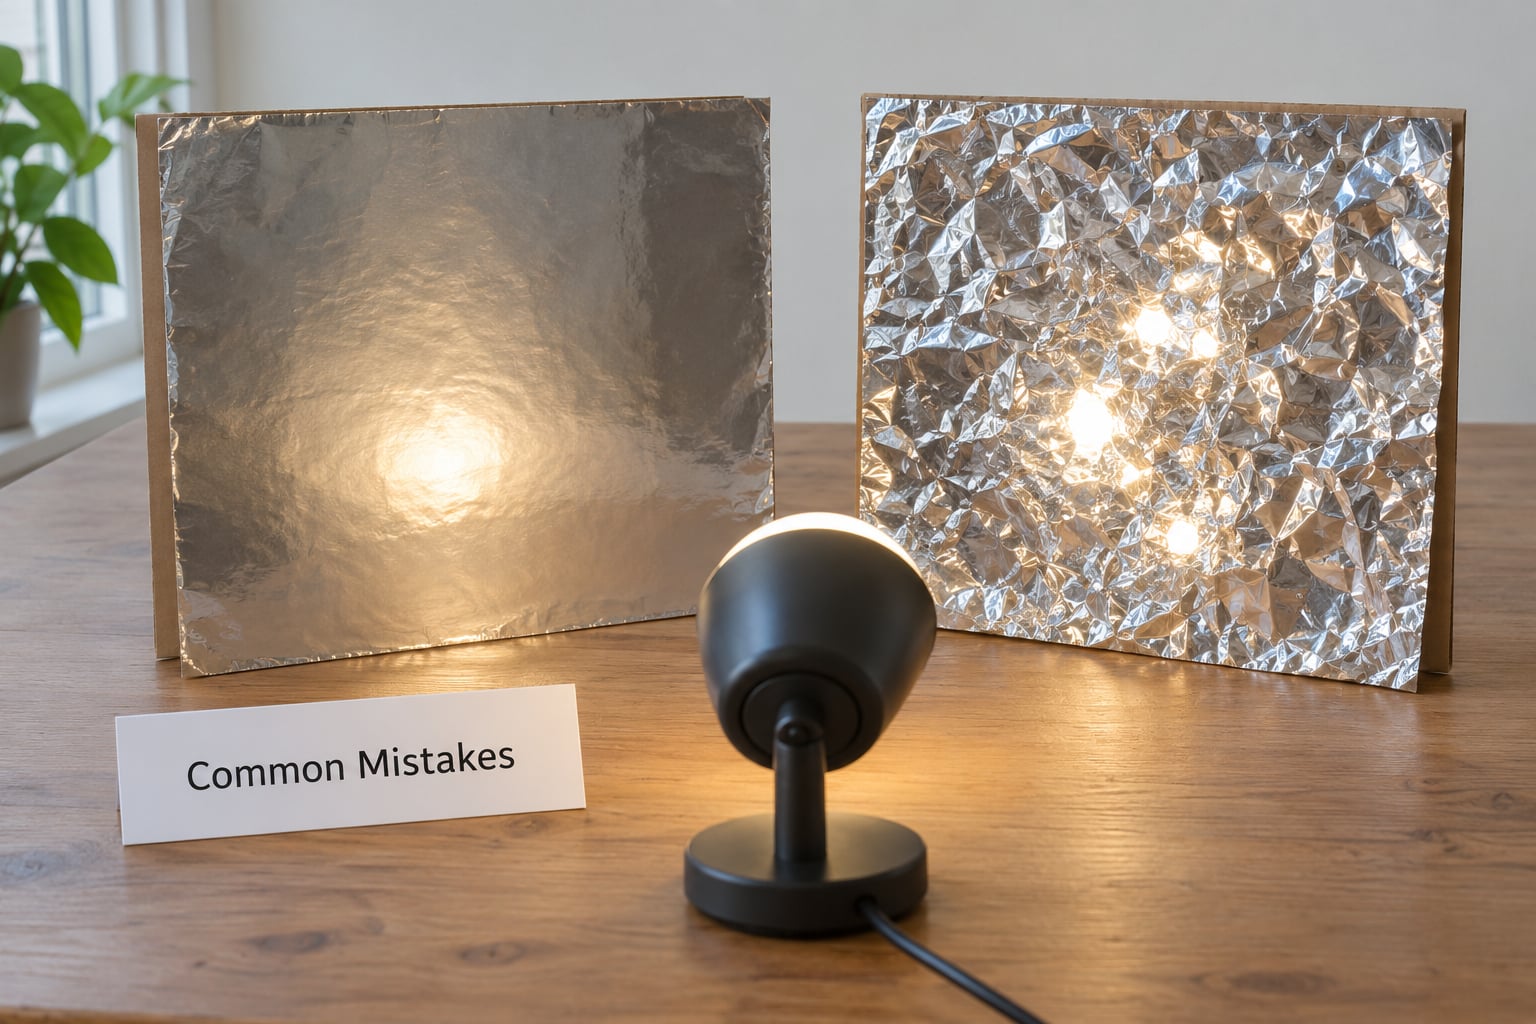
DIY foil with sharp wrinkles. Flat foil crinkled loosely gives an even sparkle. Sharp creases act as a grid of tiny mirrors and produce dozens of hot spots. Fix: crumple the foil loosely, flatten it back into a soft shape, and tape it to card with the flat side facing out.
Panel too small for the shot. A 32-inch panel underfills a full-body frame, and the legs go dark. Match the panel to the widest part of the subject in the frame.
Propping it outdoors and losing it to wind. A panel on a light stand needs a sandbag. Check it after every few frames.
Never bounce direct sun into someone’s eyes. A silver panel concentrates the sun enough to be uncomfortable and, held at the wrong height, can shine straight into a subject’s face. Keep the panel below eye level or well above it, and tell your subject to close their eyes when you reposition anything above the horizontal.
Two quick tips worth stealing. Outdoors, treat open shade as free studio lighting: it is softer than anything you can buy, and a reflector on the open side finishes the job. Indoors, put your speedlight or strobe a foot or so off a white wall or ceiling and aim it into that surface, then use the reflector only to fill what the bounce misses.
Frequently Asked Questions
Why do photographers use reflectors?
Photographers use reflectors to bounce existing light into the shadow side of a face, which fills in shadows under the eyes, nose and chin without buying a second light. A reflector is cheap, needs no power, produces no heat on the subject and matches the colour of your key light exactly because it is that light. For beginners it is the fastest way to make an outdoor portrait look lit rather than accidental.
Which side of a reflector should I use for portraits?
Use white for most situations, because it matches your light and gives a soft one-stop lift. Use silver when the subject sits in deep shade or is backlit and needs a bigger jump, and use gold only when you deliberately want warmth at golden hour. Use the black side to increase contrast or negative fill, and the translucent side to soften harsh light rather than bounce it.
How far should the reflector be from my subject?
Close for strong fill, further away for soft fill. Holding a white panel just under the chin gives the strongest lift and the smoothest shadow transition. Move it back a foot or two, or angle it away from the face, and the fill drops off. Because light follows the inverse square law, roughly doubling the distance quarters the reflected intensity, so distance is the main control you have over fill strength.
Can I use a reflector outdoors in direct sun?
Yes, and direct sun is where a reflector earns its keep. Have the subject turn about 45 degrees away from the sun so the light rakes across the face, then place the reflector on the shadow side and shoot from the brighter side. Avoid silver at midday because it is bright enough to blow out skin; white or sunlight fabric is the safer choice in harsh overhead sun.
Do you still need a reflector if you own softboxes?
Often, yes, but as a shaping tool rather than a necessity. A softbox on a stand can fill a shadow side if you put one there, but softboxes are large, powered and awkward to reposition between shots. A reflector is faster to move, costs nothing to run and lets you dial fill up and down by angle alone. Many photographers keep one permanently clamped to a stand as their fill.
Is a reflector better than a flash for fill?
Neither is better; they do different jobs. A reflector is free to run, perfectly colour-matched to the light and continuous, but its strength depends on how strong the key is. Fill flash is independent of the key, works at any time of day or indoors with no window, and gives you a measured level you can dial down independently. Most working portraits use the sun as key and a reflector as fill.
Start with this: put your subject at 45 degrees to the sun, hold a white reflector on the shadow side close enough to lift it, and take one frame without the panel and one with it. Compare the two on screen and the ratio becomes obvious fast. After that, treat the panel as a dimmer you control with distance and angle, and your portraits will hold up in lighting that used to defeat you.