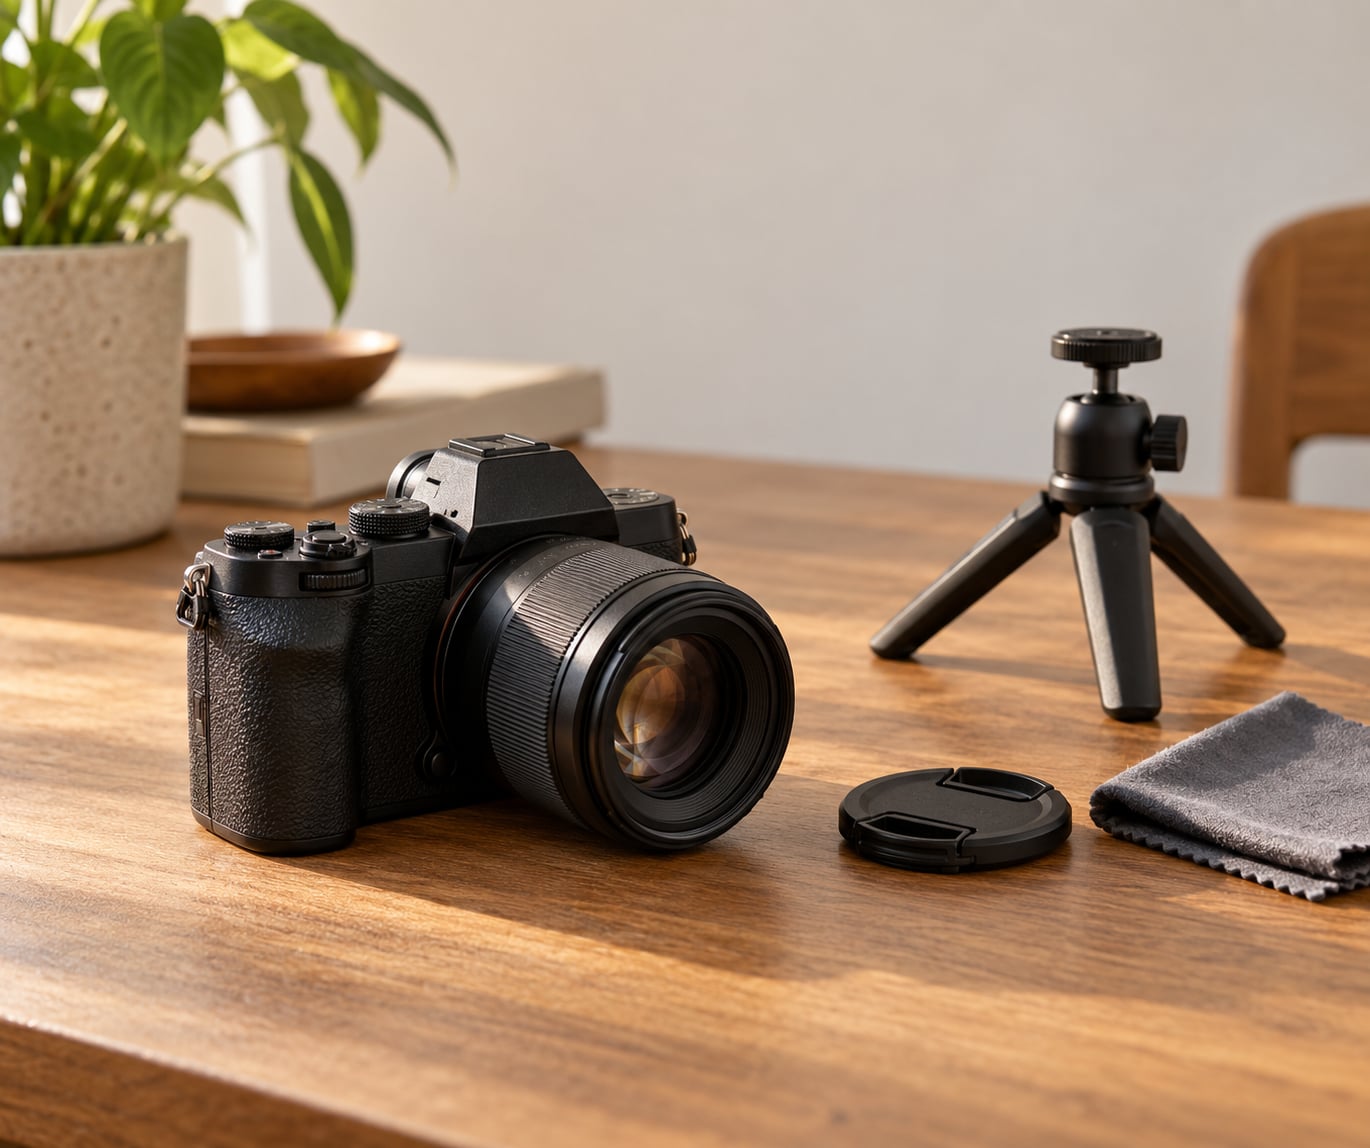
How to focus on the eyes in portrait photography comes down to three habits: put a single autofocus point on the eye nearest the camera, keep the shutter speed fast enough that focus does not drift between lock and the shutter firing, and check sharpness before you take the next frame. Ten minutes with a still subject will fix most of what goes wrong.
It matters more than any other part of the frame. Viewers land on the eyes first, so a tack sharp iris carries the whole image, while soft eyes make a well-lit, well-composed portrait feel like a miss. That said, the classic “always focus on the eyes” rule has limits: in a full-body or environmental portrait the eyes might occupy a dozen pixels tall, and nobody is counting eyelashes at that size.
What follows is the sequence I use, whether the subject is my own family in the kitchen or a client sitting in a studio.
Table of Contents
- What You Need
- Step-by-Step: How to Focus on the Eyes in Portrait Photography
- 1. Set the camera to a portrait-friendly focusing mode
- 2. Position the subject so both eyes are visible
- 3. Choose the nearer eye for the critical focus point
- 4. Confirm focus before releasing the shutter
- 5. Use shutter speed, aperture, and stabilization wisely
- 6. Make small adjustments for difficult lighting or movement
- Common Mistakes
- Frequently Asked Questions
- Conclusion
What You Need
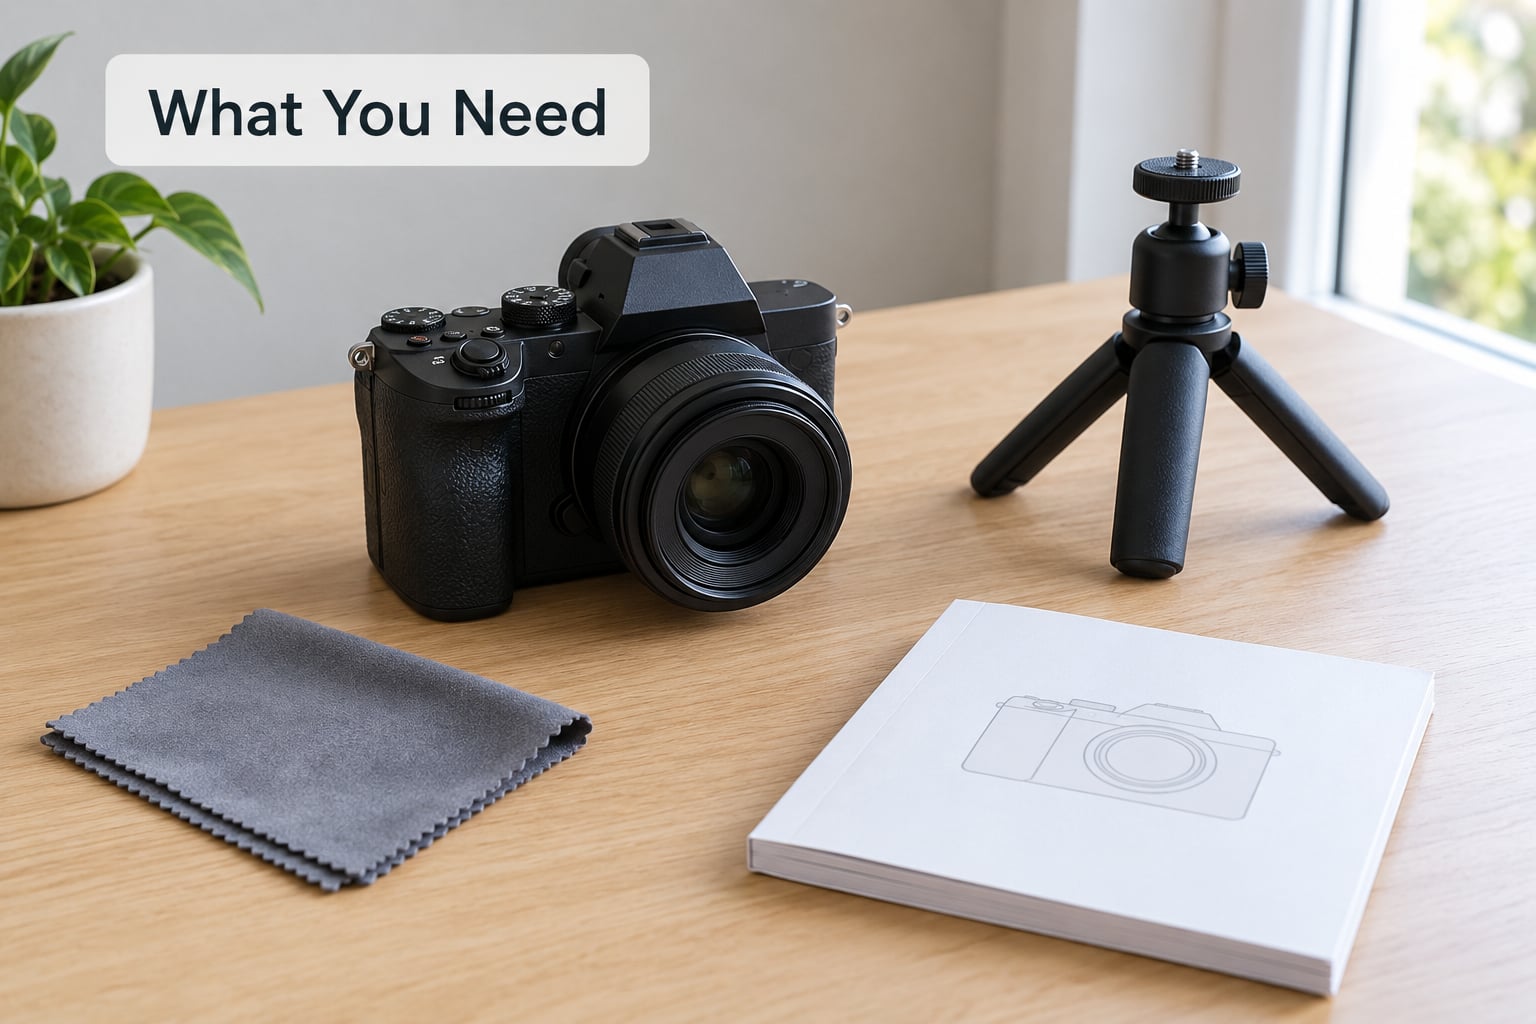
A camera with autofocus, and that is the only hard requirement. A recent mirrorless body gives you subject detection with eye recognition, which finds the eye for you. A DSLR can do the same job just as well with single point autofocus, the difference being that you place the point yourself. Manual focus works too, using live view magnification on the rear screen.
A lens between 50mm and 135mm covers most portrait work. Long lenses compress the face and put you far enough away that the subject stops leaning on you. Short focal lengths like 35mm mean you work inches from your subject, where a few steps of movement shifts the focal plane noticeably.
For focus mode, choose one of two setups. Still subjects and deliberate posing: single-servo autofocus with a small single point or spot AF area. Children, pets, and anyone who will not hold a pose: continuous autofocus with subject or eye detection switched on.
Supporting gear is optional but useful: a tripod for static poses, a rear screen you can magnify to check focus, a subject willing to hold still, and a plain background so you can judge focus rather than fight with a busy pattern. You do not need any of it to practise. A kit lens, a kitchen table, and a friend who can sit still is the whole setup.
Step-by-Step: How to Focus on the Eyes in Portrait Photography
1. Set the camera to a portrait-friendly focusing mode
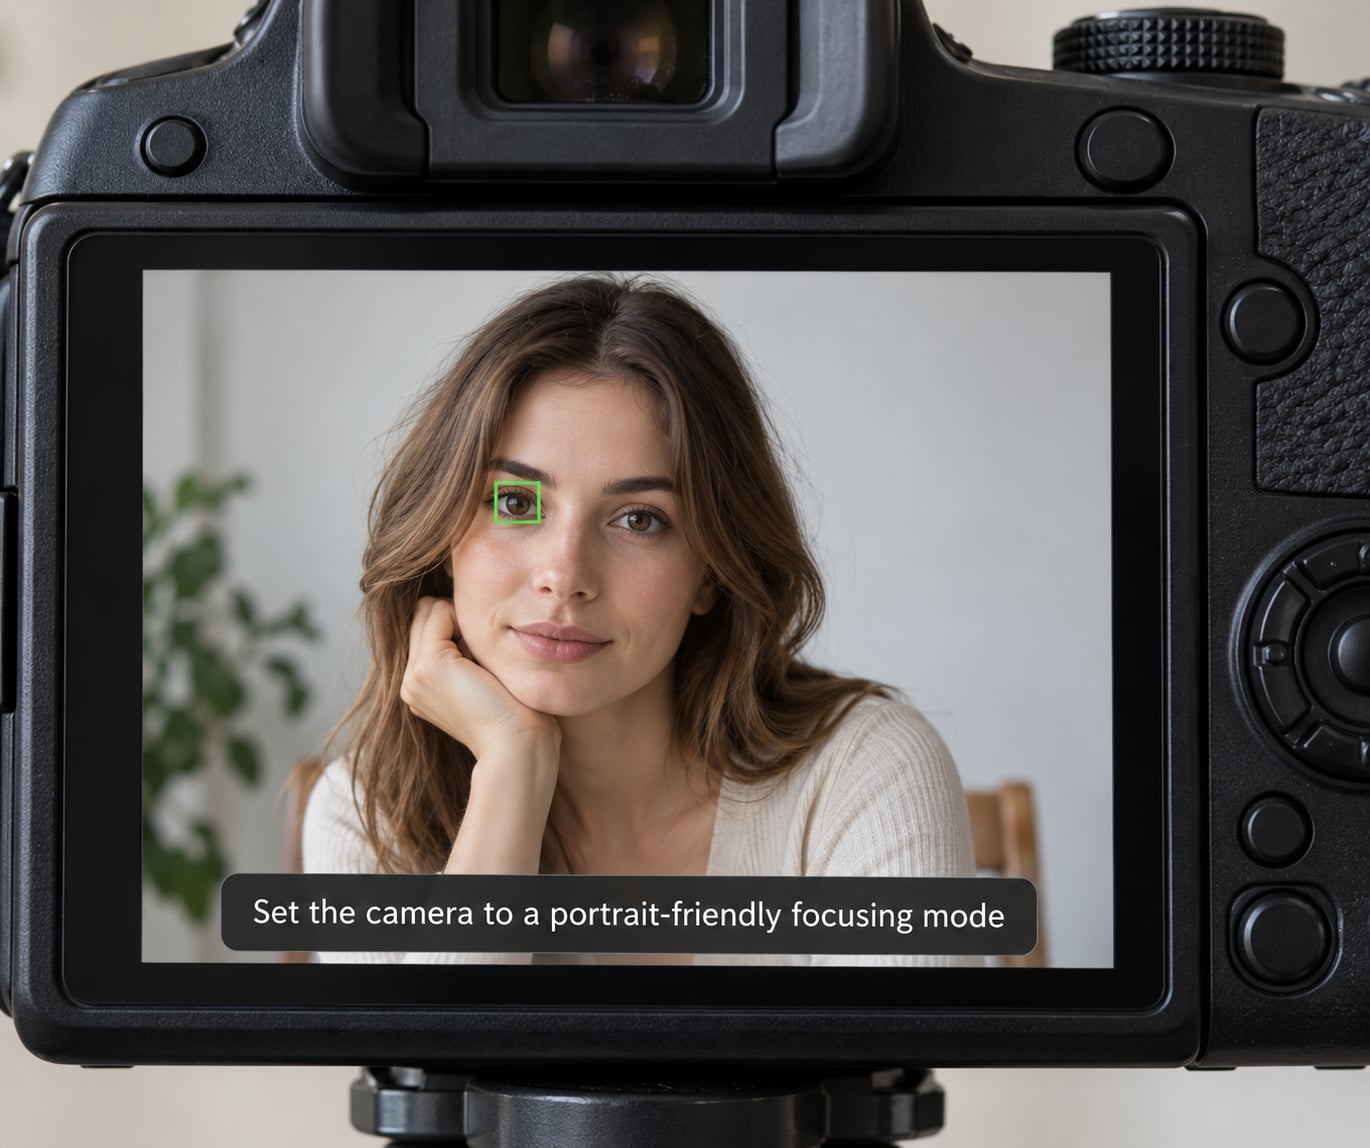
Single point autofocus gives you control: a small square or spot you drag onto the iris. Put it on the pupil or the boundary where the iris meets the eyelid, not on the lashes or the eyebrow. Aim for the eye nearest the camera, and if the point feels twitchy, shrink the area from a medium square to a spot.
Face and eye detection is faster and better with movement. The camera finds a face, then locks the eye, and it keeps tracking while the subject shifts. Turn it on for children and conversation, turn it off for a formal headshot where you want the exact point you chose. If you shoot video or hybrid content, continuous eye tracking is the one setting worth learning deeply, since the same mode handles both.
Menu names differ by brand, so check your manual, but the labels are recognisable:
- Sony cameras: Face/Eye AF, with the subject selection choosing the eye in the Face/Eye AF Setup menu.
- Canon EOS R bodies: the AF tab, then Eye detection or Face plus tracking. Canon DSLRs call it Face detection in the AF area selection mode menu.
- Nikon Z and DSLRs: Subject detection in the Photo menu, with People set to People only.
- Fujifilm X and GFX: Face/Eye Detection, and you can choose which eye to prioritise.
Back button focus is worth adding later. Moving autofocus start from the shutter button to a button on the back means focus and shutter are separate decisions, so a focus point stays where you put it while you meter exposure and reframe. It is the standard advice from working portrait photographers, and DSLRs are the usual home for it.
2. Position the subject so both eyes are visible
The pose decides how hard focusing is before autofocus is even switched on. Ask the subject to turn their head a few degrees away from the camera rather than facing it square. A slight turn brings one eye closer, lets you see the shape of the face, and stops the far eye from hiding behind the nose.
Keep both eyes open. A subject who blinks mid-sequence is the single most common reason a great expression looks soft, so shoot short bursts and keep the expression for the frame where the eyes are open. A gentle chin forward and down also opens the eye area and reduces the shadow the brow casts over the iris.
Small moves pay off. Half a step closer or a few degrees of head turn can bring the far eye inside the depth of field without touching any settings, which is cheaper than stopping down and losing the background separation you wanted.
3. Choose the nearer eye for the critical focus point
The focal plane is parallel to the sensor, and the near eye sits closer to the camera than the far eye by roughly the width of the face projected onto that plane. Focus on the near eye and the far eye falls deeper into the depth of field, so it stays acceptably sharp. Focus on the far eye and the near eye falls in front of the plane, where wide apertures show it as blur.
That is the whole argument for closest-eye focus, and it holds for a normal or short telephoto lens. It weakens as you move to long lenses and small working distances, where the two eyes sit nearly level with each other in depth.
| Focus method | Works best at | Strength | Weakness |
|---|---|---|---|
| Closest eye | f/1.4 to f/4 | Near eye tack sharp, far eye inside depth of field | Needs deliberate point placement |
| Between the eyes | f/2.0 to f/2.8 | Both eyes read as acceptably sharp | Both eyes are technically a little soft; fails at f/1.4 |
| Eye detection autofocus | Any aperture, moving subjects | Finds and holds the eye for you | Can miss eyes behind glasses, hair, or deep shadow |
| Focus and recompose | f/4 and smaller, longer lenses | Composing is free once focus is locked | Moves the focal plane at close range and wide apertures |
The between-eyes approach splits the error so neither eye is fully sharp and both are close. It works at f/2.0, gets marginal at f/1.4, and is a useful trick when both eyes must read equally well in a tight headshot. As a default, closest eye wins.
4. Confirm focus before releasing the shutter
Do not trust the focus indicator alone. Magnify the rear screen to 100% and look at the iris texture and the lash line. If you cannot see individual lashes, you are too far off, and the fix is almost always point placement or subject movement rather than settings.
When people ask me how to focus on the eyes in portrait photography, this magnification check is the step almost everyone skips. Three cues are worth building into your routine. Magnification on the rear screen catches a focus point sitting on an eyelash instead of the eye. Focus peaking, if your body offers it, outlines high-contrast edges in a colour, so you can see at a glance whether the focus plane crosses the face. Depth of field preview shows what the wide or narrow aperture will actually render, which stops you from discovering an f/1.4 frame that only holds two millimetres of sharpness.
Check between frames, not only at the end. If the sharp part of the face is the forehead or the back cheek, the subject moved after focus locked, and you need a faster shutter, continuous autofocus, or both.
5. Use shutter speed, aperture, and stabilization wisely
Autofocus accuracy is irrelevant if the frame blurs during exposure. Stay at or above the reciprocal of your focal length, and add a buffer when the subject is alive.
| Focal length | Minimum handheld shutter speed | Working speed for a person |
|---|---|---|
| 50mm | 1/125 s | 1/250 s |
| 85mm | 1/250 s | 1/500 s |
| 135mm | 1/500 s | 1/1000 s |
For aperture, f/1.8 to f/2.8 gives the shallow depth of field that separates a subject from a background, and it is the hardest setting to nail on focus. Open to f/4 when both eyes must read, and f/5.6 to f/8 for groups where several faces have to be sharp at once. Raise ISO to hold the shutter speed rather than stopping down, since ISO is recoverable in editing and motion blur is not.
Stabilisation helps with your own shake and does nothing about a moving subject. In-lens or in-body stabilisation buys a few stops of camera shake, which lets you work a stop or two slower. Turn stabilisation on for handheld stills and off on a tripod for long exposures, where it can fight the tripod. For a genuinely static pose, a tripod with a two-second timer or the remote is more reliable than any stabiliser.
6. Make small adjustments for difficult lighting or movement
In low light, do not drop the shutter to gather more light. Add light, raise ISO, or open the aperture further. Light with a reflector or a bounce card is the cleanest fix, because it also gives you catchlights.
Catchlights are the bright reflections that make an eye look alive, and they come from placing your light source slightly above the camera axis and off to one side. A large soft source gives a round catchlight; a bare flash close to the lens gives harsh twin dots. Backlight only when you can add a reflector or fill on the face, since a bright window behind a subject will render the eyes as dark holes however well they are focused.
For glasses, focus on the eye rather than the frame, and ask the subject to tilt the glasses a few degrees to kill reflections. Hair across the eye is worth fixing by hand before shooting, and it is faster than any setting change.
For movement, switch to continuous autofocus with subject detection, open the aperture to widen depth of field, and raise the shutter speed. If a subject will not sit still at a normal working distance, move further away with a longer lens, which slows their apparent movement and keeps the working distance civil.
One last trap: focus, then step sideways to reframe. At close range and wide apertures that shift changes the distance to the near eye and pushes it out of focus. Either compose before focusing, or crop in afterwards.
Common Mistakes
1. Focusing between the eyes at a wide aperture. It works at f/2.0 and fails at f/1.4. Focus the near eye and let the far one live inside depth of field.
2. Leaving the autofocus area on a large zone. A wide zone grabs whatever contrast is strongest, which on a face is often the eyebrow or the nose bridge. Shrink it to single point or spot, or switch to eye detection.
3. Shooting too slowly for the focal length. An 85mm at 1/60 is a coin toss no matter how good the focus lock was. Follow the shutter table and let ISO pick up the slack.
4. Recomposing after focus at close range. Every sideways step can cost focus at f/1.8. Frame first, focus second.
5. Staying glued to 100% on the rear screen. Checking every frame slows the session and the subject cools off. Check the first frame of a sequence, confirm the point landed on the eye, then shoot and review in batches.
6. Crowding the subject. Close enough that the nose nearly touches the lens means a few millimetres of movement ruin the frame. Step back and use the focal length you have.
7. Expecting editing to rescue blurred eyes. Sharpening amplifies what is there. A soft eye has a faint iris edge to work with; a truly out-of-focus eye has none, and no slider in Lightroom will invent eyelashes.
8. Chasing perfection at 100% view. Eyelash-level sharpness matters most for large prints and tight headshots. On smaller reproductions the difference is invisible, and clients rarely pixel-peep. Get it right, then stop looking.
A few habits that speed up the learning curve. Practise in stages: a stuffed animal or a tripod-mounted camera for point placement, then a friend who holds a pose, then a child who will not. Pick one session to shoot a bracket of f/1.8, f/2.8, and f/4 and compare eyes on the same face. For groups, focus on the near eye of the person in the middle of the front row at f/5.6 or f/8, and check the back row in the magnified view, since depth of field runs behind the focus plane and thins quickly across several metres of people.
In editing, keep it restrained. A small amount of texture and sharpening with a mask over the eyes, a small lift to the iris brightness, and a touch of clarity on the iris ring are usually plenty. Push further and the eyes look gritty.
Frequently Asked Questions
Which eye should I focus on in a portrait?
Focus on the eye closest to the camera. The focal plane sits parallel to the sensor, so the near eye is the point the lens can resolve most precisely and the far eye falls deeper into the depth of field. At f/1.4 through f/2.8 this is the difference between one tack sharp eye and two soft ones. Focusing between the eyes only pays off around f/2.0, where the error splits small enough for both eyes to read.
What focus mode should I use for portraits?
For still subjects and deliberate poses, use single-servo autofocus with a small single point or spot area, placed on the pupil of the near eye. For children, pets, and anyone who keeps moving, use continuous autofocus with face and eye detection, which finds the eye and keeps tracking it. Back button focus is a useful upgrade because it separates focusing from the shutter release, so your chosen point stays put while you compose.
Is f/2.8 or f/4 better for sharp eyes?
For a single subject, f/2.8 is the better choice because the background separates more and the near eye still holds with careful point placement. Choose f/4 when both eyes must read equally well, when the subject is angled away from the camera, or when focus distance is hard to judge. Remember to raise ISO to hold your shutter speed, since a stopped-down frame that blurs is worse than a brighter one.
Why are my portrait eyes soft when the focus light said it locked?
Three things are usually responsible. The focus point landed on the eyebrow or the glasses frame rather than the eye. The subject moved after the lock, and your shutter speed was too slow to hold the focal plane through the exposure. Or the camera focused on the far eye, putting the near eye in front of the plane at a wide aperture. Check the magnified view, raise the shutter speed, and place the point on the near iris.
Should I use back button focus or eye autofocus?
Both work, and they solve different problems. Back button focus gives you precise control and stays stable while you reframe, which suits posed work and older DSLRs. Eye detection is faster with movement and works on most recent mirrorless bodies, but it can miss eyes behind sunglasses, heavy frames, or deep shadow. Plenty of working photographers pair them, using back button focus for the frame and eye detection when the subject will not hold still.
How do I focus on the eyes through glasses?
Focus on the eye, never the frame or the lens rim, because the frame often carries stronger contrast and wins the autofocus. Ask the subject to tilt the glasses a few degrees toward their chin to move reflections off the eyes. Anti-reflective coating helps, and a slightly raised catchlight from above keeps the eye readable. If the glasses are thick and the face is angled, f/4 gives you the depth of field to keep the second eye sharp.
Conclusion
Start with the near eye, on a single point, in a mode that suits how still the subject is. Confirm the focus in the magnified view, set the shutter speed at or above the reciprocal of your focal length, and only then widen the pose or add light. Everything else in portrait focus follows from those four moves.