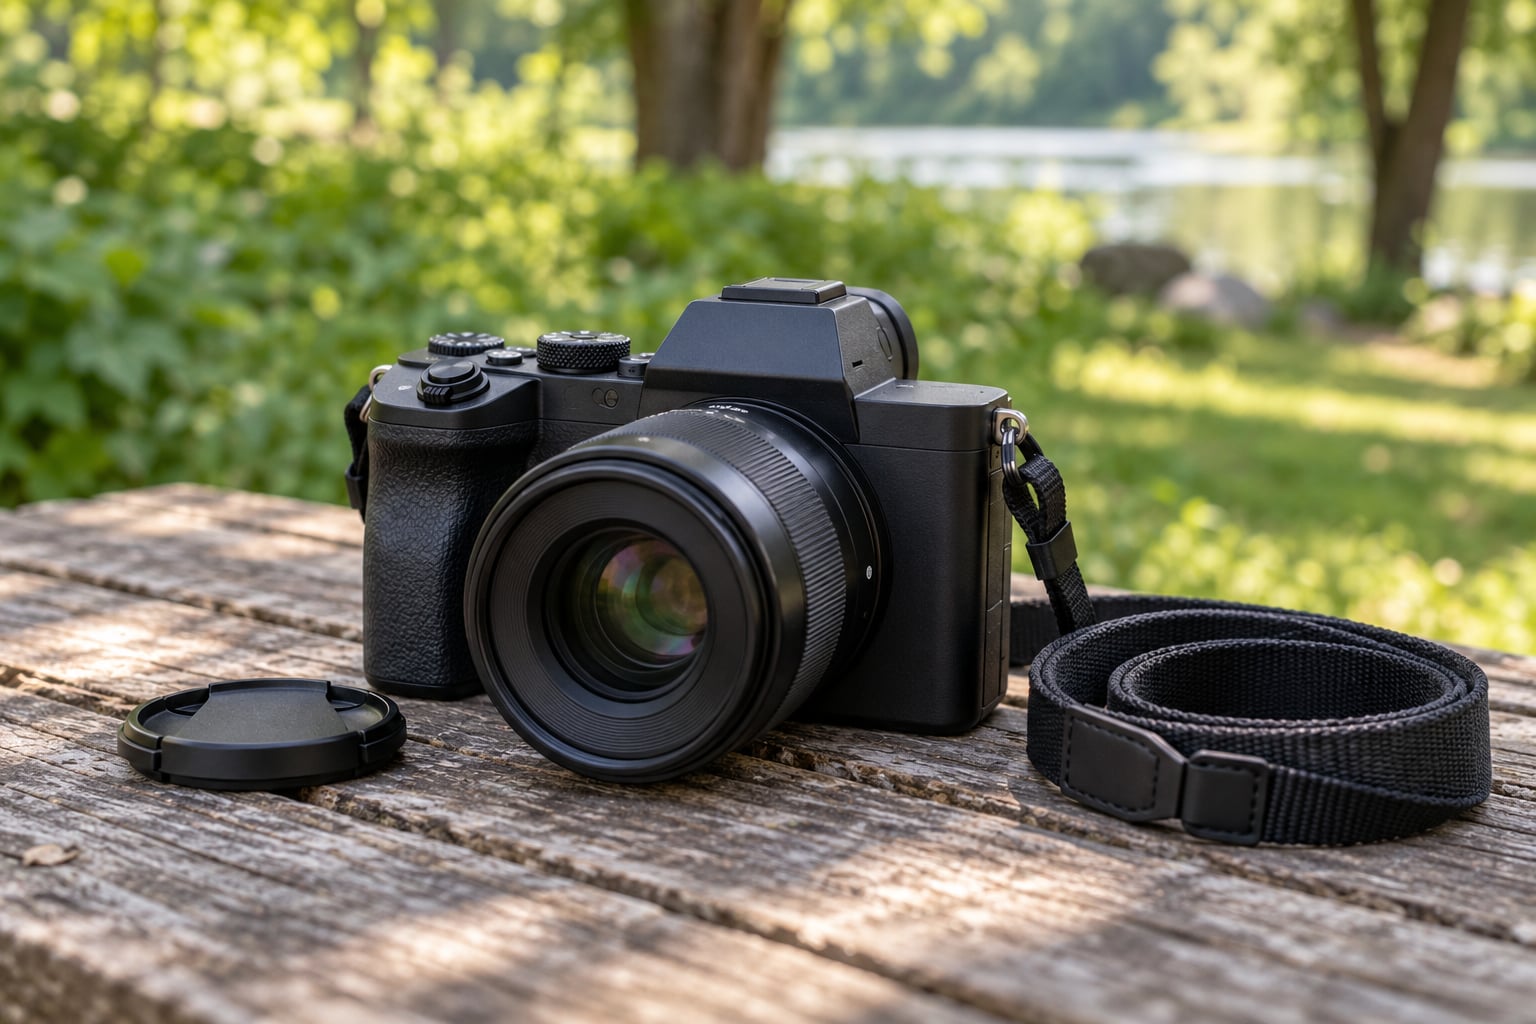
Manual mode is simply the camera setting where you choose aperture, shutter speed and ISO yourself instead of letting the camera pick them. If you know what each of those three controls does, learning how to shoot in manual mode for beginners takes about a week of short practice sessions in daylight, and the whole workflow below takes roughly 15 minutes per outing once you have it. The honest difficulty is low; the fiddly part is deciding which single control to move first when a shot looks wrong.
I teach this exact sequence to beginners who have been on auto for a year and are frustrated by shots that come back too dark or too bright. The order matters more than the numbers. Set ISO, then shutter speed, then aperture, then check the meter, then focus, then look at the result.
Table of Contents
- What You Need
- Step-by-Step: How to Shoot in Manual Mode for Beginners
- 1. Switch the camera to manual exposure mode
- 2. Set ISO for the available light
- 3. Choose a safe shutter speed
- 4. Choose aperture for the look you want
- 5. Check exposure with the camera meter before you shoot in manual mode
- 6. Focus before taking the final photo
- 7. Shoot, inspect, and adjust
- 8. Repeat the same settings in changing light
- Common Mistakes
- Frequently Asked Questions
- When should beginners use manual mode instead of automatic or aperture-priority mode?
- What are the best manual camera settings for beginners to start with?
- How do I prevent photos from being too dark when using manual mode?
- Should beginners use manual focus or autofocus in manual exposure mode?
- Is manual mode better for portraits, landscapes, and action shots?
- How do I set a custom exposure on my specific camera?
- What to Do First This Week
What You Need
You need very little. The whole exercise works on any camera that has a manual exposure mode, which is every DSLR and mirrorless body sold in the last decade, plus most phones from the last few years with a Pro or Manual mode.
- A camera body with a manual position on the mode dial, marked M.
- A lens you can afford to leave on. A kit zoom is fine for learning. A fast prime makes low light easier, but the workflow below works without one.
- A charged battery and a formatted card. Manual mode uses the screen more than you expect, especially on mirrorless bodies.
- A place with even light. An overcast day, or open shade, is far better for a first session than a room with a single lamp.
- Optional: a light meter app on your phone, and a notebook or phone note for writing down the settings that worked.
You also need three definitions. Aperture is the hole in the lens, written as an f-number like f/5.6: a wider hole such as f/2.8 lets in more light and blurs the background, a narrower hole such as f/11 lets in less light and keeps more of the scene sharp. Shutter speed is how long the sensor is exposed, written as a fraction like 1/500: a fast speed freezes movement, a slow speed blurs it. ISO is the sensor’s sensitivity to light: low values give clean files, high values give you a usable exposure in dim light with visible grain.
Those three controls are the exposure triangle, and the whole trick is that you can always trade one against the others to get the same brightness. Double the ISO and halve the shutter speed, and the exposure stays put. Every correction in this guide is some version of that trade.
Step-by-Step: How to Shoot in Manual Mode for Beginners
1. Switch the camera to manual exposure mode
Turn the mode dial to M. On most cameras that is a physical position on the dial; on some mirrorless bodies the dial has no M and you pick Manual from an on-screen or top-plate exposure mode selector instead.
Here is what each mode does with your choices, and it is worth learning because most beginners actually want a semi-automatic mode for a while:
| Mode | You set | The camera decides |
|---|---|---|
| Program (P) | Very little | Aperture and shutter speed together |
| Aperture priority (A on Canon, Av on Nikon, Sony, Pentax) | Aperture | Shutter speed, and ISO if Auto ISO is on |
| Shutter priority (S on Canon, Tv on Nikon, Sony, Pentax) | Shutter speed | Aperture, and ISO if Auto ISO is on |
| Manual (M) | Aperture, shutter speed and ISO | Nothing |
To confirm you are really in manual, watch the numbers as you turn a dial. In A or Av mode the aperture stays put when you roll the dial and the shutter speed changes; in M both values stay exactly where you left them. That check takes five seconds and catches the most common beginner mistake, which is turning the wrong dial and wondering why nothing happened.
Menu names differ a little by model, so use your camera’s manual rather than a stranger’s screenshot. On Canon EOS bodies look for the Exposure mode option under the shooting menu; on Nikon Z and many DSLR bodies manual is a dial position; on Sony and Fujifilm bodies, look for Manual or the M position in the exposure mode selector. If you are unsure, the shooting mode is also shown on the top LCD or the rear screen, next to a small icon.
2. Set ISO for the available light
Start with ISO 100 outdoors in bright sun, and ISO 400 for overcast daylight or open shade. Those two values are enough for most first sessions.
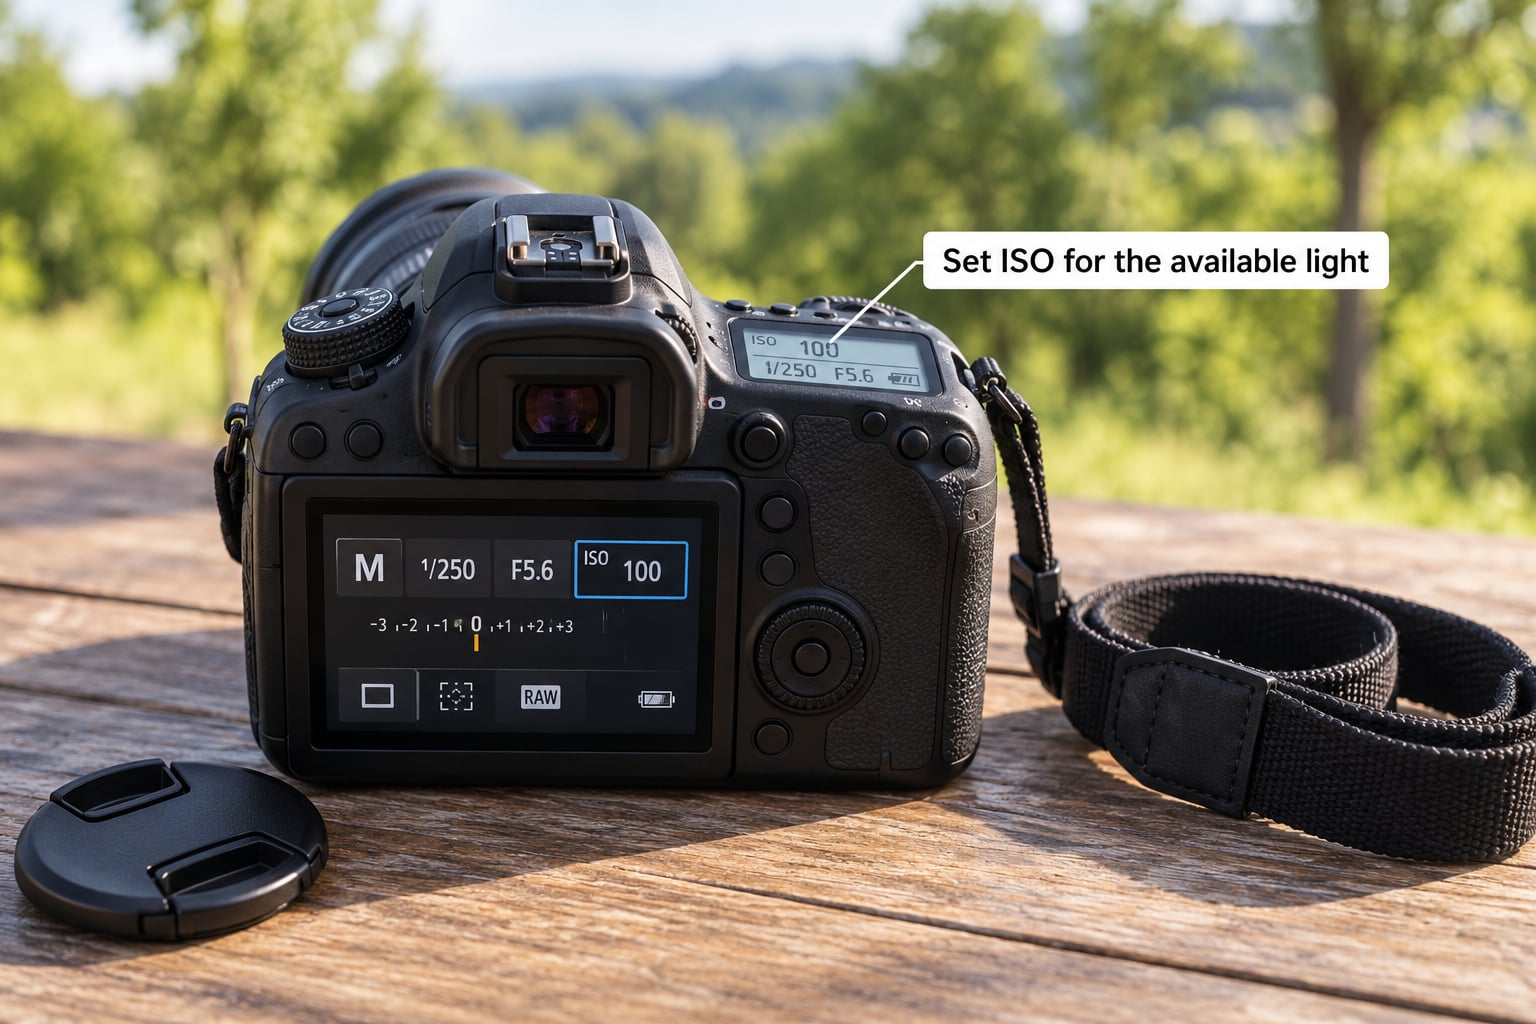
Do not set ISO by habit out of fear. Many beginners park at ISO 1600 to be safe, then wonder why everything looks grainy. The order of the workflow is deliberate: ISO changes how bright the image is, shutter speed changes how frozen it is, and aperture changes how deep the focus is. When you can set brightness with ISO alone, you keep your freedom to choose the other two.
Your first move in dim light is to raise ISO, not to accept motion blur. On most current bodies, ISO 3200 still produces a file you would be happy to post, and a sharp noisy image beats a clean blurred one every time. If Auto ISO is enabled in the menu, the camera will raise it for you and the exposure stays bright as light drops, which is a sensible bridge while you are still learning the other two controls.
Set ISO in half stops at first. Going from 100 to 200 to 400 to 800 gives you fine control; the jump from 400 straight to 6400 is where beginners lose track of what changed.
3. Choose a safe shutter speed
The rule of thumb is that your shutter speed should be at least as fast as the reciprocal of your focal length, so 1/125 second on a 125mm lens and 1/50 on a 50mm lens. Most people handhold steadier than that, so going one stop faster is a reasonable safety margin.
Then match the shutter speed to the subject, not to the meter:
- Still subject, camera on a tripod: 1/8 second or slower works, provided nothing in the frame is moving.
- Still subject, handheld: 1/125 second or faster, faster if you are zoomed in.
- One person walking toward you: 1/250 second.
- Children, pets, sport, anything fast: 1/500 to 1/1000 second.
- Water or leaves you want to blur on purpose: 1/4 to 1/15 second on a tripod.
How do you know if it is safe? Zoom the playback image to 100% and look at the edges of the subject. If you see doubled edges or a smeared texture, the shutter speed was too slow and no amount of editing will fix it.
This is where many people learning how to shoot in manual mode for beginners get their first real win. In auto, a dim scene quietly forces a shutter speed that blurs your subject while the camera tries to keep the image bright. In manual you see the number and you can decide to trade noise for sharpness instead.
4. Choose aperture for the look you want
Aperture is the creative control. Everything else about manual mode is in service of the amount of background blur you want.
- f/1.8 to f/2.8: maximum background blur, ideal for a person against a messy background. Only usable when there is enough light.
- f/4 to f/5.6: a good middle ground for a person, keeping the face sharp while softening the background.
- f/8 to f/11: deep focus, the normal choice for a wide scenic view, a group photo or anything you want sharp front to back. Watch for diffraction softening above about f/11.
For your first sessions outdoors, f/5.6 or f/8 is the safest starting point. You will get a sharp subject and a reasonably clean background without needing a fast lens, and you can narrow down to f/2.8 once you understand what a shallow depth of field costs you in focus misses.
Depth of field also changes with distance and focal length. A subject at one metre has a paper-thin slice of focus at f/2.8; the same subject at three metres has much more. Step back when you want a wide aperture and still want everything in focus.
5. Check exposure with the camera meter before you shoot in manual mode
The meter is the small scale on the top LCD or along the bottom of the viewfinder. It shows whether the frame is currently brighter or darker than the camera thinks is correct.
| Meter reading | What it means | First adjustment to try |
|---|---|---|
| Around 0, or 0 to -1/3 | Correct for the area the camera is metering | Shoot |
| +1 or higher | Brighter than the camera wants | Speed up the shutter one stop, or stop down the aperture one stop |
| -1 or lower | Darker than the camera wants | Slow the shutter one stop, or open the aperture one stop, or raise ISO |
You do not need the reading to sit exactly on the centre line, only close to it. Set the shutter speed so the indicator lands near zero, then use aperture to fine-tune the look. That order is deliberate: shutter speed is the one you protect from blur, so let it move first and change the other settings to match.
Because each of these moves changes the amount of light by the same amount, the trade is simple. One stop of light means a halving or a doubling:
| To make the image | Aperture | Shutter speed | ISO |
|---|---|---|---|
| One stop brighter | f/2.8 to f/2 | 1/500 to 1/250 | 100 to 200 |
| Same, another way | f/5.6 to f/4 | 1/500 to 1/250 | 200 to 400 |
| One stop darker | f/5.6 to f/8 | 1/250 to 1/500 | 400 to 200 |
Two things catch beginners out here. First, a bright sky will drag the whole frame dark in the automatic modes, which is why a backlit portrait comes out as a silhouette. Press the metering button next to the shutter release, or switch to spot metering, and put the small circle on your subject’s face instead of on the scene behind them. Second, the meter is judging the whole frame, so expose for the face and let the background go bright, then check that the sky is not clipping.
6. Focus before taking the final photo
Manual exposure and manual focus are two different switches, and you do not have to use both at once. Keep autofocus on and the camera will focus for you while the exposure stays under your control. That combination is where most beginners should spend their first few months.
To set it up:
- Move the AF/M or AF/MF switch on the lens or body to AF.
- Select single-shot autofocus: One Shot on Canon, AF-S on Nikon and Sony, AF-S on Fujifilm. Single shot locks focus the moment it is achieved, which is what you want for still subjects.
- Put the focus point on the eye of a person, or on the nearest edge of a static object. If the focus point keeps hunting, use the smaller centre point rather than the large wide-area one.
Have a manual fallback ready for when autofocus cannot lock on, because it always eventually will not. A dark or patterned surface, a backlit subject and low contrast between subject and background are the usual culprits. Switch to manual focus, press the magnification button and zoom the live view screen to about 10x, turn the focus ring until the edges of your subject are sharp, then frame and shoot. On some bodies you can enable focus peaking, which outlines sharp areas in colour.
Back-button focus, assigning focus start to a button on the back of the camera instead of the shutter release, is the upgrade once this feels natural. It separates focusing from the moment you take the picture, so you can lock focus and then recompose.
7. Shoot, inspect, and adjust
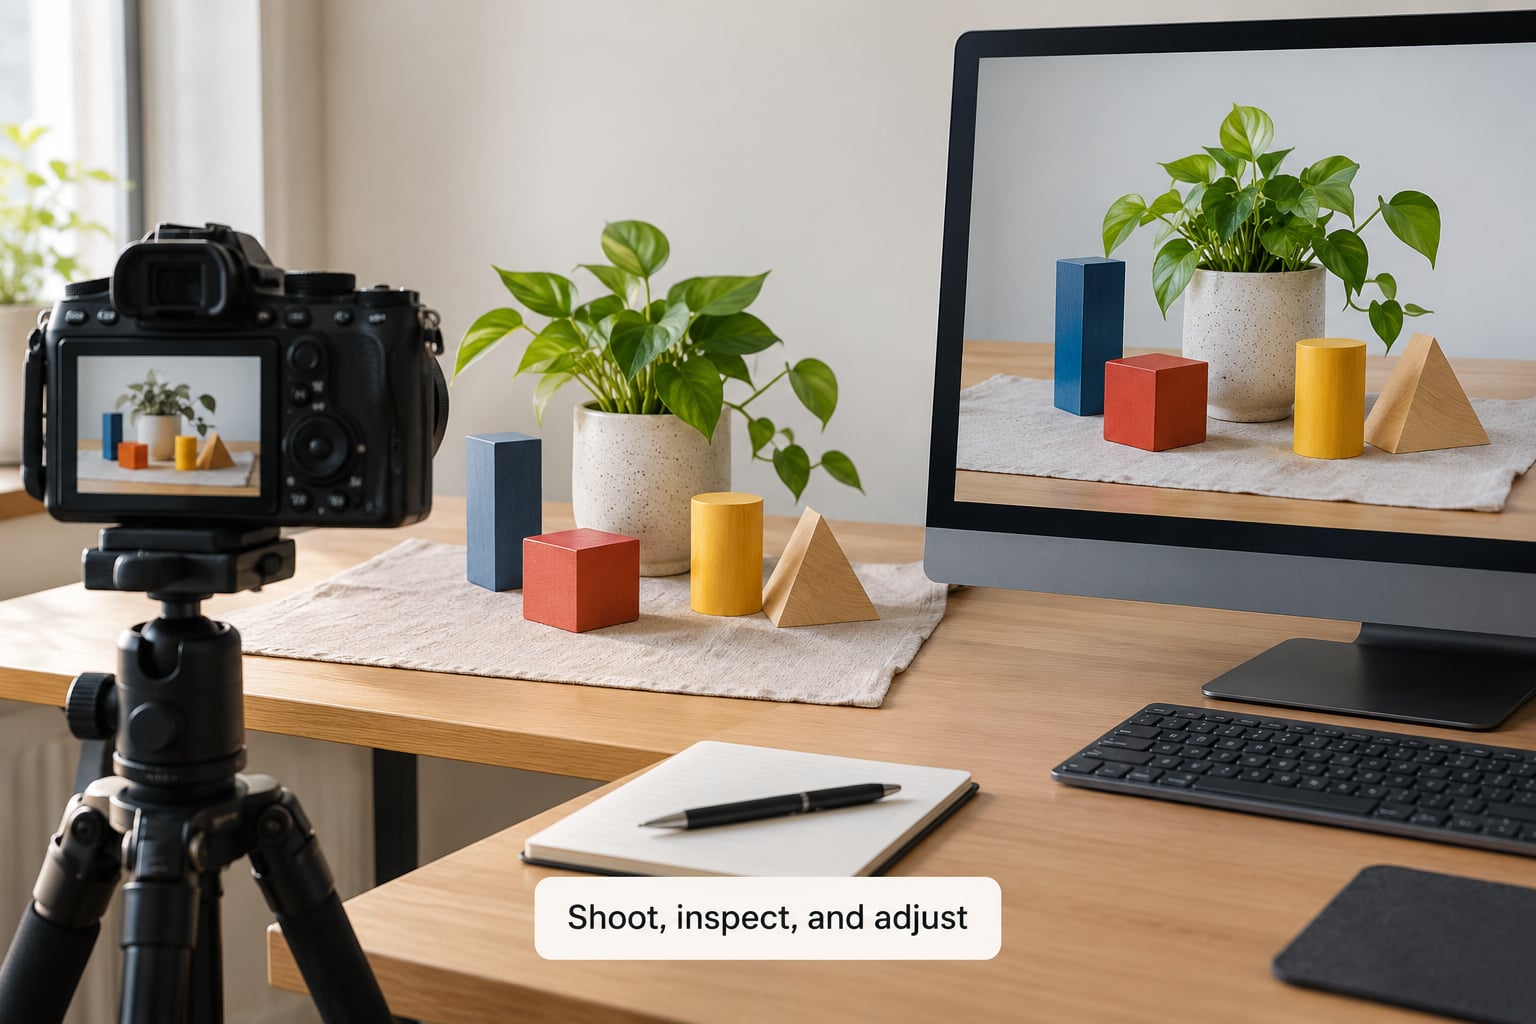
Take the shot, then press the playback button and zoom in. Three tools tell you whether the exposure worked, and each answers a different question.
- Playback at 100% answers, did it focus and did it blur. Look at the subject, not the edges of the frame.
- The histogram answers, how are the tones distributed. A healthy daylight shot has peaks spread across the middle with a tail running right. Piled-up pixels at the far right means overexposure, and a tall spike touching the left edge means you have crushed shadows.
- Blinkies or the highlight warning answers, did anything important blow out. Turn it on in the shooting menu: Canon calls it Highlight Alert, Nikon calls it Highlight Display, Sony calls it Live View Display or Highlight Peak.
The 20-60-20 guideline is a quick sanity check worth knowing. Most well-exposed scenes put roughly 20 percent of the tones in the deepest shadows, 60 percent in the midtones and 20 percent in the brightest highlights. A histogram that is 90 percent midtones means the image is flat and will need contrast in editing.
If the shot is wrong, change one control and take one more frame. Only one. Beginners routinely nudge aperture, shutter and ISO together, then have no idea which change fixed it, and the test shot teaches you nothing.
8. Repeat the same settings in changing light
This is the step that turns manual mode from a party trick into a habit. Once you find a combination that works in a given light, write it down and reuse it for the next twenty frames.
Work in this order, and change one setting at a time, taking a test frame after each adjustment:
- Sunlight, static subject: ISO 100, 1/250, f/8.
- Open shade, static subject: ISO 400, 1/125, f/5.6.
- Overcast, people walking: ISO 800, 1/250, f/4.
- Golden hour, still water or trees: ISO 100, 1/125, f/8, then watch the meter as the sky changes.
- Indoor window light, a person: ISO 1600, 1/250, f/2.8, metered on the face.
Sunlight is the easiest place to learn, and open shade is the second easiest because nothing changes while you work. Starting with a dim room and a moving subject is why many people give up on manual mode after two attempts.
Note the meter reading and settings for a few scenes you like, and noticing how professionals work gets easier. Plenty of working photographers shoot manual for a fixed studio set-up, and use aperture priority for a fast-changing scene. If you are learning how to shoot in manual mode for beginners, keep manual for a while to build the judgement, then decide deliberately which mode fits the situation.
Common Mistakes
These seven account for nearly every manual mode problem I get asked about, and each has a quick diagnostic that tells you which one you have.
- Underexposure. The whole frame is dark. Diagnostic: the meter needle was below centre and you shot anyway. Fix: slow the shutter one stop or open the aperture one stop, then check the histogram for shadow detail.
- Overexposure. Bright skies go white with no texture and skin looks washed out. Diagnostic: the needle was above centre, or the histogram is piled against the right edge. Fix: speed up the shutter, or meter on the face instead of the scene.
- Motion blur. The subject looks doubled or smeared while the background is fine. Diagnostic: at 100% playback, edges are soft but shadow detail is normal, which rules out exposure. Fix: the shutter speed was too slow. Double it, or raise ISO to buy the speed back.
- Too little depth of field. Only the eyes are sharp. Diagnostic: you chose a wide aperture close to the subject. Fix: stop down to f/5.6 or f/8, or step further back before narrowing down.
- Focus misses. The image is sharp on the background, not the subject. Diagnostic: you focused before recomposing, or the focus point was not on the subject. Fix: put the focus point on the eye, or use back-button focus so focus and shutter are separate actions.
- Noise and grain. Detail looks rough and colours look blotchy. Diagnostic: shadows in the file are crunchy rather than smooth. Fix: lower ISO by stopping down the aperture one stop, and only then accept a slower shutter speed with a tripod.
- Changing three controls at once. This is the one that slows learning down most. Diagnostic: you cannot explain why the second frame improved. Fix: one setting, one test frame, note the result before moving on.
Frequently Asked Questions
When should beginners use manual mode instead of automatic or aperture-priority mode?
Use manual mode when light is changing fast, when you want a specific look that the camera will not choose for you, or when you are practising. For family snapshots, travel and anything where subjects move unpredictably, aperture priority is faster and gives a near-identical result. Manual earns its place for consistent series, self-portraits, long exposures and any scene where the auto exposure keeps being fooled.
What are the best manual camera settings for beginners to start with?
In open daylight, start at ISO 100, 1/250 second and f/5.6 for a person, or f/8 for a wide view. In open shade, move to ISO 400, 1/125 and f/5.6. If the frame comes out too dark, raise ISO one step at a time rather than dropping the shutter speed below 1/125 handheld. Write these three combinations down and reuse them until they feel automatic.
How do I prevent photos from being too dark when using manual mode?
Check the meter before you shoot. If the indicator sits below the centre line, the camera thinks the frame is darker than it should, and slow the shutter one stop, open the aperture one stop or raise ISO. In a scene with a bright sky, the meter reads the sky and darkens the whole frame, so press the metering button next to the shutter release or switch to spot metering and place the circle on the subject’s face.
Should beginners use manual focus or autofocus in manual exposure mode?
Keep autofocus on. Manual mode and manual focus are separate switches, and pairing manual exposure with autofocus is a legitimate and common combination. Set the lens or body switch to AF and choose single-shot autofocus, then place the focus point on the subject. Learn manual focus as a fallback for low light, backlighting and low-contrast scenes, where autofocus will hunt and fail.
Is manual mode better for portraits, landscapes, and action shots?
It is useful for all three, for different reasons. Portraits reward a wide aperture such as f/2.8 to separate the subject from the background. Wide scenic views reward f/8 to f/11 for front-to-back sharpness. Action needs a fast shutter of 1/500 or quicker, which often means raising ISO. In every case manual lets you lock in the look and keep it consistent across a whole series.
How do I set a custom exposure on my specific camera?
Turn the mode dial to M, or select Manual from the exposure mode selector if your body has no M position. Then use the top-plate dials or the rear command dial to set aperture, shutter speed and ISO directly. The active values appear on the top LCD and in live view. A quick test: turn a dial and confirm the numbers move only when you turn it, which is how you know nothing is still set to auto.
What to Do First This Week
Do this on day one, in daylight, in one session: switch to M, set ISO 100, 1/250 and f/5.6, point at anything that is not moving, check the meter is near zero, take ten frames, then review them at full size. That is a complete understanding of how to shoot in manual mode for beginners in about ten minutes.
On day three, do the same thing in open shade at ISO 400 and 1/125. On day five, go back to daylight and set the same numbers again. Repeating identical settings in different light is what turns the exposure triangle from something you have read into something you recognise in half a second.
Do not judge your progress on a single frame. Judge it on how often you can pick settings and get a usable photo without checking the screen. Most people reach that point after two to four weeks of regular shooting, and a few hours of practice beats a week of reading about it every time.