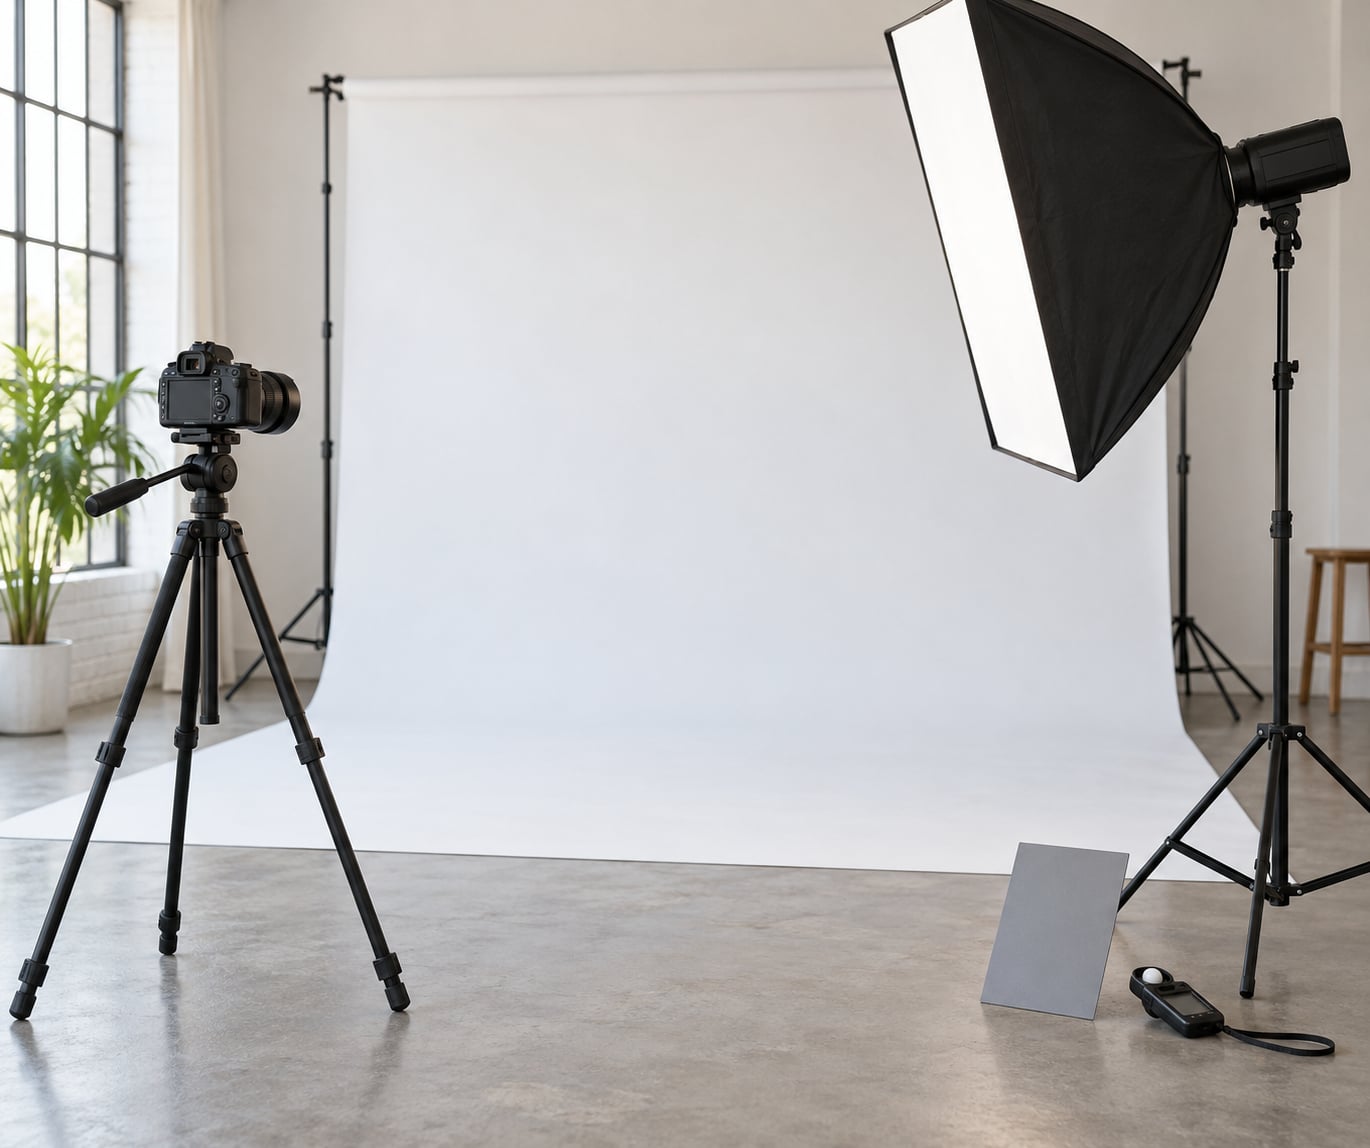
High speed sync is a flash mode that pulses the flash in rapid bursts across the entire shutter travel, so you can shoot at shutter speeds faster than your camera’s normal sync speed of roughly 1/200s or 1/250s. That unlocked speed is what lets you keep a wide aperture in bright sun and get creamy, out-of-focus backgrounds instead of the f/16 everything-is-sharp look you would otherwise be stuck with.
The catch, and there is a real one: high speed sync, usually shortened to HSS, throws away a lot of light. Two and a half to three stops are lost the moment you cross above X-sync, and roughly one more stop disappears with every doubling of shutter speed after that. Once you know how the power math works and where the setting hides in your camera’s menu, the rest is just placement and testing.
Table of Contents
- What You Need
- Step-by-Step: How to Use High Speed Sync
- Common Mistakes
- Frequently Asked Questions
- Can I use high speed sync with any camera and flash?
- What is the best shutter speed for high speed sync portraits?
- Why does my flash lose power when I use high speed sync?
- Does high speed sync let me control the background like manual flash?
- Is high speed sync better than using an ND filter?
- Does high speed sync freeze motion as effectively as manual flash?
- What to Do First on Your Next Shoot
What You Need

A camera with a hot shoe or a radio trigger port, plus an external flash. Almost every dedicated speedlight from the last decade supports HSS, and so do the major monolights. Check the flash’s specification sheet for the words high speed sync, HSS, Auto FP, Hi-Sync or HyperSync, because the label changes with the brand but the mechanism does not.
The built-in pop-up flash is the one piece of gear that almost never qualifies. It lacks both the power and the electronics to pulse fast enough, and on most bodies it cannot even fire a full-power burst above sync speed at all. Treat it as off the table.
You will also want a modifier and a way to stand off camera. A softbox or an umbrella softens the light and shapes the shadow, and it costs more light than a bare flash, which makes the HSS power loss bite harder. A radio trigger lets you put the light off the camera so you can angle it above and to the side of your subject rather than shooting straight down the lens. A reflector or white card opposite the flash fills the shadow side for almost nothing.
A light meter with a flash mode, or a simple test-shot loop on your camera’s histogram, will save you time. So does a stand that lets you move the head closer or further after a single frame. If your flash does not do HSS natively, a two-radio trigger set from a brand like Godox or Cactus Image can add the function, which is the workaround most often recommended on photography forums when someone buys into a body and flash that do not speak the same high speed sync language.
Step-by-Step: How to Use High Speed Sync
1. Confirm Camera and Flash Compatibility
Look up your camera’s sync speed in the manual, usually listed alongside the fastest shutter speed usable with flash, then check that the flash or trigger explicitly supports HSS. If the flash offers a HSS mode, it usually overrides the body and works fine on a camera that does not advertise the feature, which is why older bodies pair with modern triggers so often.
Here is where the setting actually lives, per brand. Menu names shift between generations, so treat these as the correct neighbourhood rather than an exact address.
| Brand | Camera-side control | Flash or trigger control |
|---|---|---|
| Canon | Menu, Flash control, External flash flash control settings, then Continuous flash shoot or E-TTL II metering | HSS button on the speedlight, or High speed sync on the trigger |
| Nikon | Menu, Custom settings, Flash settings, choose Auto FP for high speed sync at wide apertures | Switch the flash to AF-IL or auto FP mode as the body requests |
| Sony | Menu, Camera settings, Flash settings, Slow Sync or HSS-related flash options | HSS on the trigger or speedlight |
| Fujifilm | No separate camera switch on many bodies; the flash handles it | HSS switch on the flash |
| Pentax and OM System | Menu, Flash settings, HSS option where offered | HSS on the flash or trigger |
| Godox or Cactus trigger | Standalone transmitter replaces the body-side switch | Hi-Sync or HSS toggle on the transmitter and receiver |
If you are on Canon or Sony and nothing happens above sync speed, check whether sync speed priority is set to favour sync over exposure. Many shooters leave the sync-priority setting on and wonder why the frame goes dark at high shutter speeds.
2. Choose the Right High Speed Sync Mode
High speed sync is one option among several, and picking the wrong one costs you image quality for nothing. Below sync speed, a single burst of flash is sharper and stronger. Above it, the flash must pulse, which softens the effective light into something closer to a continuous source.
| Mode | What it does | Use it when |
|---|---|---|
| X-sync | One flash burst at the start of the travel | Any time you can stay at or below sync speed, for max power and crispness |
| High speed sync | Rapid pulses across the whole travel | Wide apertures and bright ambient light |
| Rear-curtain sync | Burst at the end of the travel | Motion trails behind a moving subject |
| TTL | Camera meters and picks the flash output | Fast-moving scenes where you cannot judge exposure |
| Manual flash power | You set the output | Repeatable frames, group shots, video |
Rear-curtain sync and HSS can be combined on most systems, which is a genuinely useful pairing for a spinning dancer or a jumping athlete: the ambient exposure burns in first, and the flash fires at the end so the motion trails sit behind the subject.
The naming confusion is real. Nikon calls it Auto FP, Elinchrom and Profoto sell it as Hi-Sync, Broncolor uses HyperSync, and Canon and Sony speedlights simply label a button HSS. All of them describe the same pulsing trick.
One myth to drop early: high speed sync does not freeze motion better than ordinary flash. The pulses last long enough to act almost like continuous light, which is exactly what kills the ability to freeze a moving subject. If you want a frozen mid-air jump, stay at or below sync speed.
3. Set the Camera and Flash Manually
Put the camera in manual. Automatic modes and high speed sync fight each other, because the camera underexposes for the ambient and then adds flash on top, and the metering keeps shifting as the pulses behave more like continuous light.
Start with these recipes and adjust for the scene. ISO 100 across the board unless you need to raise it.
| Scenario | Shutter speed | Aperture | ISO | Flash power |
|---|---|---|---|---|
| Bright sun, subject in shade | 1/2000s | f/2 | 100 | 1/16 to 1/8 |
| Midday backlight | 1/1000s | f/2.8 | 100 | 1/4 to 1/2 |
| Open shade or overcast | 1/800s | f/1.8 | 200 | 1/16 |
| Studio with strobes behind | 1/250s | f/2.8 | 100 | 1/8 |
| Cinematic motion look | 1/8000s | f/1.4 | 100 | 1/2 to full |
Work out the flash power by test fire, not by theory. Turn the ambient down two or three stops so it contributes as little as possible, then bring the flash up until the face reads correctly. That ambient underexposure is the trick most forum regulars rely on: the background falls dark on its own and the flash does all the work on the subject.
Watch for banding in playback. Visible dark horizontal stripes mean the pulse rate is not fast enough for the shutter speed you chose, so drop the shutter a third of a stop or move up to a faster flash.
4. Position the Light for the Portrait
HSS light behaves like ambient light for spread purposes, which means distance matters far more than it does at X-sync. A flash that felt strong at three metres on the hotshoe will feel weak at the same distance off camera in HSS, and the fix is usually to move it closer rather than to burn through the head faster.
Halving the distance doubles the light. If you are two stops short, halve the distance twice: from four metres to two, then to one. That approach preserves the softness ratio between the key and the fill better than cranking the power output.
Angle the head above and about 45 degrees to the side of your subject’s face. That single position gives you shaped shadows under the cheekbones and nose without going full Rembrandt. Bounce the flash into a white ceiling or wall when you need a much softer, more even look for a group shot.
Push the subject away from the background. Every extra step of separation drops the background brightness through the inverse square law, so a metre of distance is often cheaper than another stop of flash power.
5. Check the Background and Subject Exposure
Meter them separately. First, with the flash off, meter the background and set shutter speed until the background sits where you want it, typically two or three stops under middle grey. Then meter the subject’s face with the flash firing and adjust power until the skin tone reads correctly.
Center-weighted or evaluative metering handles the ambient reasonably well when the frame is even. Spot metering is better when the background and subject brightness differ wildly, which is exactly the situation high speed sync puts you in.
Neither area should clip. Histograms are useful here because HSS frames can look correctly exposed on the back of the camera while a bright window behind your subject is quietly blown. Zoom into the playback at 100 percent and check the background highlights before you commit to a burst.
6. Test for Clean, Repeatable Results
Run a short test sequence before the shoot proper: one frame at X-sync, one at your target high speed with the flash in HSS, and one with the trigger switched off to isolate the ambient. Comparing the three tells you immediately where the light is coming from.
Then fire a burst of ten or fifteen frames and watch two things. Recycle time gets slower in HSS, and sustained pulses build heat, so long bursts at 1/8000s can trigger a thermal shutdown on small flash heads. Watch the histogram for consistency across the burst, and recheck the highlights on the last frame rather than the first.
If you are using more than one flash with a radio trigger, confirm that the transmitter channel and group match on every receiver before the shoot starts. Mismatched groups are the single most common reason a second light simply does not fire in HSS, and it looks identical to a compatibility problem.
Common Mistakes
- Expecting HSS to freeze action. It does the opposite. Stay at or below sync speed for crisp frozen frames, and use HSS only when you need the aperture.
- Leaving sync speed priority on. On Canon and Sony bodies this can force the frame dark above sync speed. Turn it off, or set it to exposure priority.
- Pushing the flash instead of moving it closer. Every doubling of distance costs a stop. Halving the distance gains one, and it keeps the falloff softer.
- Trusting the rear screen at a glance. Zoom to 100 percent and check the highlights before you fire off a full sequence.
- Ignoring heat on long bursts. Sustained HSS pulses at very fast speeds build heat fast. Shorten the burst, rest the head, or accept a slower speed.
- Leaving the flash in TTL inside HSS. TTL metering gets unpredictable in pulsed mode. Switch to manual flash power once your starting settings are dialled in.
- Forgetting to match trigger channels. With two heads, set the same channel and group on the transmitter and each receiver before the shoot.
- Forcing a modifier that eats too much light. A large softbox can cost a stop and a half or more. In HSS, start smaller or move closer.
Frequently Asked Questions
Can I use high speed sync with any camera and flash?
No. You need a flash or radio trigger that supports HSS, and almost no built-in pop-up flash qualifies. Most dedicated speedlights and monolights from the last decade do, and the flash often makes the camera side irrelevant. If your flash has no HSS mode, a two-radio trigger set such as a Godox or Cactus Image transmitter and receiver can add the function to an older body.
What is the best shutter speed for high speed sync portraits?
For a sunlit portrait, start around 1/1000s to 1/2000s at f/2 with ISO 100. That is fast enough to hold a wide aperture without visible motion blur on your subject, and it keeps the lost power manageable. Go faster only when you want the motion-blur look or need to overpower very bright ambient light, since each doubling costs roughly a stop of flash output.
Why does my flash lose power when I use high speed sync?
Because above X-sync the flash is stretched into a series of pulses that behave like continuous light, and pulsed light is less efficient than a single burst. Budget roughly two and a half to three stops lost on entering HSS, then about one stop for every doubling of shutter speed. Recover it by moving the flash closer, since halving the distance returns a full stop.
Does high speed sync let me control the background like manual flash?
Yes, and it is the main reason to use it. Because HSS acts like ambient light, the standard move works: set shutter speed and aperture with the flash off so the background lands two or three stops under middle grey, then add flash only for the subject. Meter the two areas separately and adjust flash power for the face without disturbing the background exposure.
Is high speed sync better than using an ND filter?
Neither is strictly better. An ND filter lets you shoot wide apertures in bright sun at normal sync speed, keeping full flash power and crisp exposure, but it costs several stops of light and works only in daylight. High speed sync works at any time of day and handles backlight, but it arrives pre-dimmed. For a single sunny setup, an ND is faster; for backlight or evening work, HSS has no substitute.
Does high speed sync freeze motion as effectively as manual flash?
No, and this is the most common misconception. A normal flash burst lasts a fraction of a millisecond and freezes movement crisply. HSS pulses last long enough to read almost like continuous light, so any subject motion renders as blur. Use manual flash at or below sync speed when you need a frozen mid-air moment, and switch to HSS when you need the wide aperture instead.
What to Do First on Your Next Shoot
Find your sync speed and your flash’s HSS switch before anything else, and confirm the two work together with a single test frame above sync speed. Set the ambient two stops under, pick your aperture, then bring the flash up until the face reads right. Everything after that is placement and discipline.