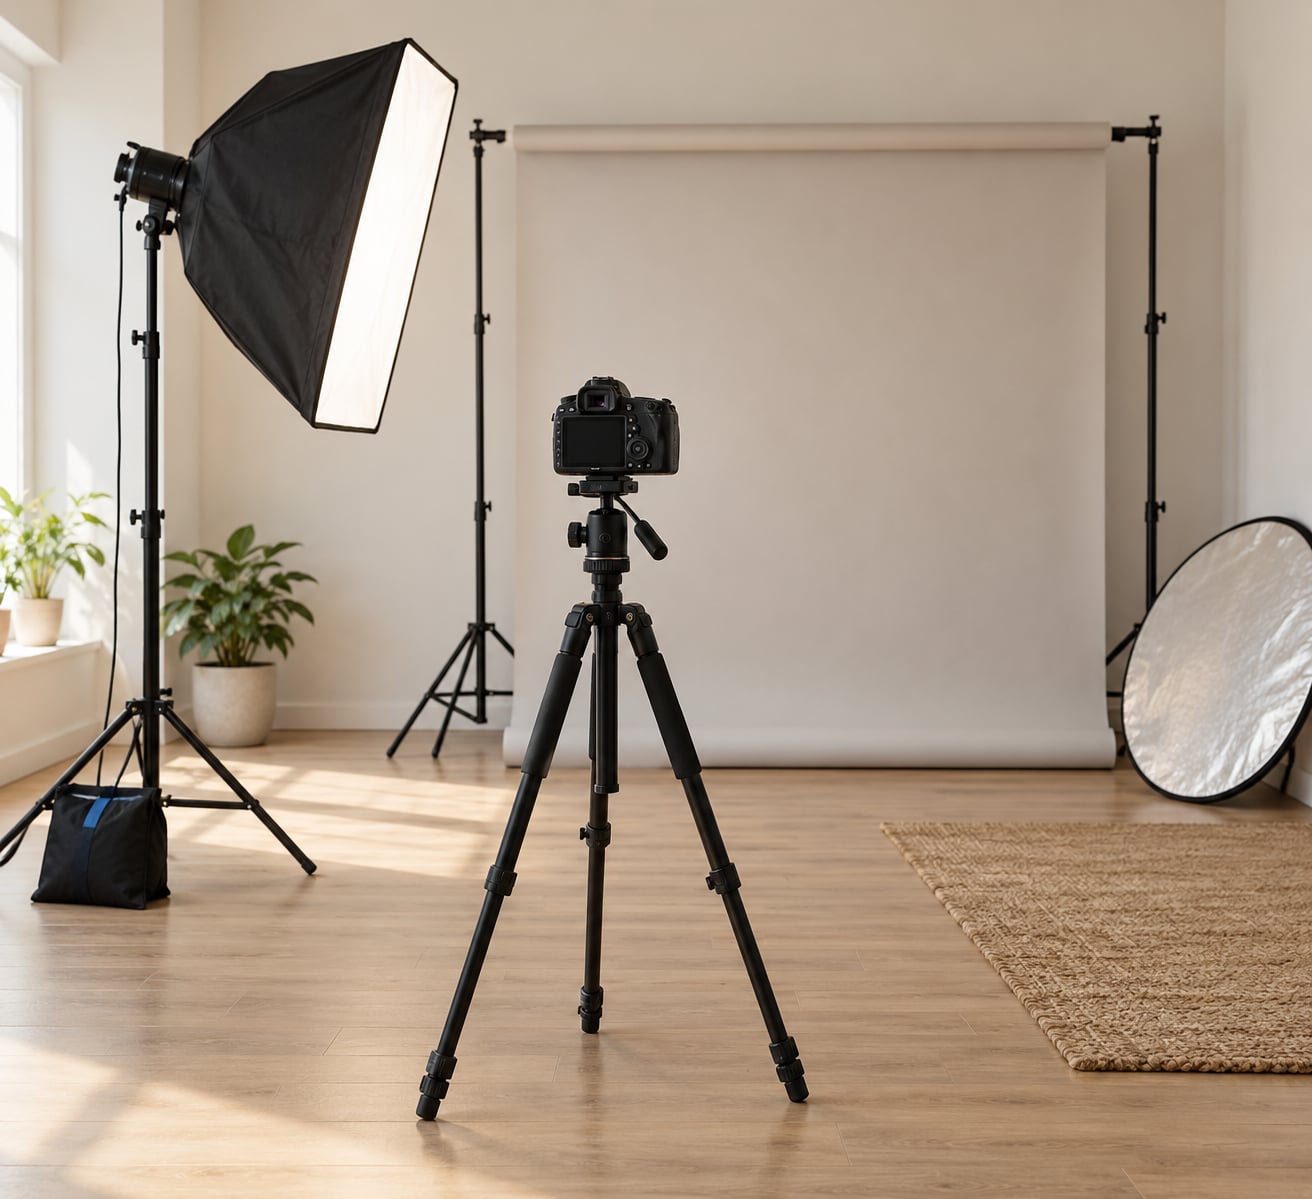
To set up a home photography studio you need three things: a room where you can control the light, a backdrop system behind your subject, and enough floor space to place camera, subject, and background at proper distances. Add a camera on a tripod, one light with a modifier, and a reflector, and you have everything a working studio requires.
This is a weekend project for most people. The awkward part is rarely the gear; it is deciding which room to give up and learning where the light actually comes from. Work through the seven steps below in order and you will have a repeatable setup rather than a corner with some equipment in it.
By the end you should know your floor dimensions, your light’s position, and your camera’s spot, and you should be able to rebuild that setup from memory in under ten minutes. That repeatability is what separates a home photography studio from a room you happen to shoot in.
Table of Contents
What You Need
The honest list is short. Everything below the divider is something you can add once the basics stop being the bottleneck.
Essential
- A room or corner with at least 10 by 12 feet of clear floor. Six to eight feet of shooting depth is the working minimum, and nine-foot ceilings give you room to raise a light. A professional benchmark to aim for is around 500 square feet; most home setups are a fraction of that and shoot fine.
- A camera and a tripod. Any interchangeable-lens camera works. The tripod matters more than the camera here, because it holds a fixed camera position between shots.
- One light and one modifier. A continuous LED panel with a softbox, or a strobe with a softbox or umbrella. Community consensus in r/photography and r/AskPhotography threads is consistent on this: start with one light, learn placement, then add a second.
- A reflector. A 5-in-1 collapsible reflector gives you fill and negative fill for nothing. It is the cheapest way to shape shadows.
- A backdrop. A roll of paper, a muslin backdrop, or a clean wall in a neutral tone.
- Stands and weights. A backdrop stand plus a sturdy light stand, with sandbags on the base of anything tall. One photographer shooting fine art in a 13-by-7-foot room describes running a single 24-inch beauty dish on a boom arm, which tells you how much one well-placed light can carry.
Optional, add later
- A second light for a two-light setup
- A rolling cart for gear storage
- Blackout curtains for the windows
- Apple boxes or foam blocks for product height
- A tethering setup if you shoot product or product-adjacent content
- Clamps, backdrop clips, and gaffer tape
Safety and household items
You are building this in a house that people walk through, not a commercial building with a locked door. Weight every stand, route cables along a wall or under a rug rather than across an open path, and if kids or pets are in the space, keep the light stands low and the sandbags on. Cheap lightweight stands wobble, and a toppling stand with a hot lamp attached is the real hazard in a home studio, not the lamp itself.
| Item | Why it earns its place | What to look for |
|---|---|---|
| Tripod | Locks camera height and distance so shots match | Sturdy legs, smooth head, no wobble under a heavy body and lens |
| Key light with modifier | Shapes the light instead of relying on ambient room light | Softbox 24 by 24 inches or larger for soft, even light on a face |
| Reflector | Adds fill or negative fill in seconds | 5-in-1 collapsible, silver side for negative fill |
| Backdrop system | Removes household clutter from every frame | Backdrop stand with crossbar, or a wall you can clear |
| Sandbags | Stops a tall stand from tipping | One per stand leg, filled and closed |
| Gaffer tape | Marks floor positions and anchors cables | Matte, so marks do not catch light |
Step-by-Step: How to Set Up a Home Photography Studio
Work in this order. Each step assumes the previous one is already fixed, which is what keeps the setup repeatable.
1. Choose a Dedicated Shooting Area
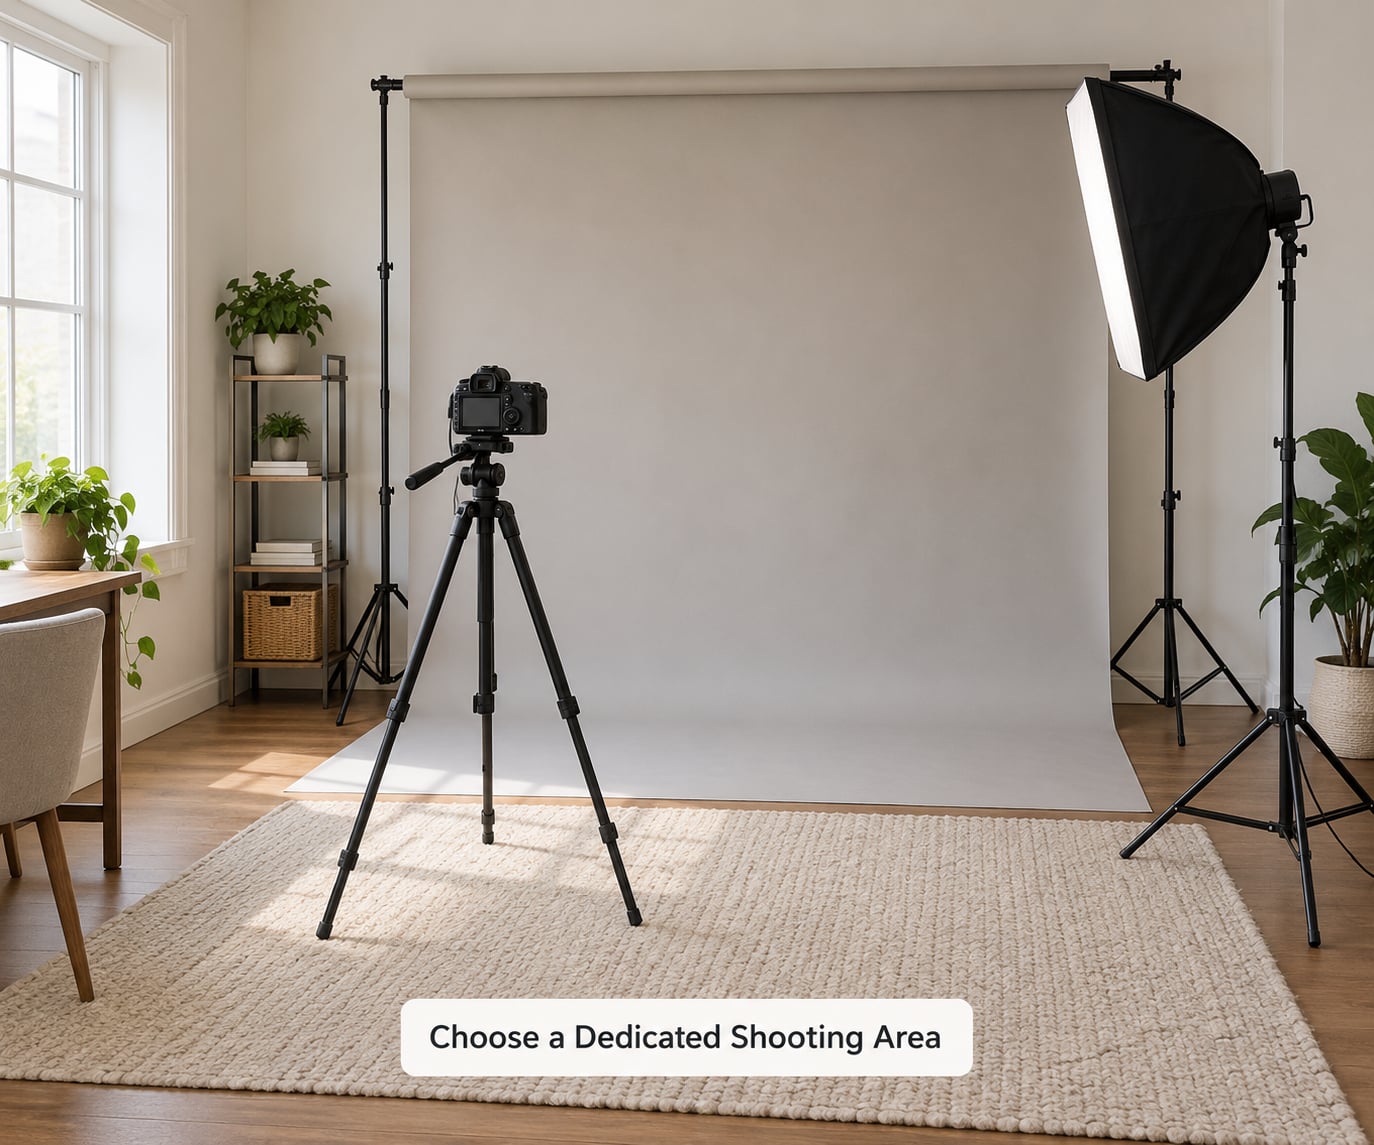
Pick the room with the most control, not the room with the most square footage. A tidy 10-by-12-foot corner beats a large living room with a busy bookshelf behind every angle.
Audit the room before you buy anything. Note the ceiling height, the number and size of windows and which direction they face, the distance from the wall you might use as a background, and where the outlets sit. Low ceilings are the most common complaint in home studio discussions, and rooms with 7 foot 8 inch ceilings and 13-by-7-foot dimensions are genuinely workable as long as you plan for shallow shooting depth and keep lights low.
Control what you can. Hang blackout curtains if a window blasts direct sun across the subject, close interior doors to cut noise, and clear anything breakable or magnetic off the floor. Household traffic through the space is the quiet reason setups fall apart mid-shoot, so pick a room you can close for an hour.
2. Plan the Background and Camera Position
Decide where the background goes first, then place the camera in relation to it. The useful rule is distance: put your subject four to six feet in front of the backdrop, not a foot and a half. When the subject stands too close to the background, their shadow spills onto it, and that single mistake causes most of the muddy-background complaints beginners post about.
Set camera height at your subject’s eye level or chest, and leave enough room for the lens to work at 35mm or 50mm. Community advice for tight spaces converges on those two primes; 85mm and above needs more distance than a small room can offer. For product work, 85mm to 135mm equivalent keeps distortion off bottles and boxes.
Then mark it. Put a piece of matte gaffer tape on the floor where the tripod legs go and another under the subject’s mark. When you can see your marks, the tenth shoot looks like the first one, and clients notice that consistency more than any single frame.
3. Set Up and Control the Lighting in Your Home Photography Studio
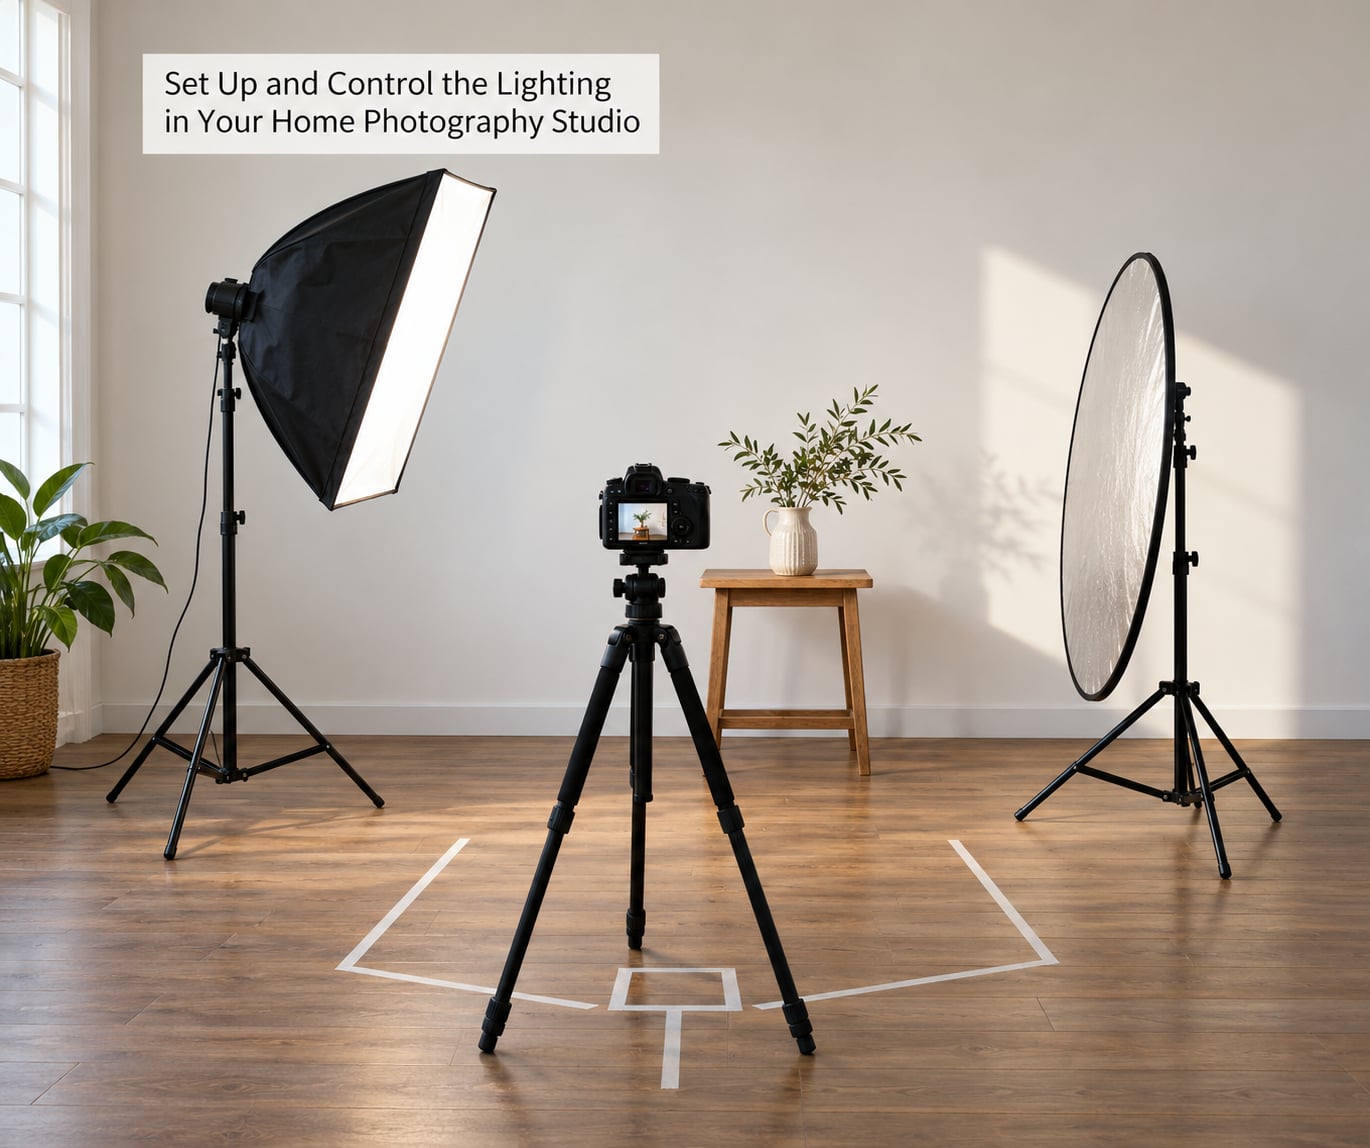
Start with the window if you have one you can block. Put your subject about three feet from the window at a 45-degree angle, with a white reflector on the darker side of the face. That gives you a large soft source and a natural falloff with no equipment beyond the reflector.
Once window light stops being consistent, which usually happens the moment a cloud moves, add artificial light. One light placed high and to one side at roughly 45 degrees, with a softbox or shoot-through umbrella, is the classic starting position. The softbox is closer and more even; the umbrella is faster to set up and throws a harder edge. A reflector or white card on the opposite side handles the fill, and moving it in or out changes the shadow contrast without touching the key.
Add a second light only when the first one is boring you. A second light as a hair light or background light is more useful than a second key, because the key is already doing its job. A small strip box or a bare flash aimed at the backdrop separates your subject from the background in a way a bigger front light cannot.
| Light source | Best for | Limitation |
|---|---|---|
| Window light | Portraits, learning how light behaves, zero cost | Changes with the weather and the hour; cannot compete with midday sun without diffusion |
| Continuous LED panel | Video, product, UGC, seeing the effect in real time | Draws power, generates heat, less output than a strobe at the same nominal wattage |
| Strobe with modifier | Portraits and headshots, freezing motion, power that beats ambient light | You cannot see the effect until you fire a test; needs a trigger and a power pack |
Set white balance to match your light rather than leaving it on auto, and do it in the same place every time. Mixed color sources, an overcast window plus a warm bulb, are the reason skin tones look muddy. If you shoot raw, the correction is still easier when white balance is set deliberately.
4. Add Backdrops and Props
Choose the backdrop for the work you actually do. A paper roll gives you a clean sweep for products, headshots, and flat lays, and it rolls up small when the room has to become a living room again. Muslin is softer and forgiving of wrinkles, which matters for portraits. A cleared wall in a neutral tone costs nothing and works surprisingly well if you can keep it clear.
For props, be ruthless. Two or three objects that serve a shoot beat a shelf of them, and every item in frame pulls attention off your subject. For food and beauty work, a tabletop surface that can be wiped and re-shot from above turns one corner into two setups.
Two housekeeping rules save sessions. Hang paper from a crossbar with clamps rather than tape so you can swap it in a minute, and never leave a backdrop pole or stand base where a guest will walk into it.
5. Organize Equipment and Manage Cables
Give every item a home and every item a return spot. A rolling cart, a shelf, or even a labelled bin per category beats hunting for a modifier during a paid session.
Route cables along the wall with gaffer tape or through a cable channel, and keep every connection off the floor. Use the floor for a cable only in a taped path nobody walks, and never under a rug that people walk over repeatedly, because the connection is the part that fails.
Weight every stand with sandbags, especially anything holding a boom or a crossbar. If your room doubles as a playroom or a hallway, mark stand bases with tape so nobody catches a foot on them, and collapse stands between sessions so the room still works as a room.
6. Test the Studio with a Practice Shoot
Before you spend on anything else, shoot a plain white T-shirt on grey card in your chosen space. That combination shows you shadow direction, falloff, and any color cast from the walls without introducing a person’s face or a product to confuse the picture.
Check four things: exposure, focus, white balance, and the distance from subject to backdrop. Shoot the same frame from the same marks, then write down the aperture, shutter speed, ISO, and the position of every light. Save those notes in your phone. On the next shoot, load them, and you skip the forty minutes of experimenting that used to happen every time.
7. Make the Setup Flexible
One room rarely serves only one kind of shoot. Curtain panels on a track can create a second shooting position without moving the camera. Movable stands and a clamped white board let you change a background in under a minute, and a tabletop that folds flat turns the same floor space into a product station for flat lays.
Give the studio a short reset routine. Ten minutes to roll the paper back, wipe the table, sandbag the stands, and clear the floor keeps a dual-use room usable and stops clutter from creeping into your frames. Do it every time and the reset is invisible.
Common Mistakes
Almost every problem I see in home studio setups has a simple fix, and it is usually a habit rather than a missing piece of gear.
Shooting in mixed light
One softbox fighting an overhead bulb or a bright window produces color casts you cannot edit out cleanly. Turn off every other source, close the curtains you are not using, and set white balance deliberately before you judge the light.
Placing the light too high or too close
A light directly overhead or immediately beside the lens flattens faces and burns the forehead. Move it up and out to about 45 degrees and step it back far enough that the modifier covers more than the face. Bigger and farther is softer.
Leaving cables across walkways
Tape them to the wall, run them along a baseboard, or use a wireless trigger and eliminate the sync cable entirely. This one is a safety issue in a house, not a tidiness issue.
Leaving the background wrinkled or cluttered
Iron muslin the night before, hang paper with clamps, and remove everything from the frame edges that is not part of the shot. A distracting background undoes good lighting faster than any amount of gear.
Forgetting to test white balance
Shoot grey card or a white T-shirt once in each lighting condition you plan to use. It takes a minute and it is the difference between skin tones that look right in the raw file and skin tones you fight in editing.
Moving the camera every session
Consistency comes from repeating a known position. If your tripod marks, subject mark, and light position are taped, you skip setup time and your portfolio holds together. If you improvise, every shoot looks like a different studio.
Buying the second light before mastering the first
This is the most common regret in budget home studio threads. One light and one modifier, learned well, will carry portraits, products, and short video. Buy the second light when you can name what the first one cannot do.
Leaving the room unusable for the family
Once a room becomes a studio, the household notices fast. Design for pack-down from the start: collapsible stands, rolled paper, a cart that parks in a closet, and a reset time built into the session.
Frequently Asked Questions
What size room do I need for a home photography studio?
Ten by twelve feet of clear floor is the practical minimum, with six to eight feet of shooting depth so your subject can stand away from the background and the lens has room to work. Nine-foot ceilings are comfortable, not required. A 500 square foot space is a useful professional benchmark, but plenty of working home studios are far smaller. What matters most is control, not size: one tidy corner you can close off beats a large room you cannot keep clear.
Can I use continuous LED lights instead of strobes?
Yes, and for a first studio many photographers should. Continuous LED panels let you see exactly what you are getting before you shoot, which shortens the learning curve, and they double as video and UGC lighting. The trade-off is power draw, heat, and less output than a strobe of similar nominal wattage. If you shoot portraits in a room with no windows and want to beat ambient light, a strobe is the stronger tool.
Do I need a backdrop for home photography?
A backdrop is one of the highest-value items because it removes household clutter from every frame. A paper roll on a backdrop stand gives you a clean sweep for products and headshots and rolls up small. Muslin is softer and better for portraits, and a cleared neutral wall is a legitimate free option. Whichever you choose, the subject should stand four to six feet in front of it so their shadow does not fall on the background.
What should a beginner spend money on first?
Spend first on light control, then on a stable camera position, and only then on extras. A tripod with a sturdy head and one quality light with a softbox will carry you further than several cheap lights. A reflector and a backdrop complete the core. Support gear deserves real money too, because wobbly stands and tipping modifiers end sessions early. Buy the second light only when you know what your first one cannot do.
Do I need a dedicated room for a home photography studio?
No. Plenty of working home studios are a cleared corner of a living room, a garage section, or a home office that gets reset afterward. What you do need is control: the ability to block stray light, close the door against household traffic, and clear the background for the length of a session. If the space cannot be made repeatable, renting studio time occasionally beats fighting the room on every shoot.
Conclusion
Start with the room, not the shopping list. Clear an area with ten by twelve feet of floor, find out where your light comes from at different hours, and pick a background you can reset in a minute.
Then do three things in order: tape down one repeatable light position, tape down your camera and subject marks, and run one practice shoot on a white T-shirt before you buy anything else. That home photography studio will get the rest of the gear later, and it will already be the most useful setup in the house.